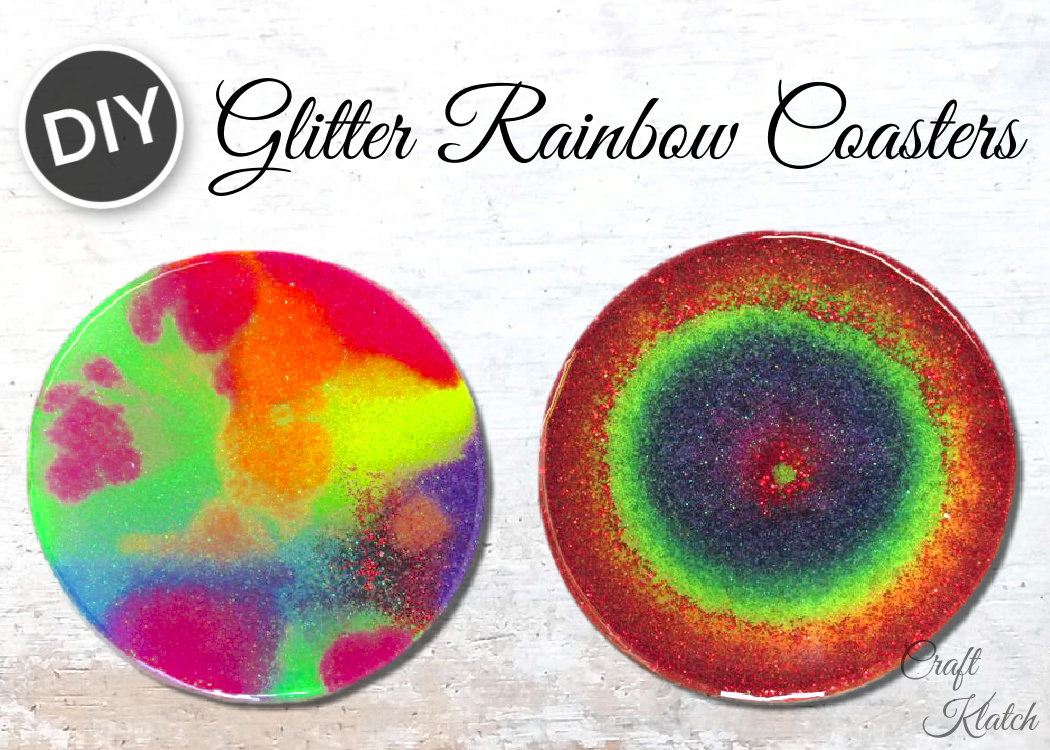
Who doesn’t love rainbows? Add resin and rainbow-colored glitter and you have amazing rainbow glitter coasters!
I bought a glitter set, quite some time ago. My plan was to do a rainbow coaster, as I had already made a rainbow pendant. The set did not come with red, so I used some fine red glitter I had on hand.
*This blog uses affiliate links. As an Amazon Associate I earn from qualifying purchases, at no additional cost to you.
You will need:
- Coaster mold options
- Resin
- When deciding on which resin to use for your coasters, you need to keep in mind whether you want it just for cold cups or for hot ones as well.
- If only for cold drinks, you can be flexible and use whatever brand you like:
- If you want it to work for both hot and cold drinks, you need to look for a heat-resistant resin, like these:
- Stone Coat (Quick coat)
- Stone Coat (Heat resistant)
- FX Poxy ~ According to the manufacturer, this one is heat resistant to 500° F.
Here is the quickie video tutorial:
More Rainbow Resin Crafts
- Rainbow Resin Coasters
- Rainbow and Unicorn Coaster
- Rainbow Glitter Coaster
- Rainbow Glitter Charm
- Liquid Rainbow Coasters
Directions
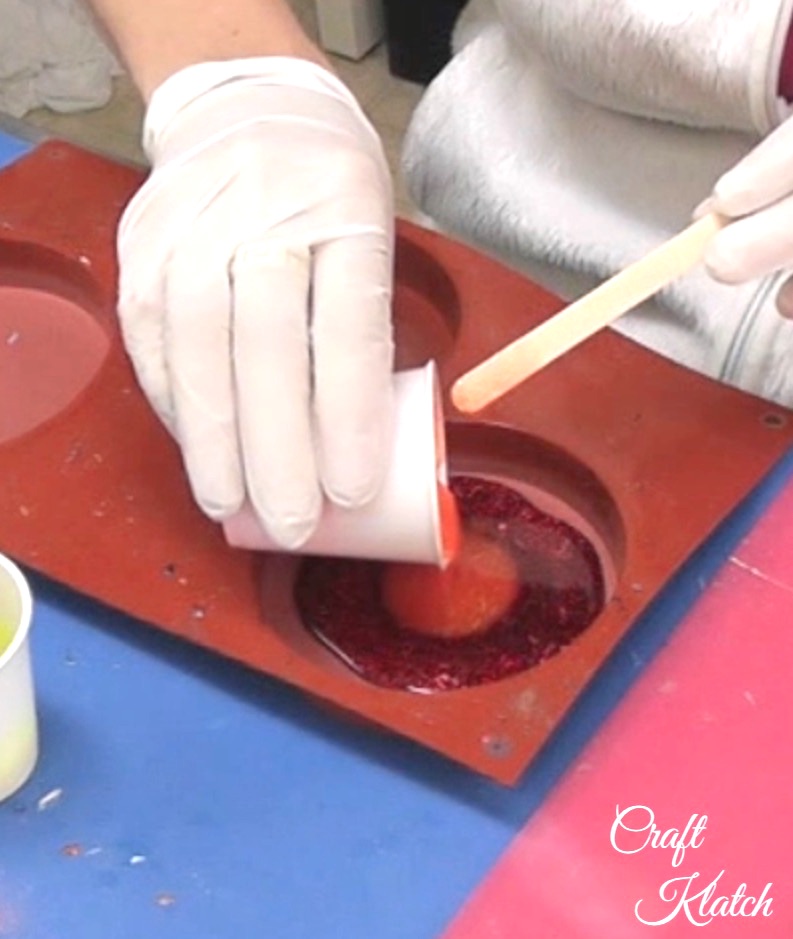
1. Set up seven disposable cups, with seven stir sticks
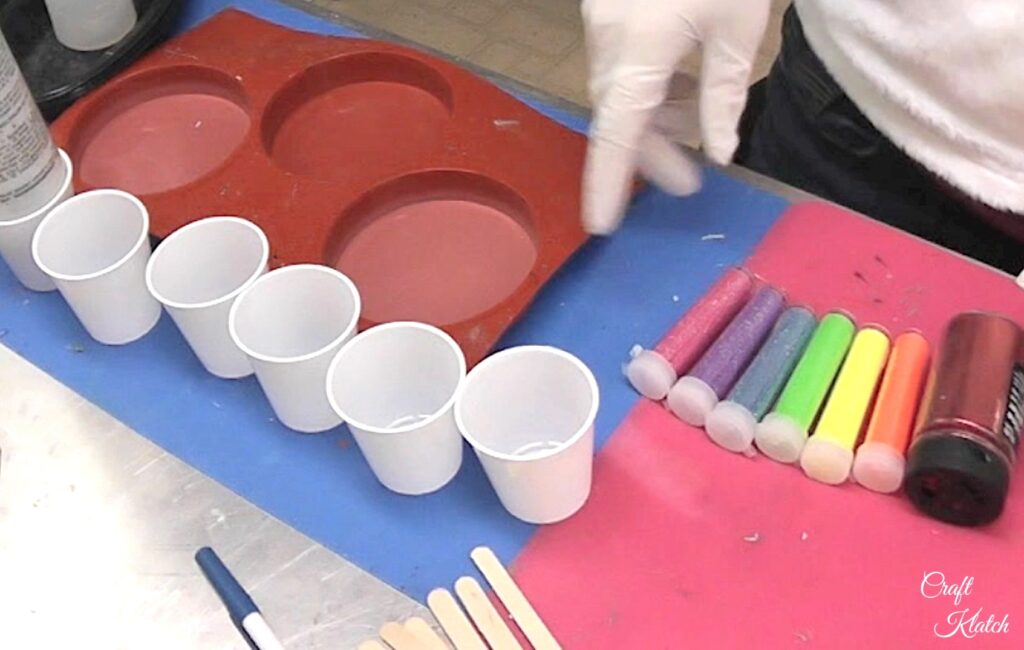
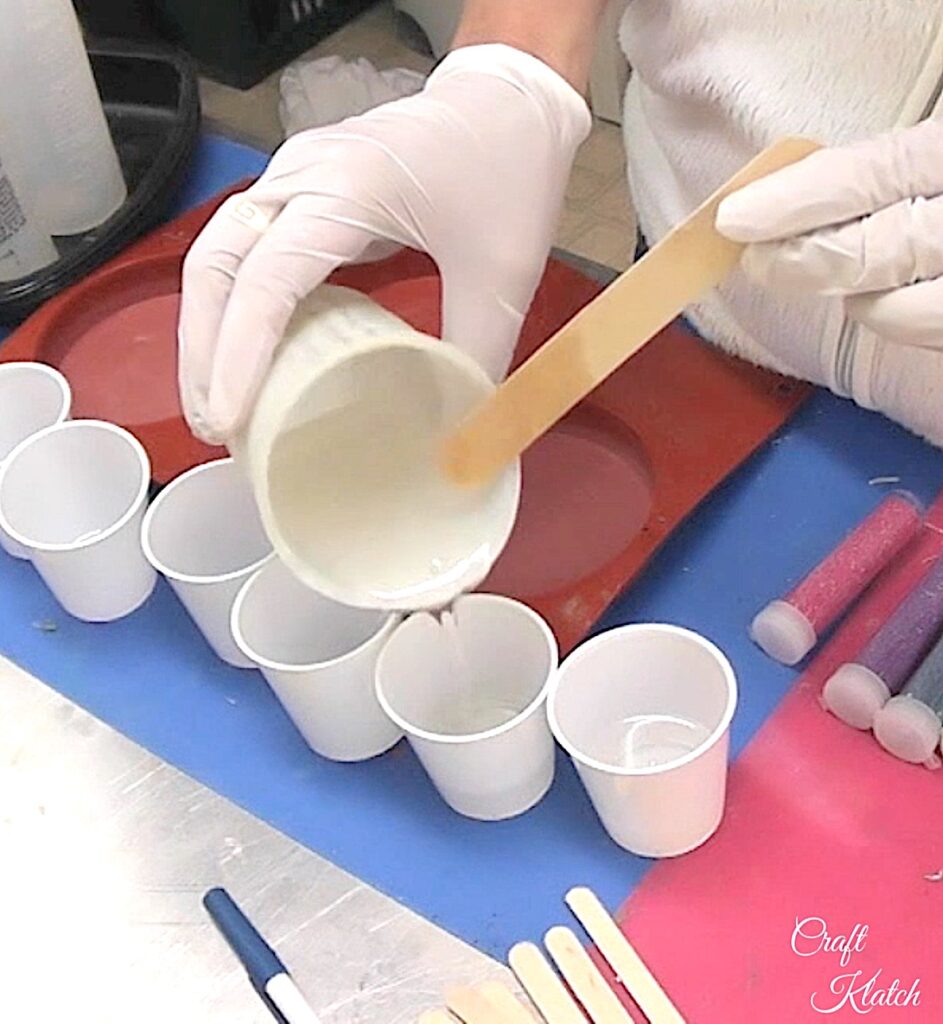
2. Prepare your resin, according to the package directions and pour the resin into each cup. Keep in mind that your outer ring or first color will need more resin and less will be needed on the inner colors.
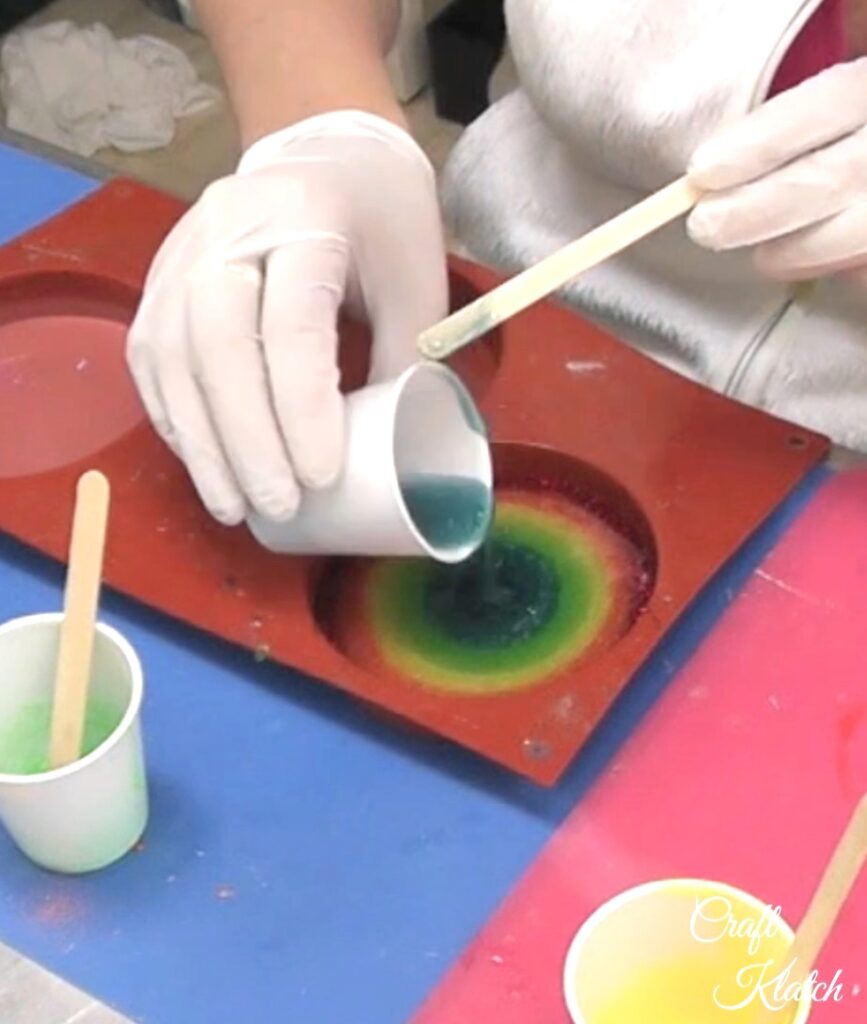
3. Mix your glitter into the resin.
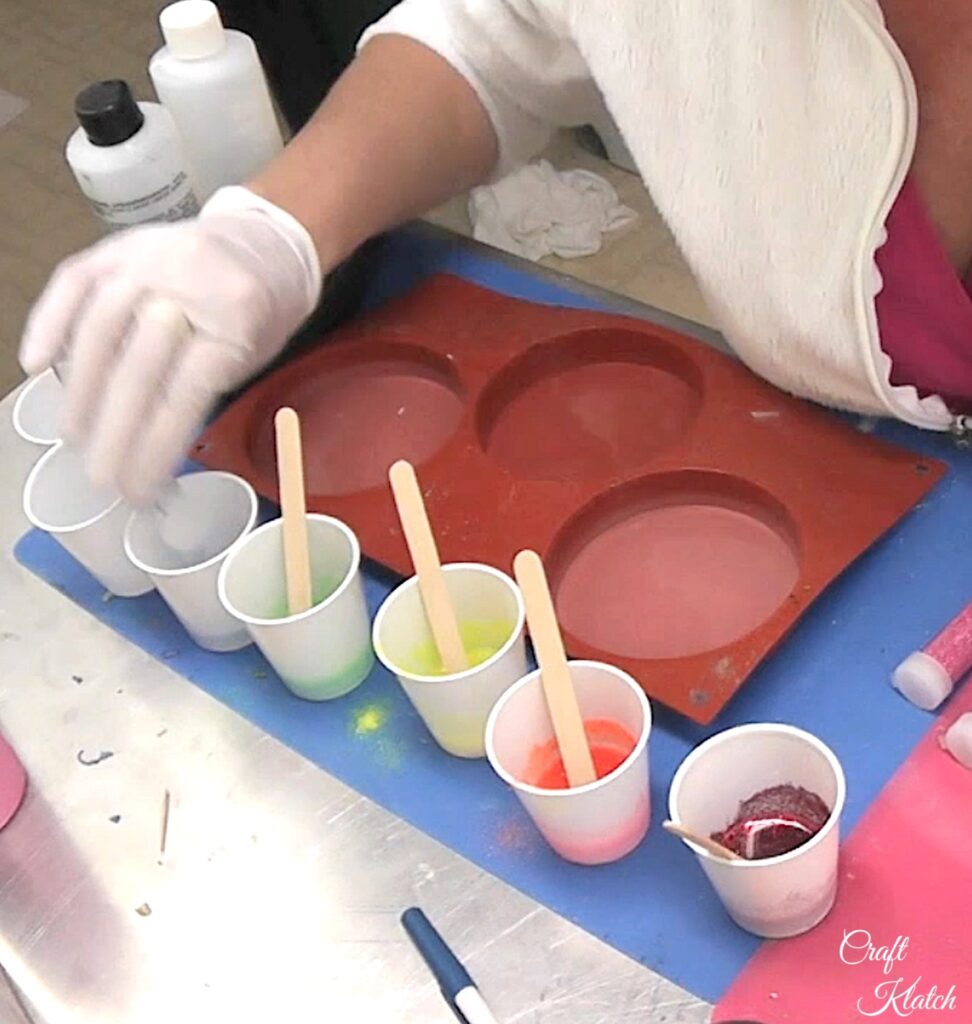
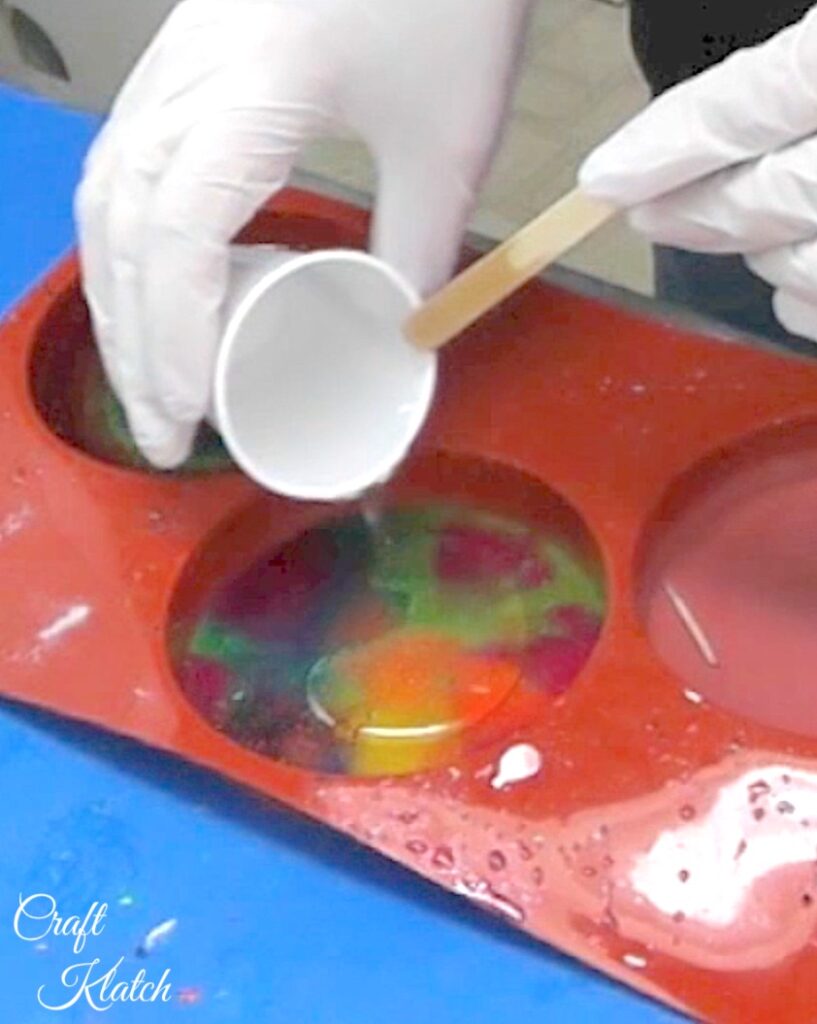
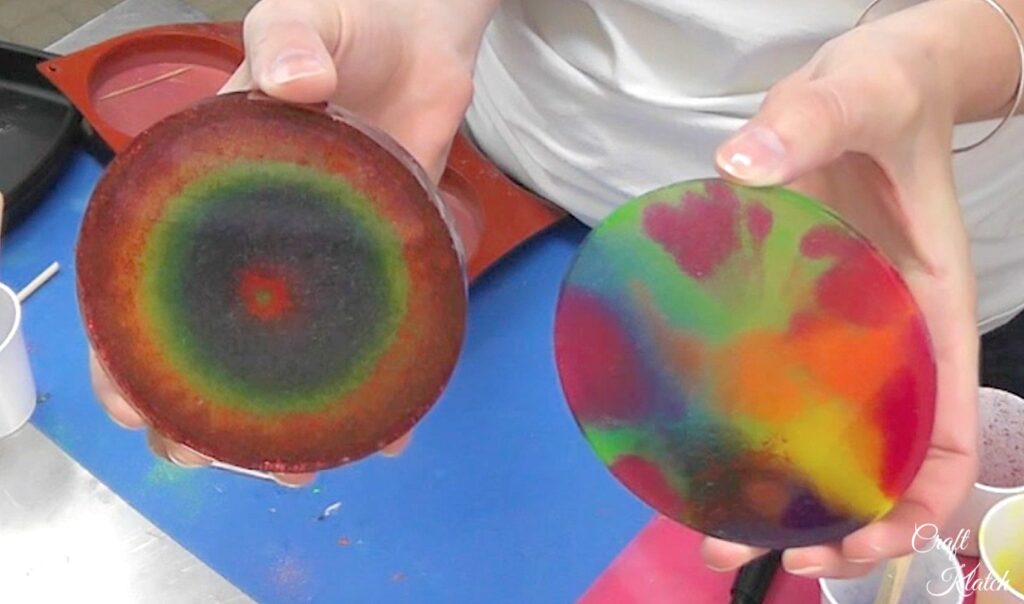
4. Pour your first color, right into the center of the mold. Follow with each additional color, always pouring right into the center of the mold.
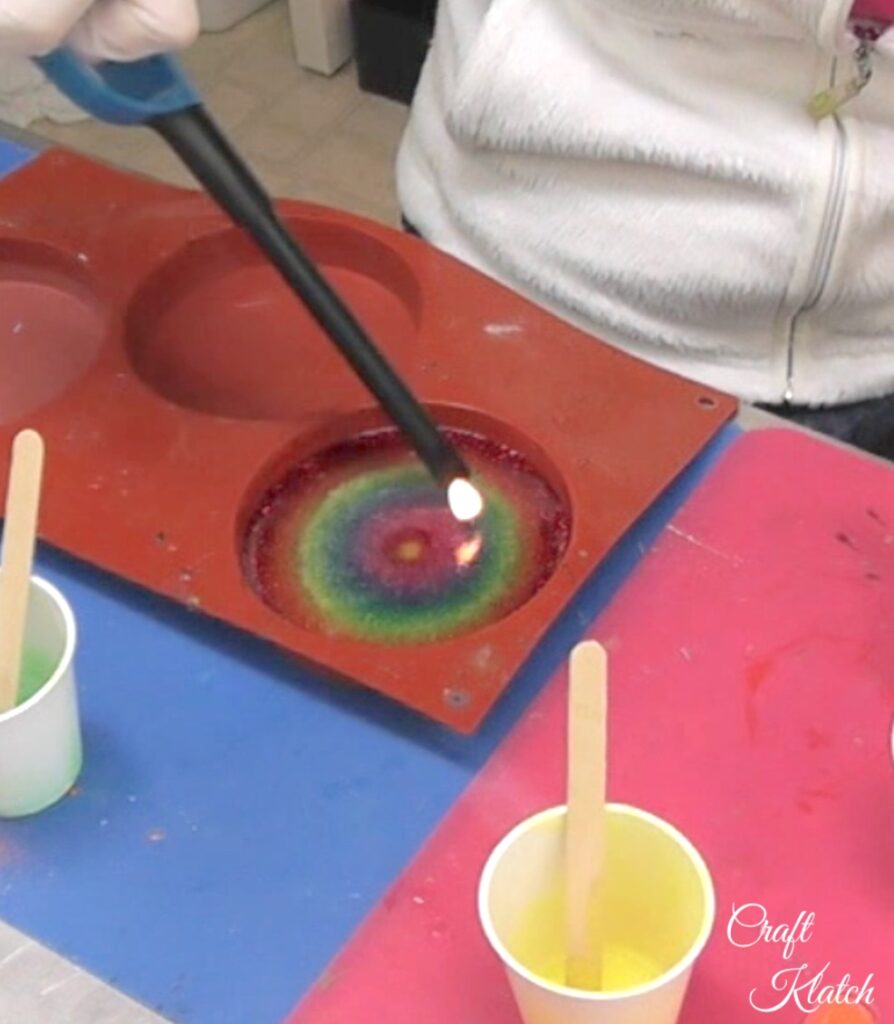
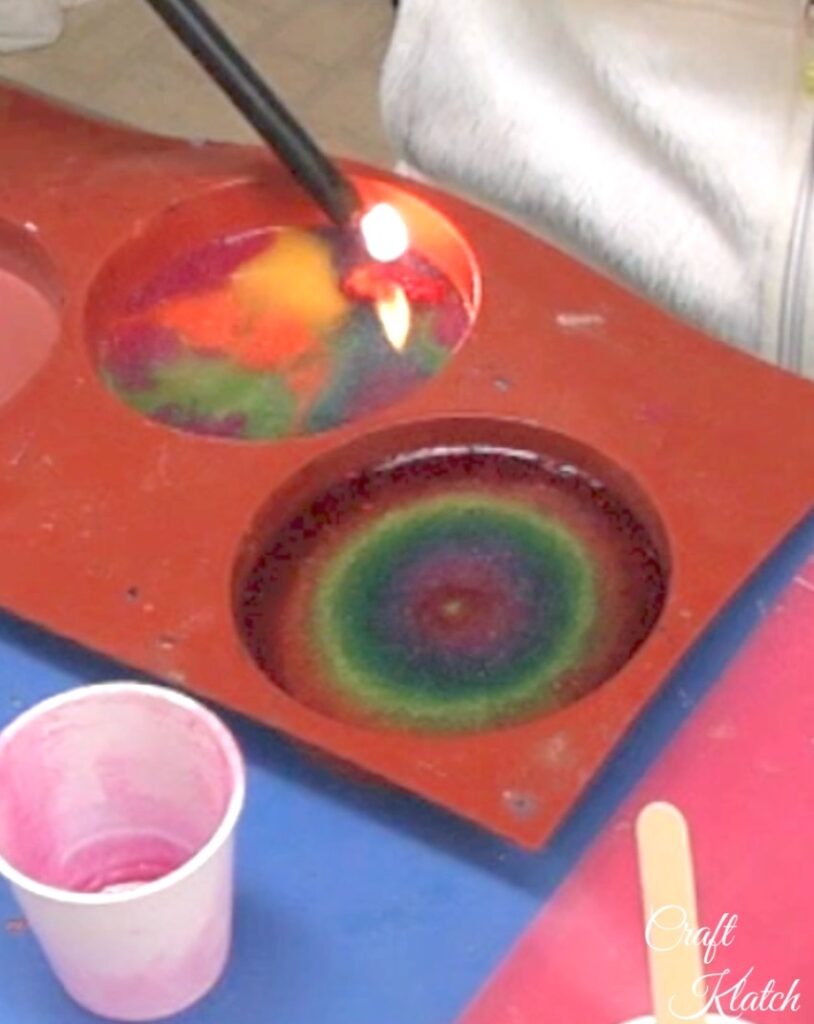
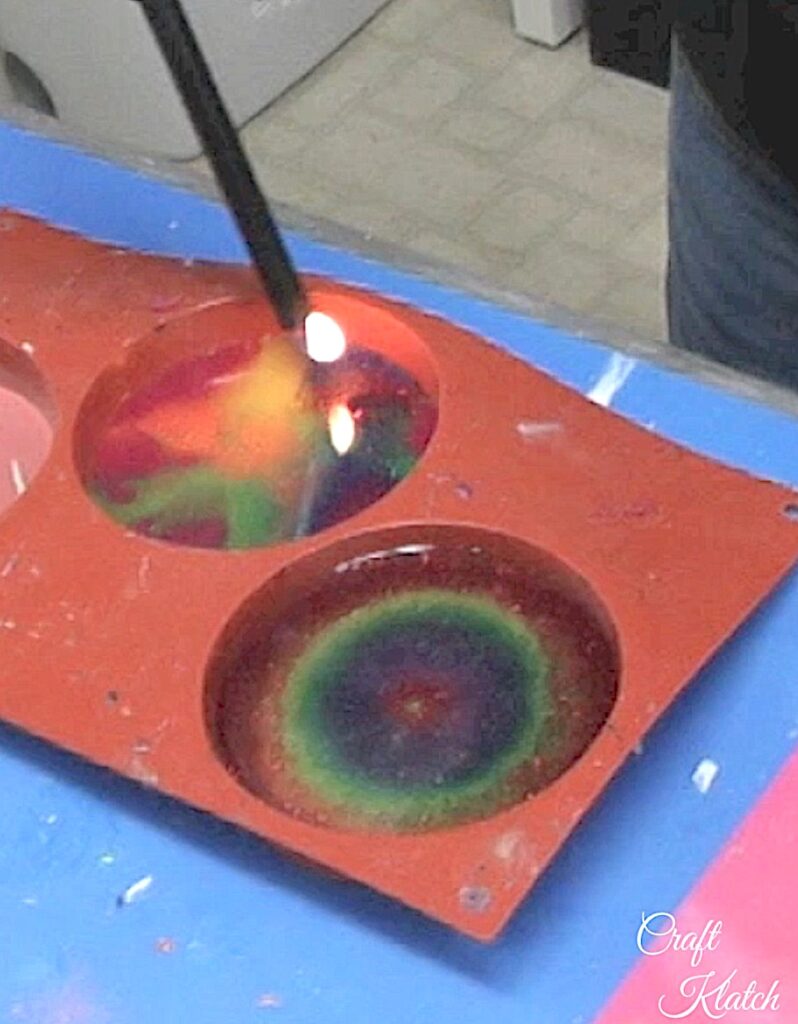
5. Allow the resin to cure for at least 12 hours. Go over it with a lighter to pop any bubbles, within the first hour.
6. With your leftover glitter resin, just drop the different colors randomly into one of the other molds. Let the colors spread and run into one another.
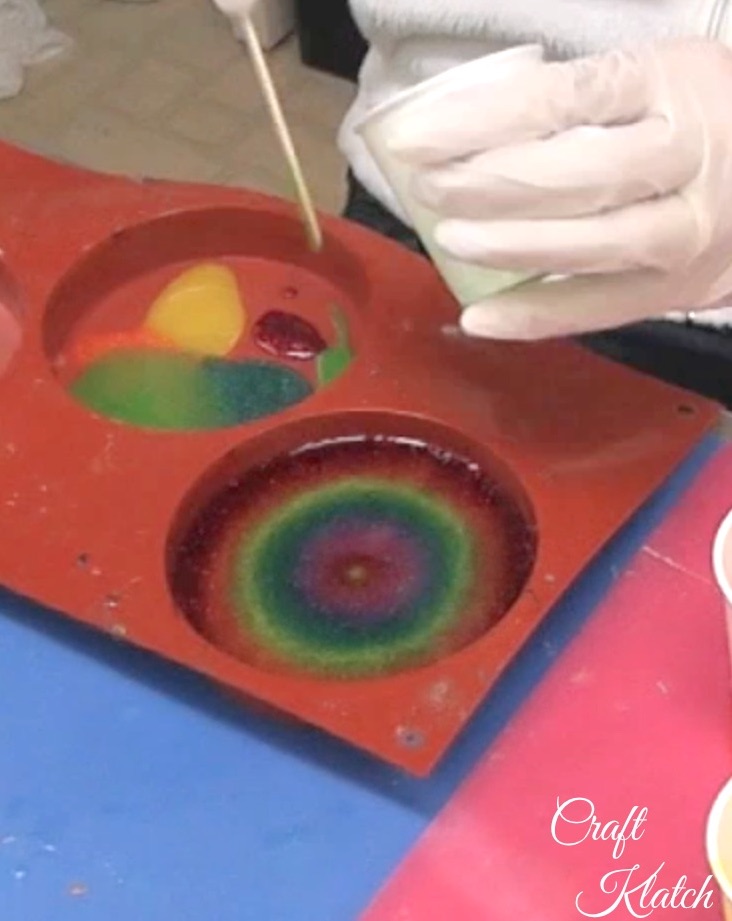
7. Again, allow to cure for at least 12 hours and run a lighter over the surface to pop bubbles.
8. Likely, some of the glitter will rise to the top and give you a less than shiny appearance. Mix enough resin to put a thin final layer across the top of both coasters and again allow to cure at least 12 hours.
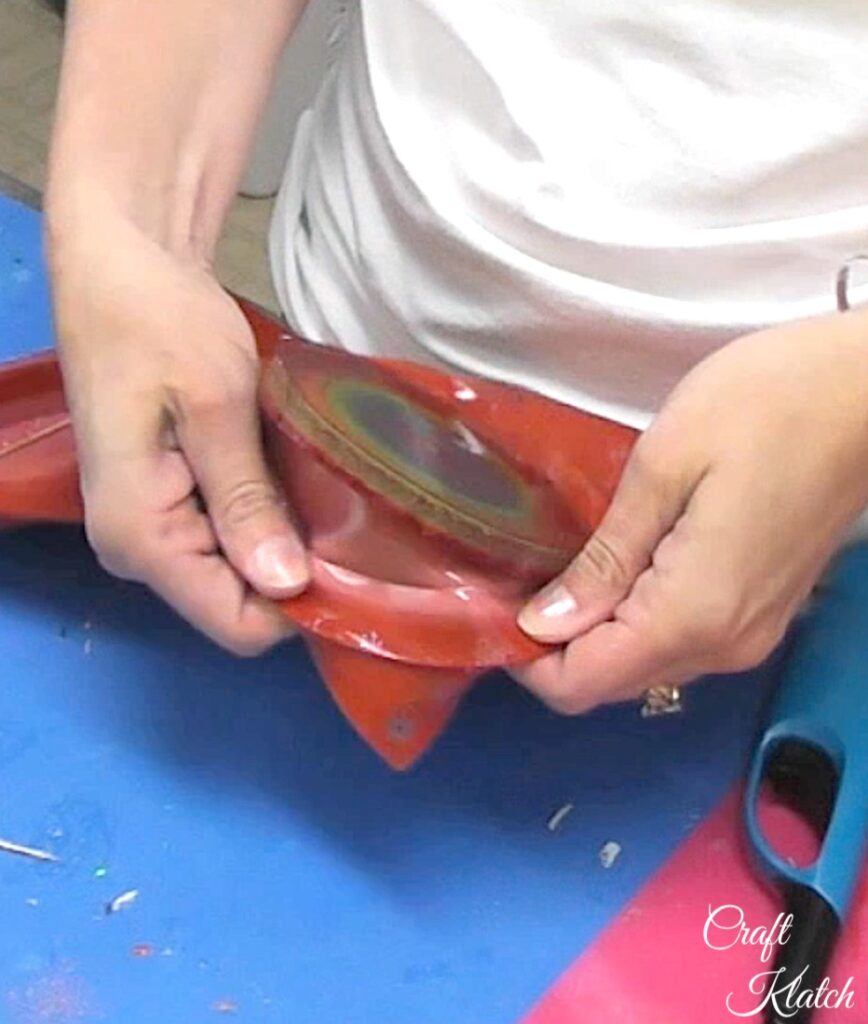
You can remove them from the mold and enjoy your new coasters! Thanks for stopping by!
Remember: Life’s too short not to shimmer, so grab your glue gun and your glitter!™ Stay safe!
Mona

Hello Mona
I've just found your website and all I can say is WOW. I have never used resin but can't wait to give it a try. I liked the Mod Podge coaster best. However the other one was great too but the using up of the left overs was my favourite.
Greetings from Australia.
Helen