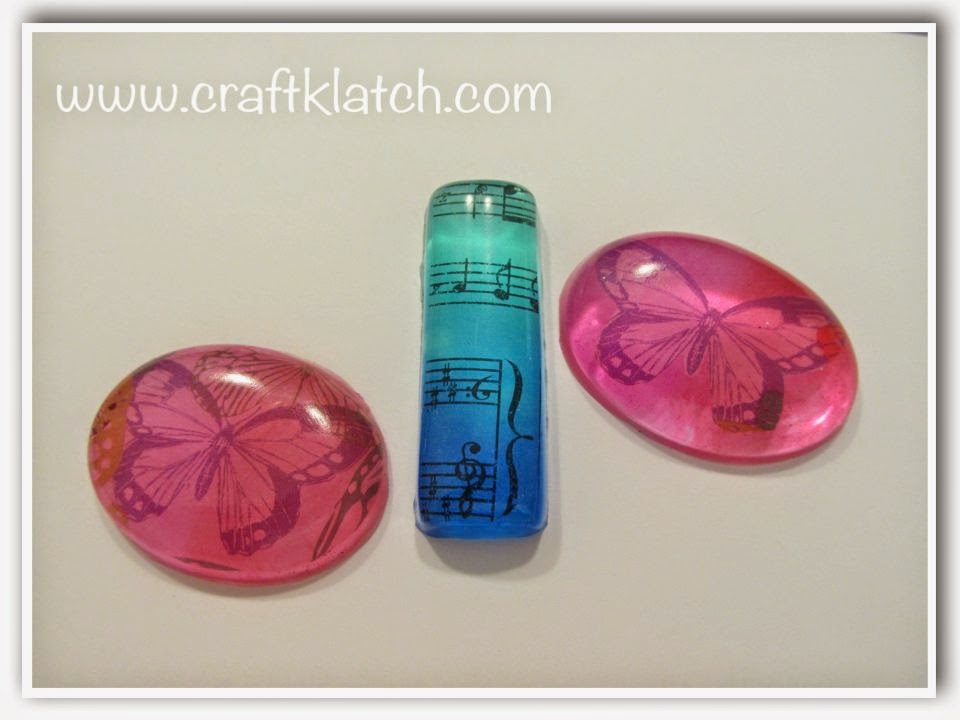
– Resin (use whatever resin brand you like):
Easy Cast: http://amzn.to/2yjYmBC
Art Resin: http://amzn.to/2yk9X3z
Clear Cast: http://amzn.to/2z4rxGw
FX Poxy: http://amzn.to/2AF3Pkk ~ According to the manufacturer, this one is heat resistant to 500 degrees F and is UV resistant.
Directions:
1. Prepare your resin, according to the package directions.
2. Cut your vellum to the desired size.
3. Pour a small amount into the mold cavities that you are planning on using. Do not fill them to the top. You need to leave room for the colored resin.
4. Slide your vellum into the resin.
5. Using your stir stick, press down the vellum. Continue to press down until you press out all the bubbles.
6. Allow to sit a minimum of a couple of hours.
7. Prepare more resin. Take a clean stir stick and dip it into your ink. You only need a little and mix it in with your resin.
8. Follow with the other colors, with fresh stir sticks.
9. Take the two colors you want to use together and pour them into the mold at the same time. The colors will blend on their own.
10. Allow to sit for at least 12 hours.
11. When I am using these plastic molds, I like to put them in the freezer for about 10 minutes before I unmold it. Then, they pop right out!
Hope you give it a try! Thanks for stopping by! Remember: Life’s too short not to shimmer, so grab your glue gun and your glitter!™ Stay safe!
Mona

