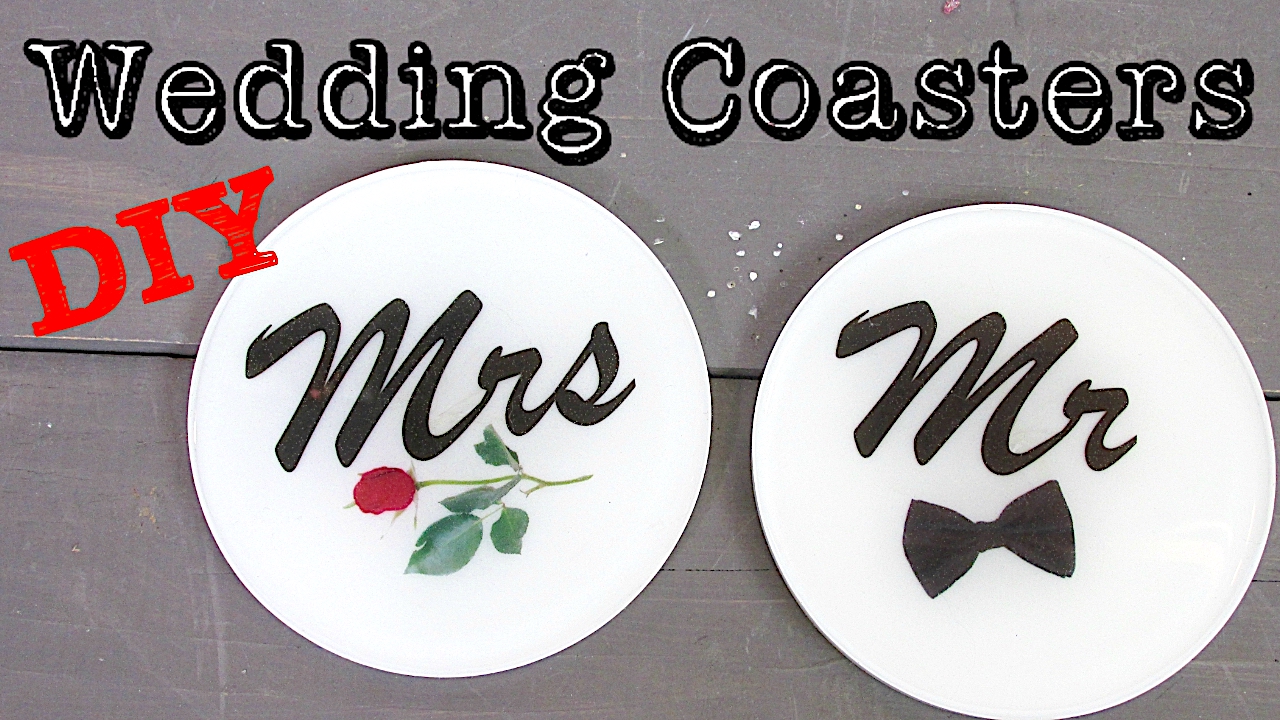
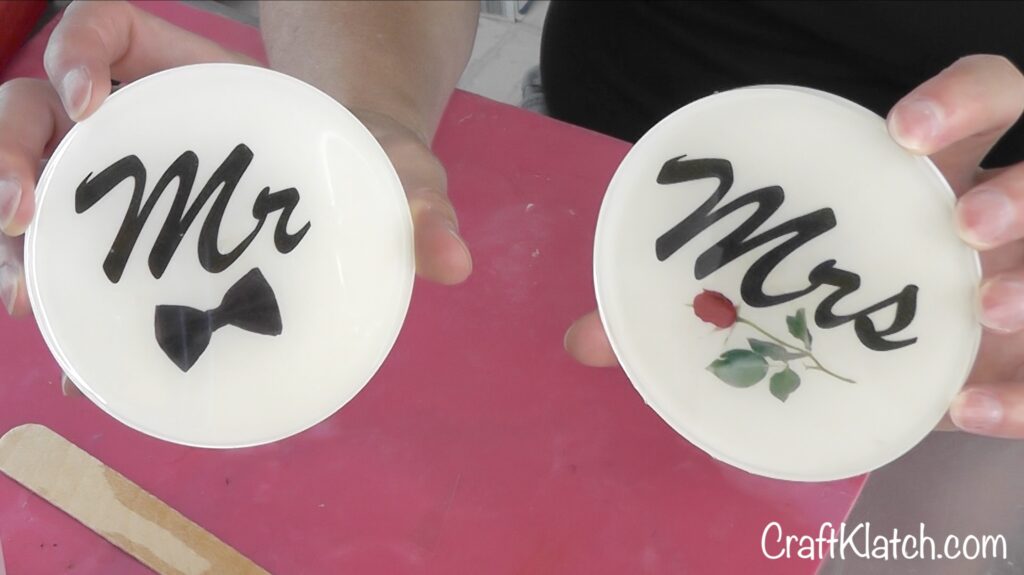
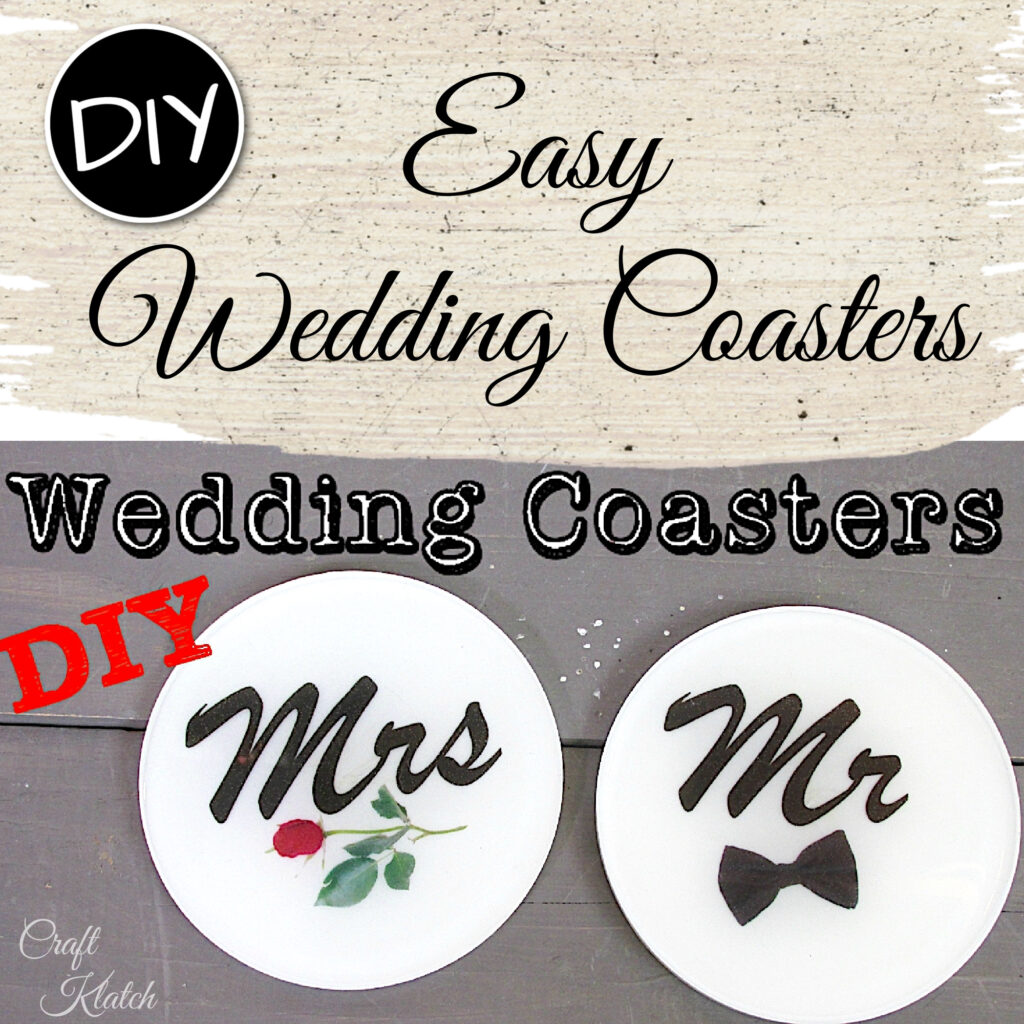
We are deep into wedding season, so I thought it’s a perfect time for a wedding DIY! I made a couple of bride and groom wedding coasters.
So Many Wedding Ideas Not Just Wedding Coasters!
I’ve done a number of wedding and shower projects over the years, so if you need some ideas, here they are:
- Wedding Confetti Coasters
- Wedding Box DIY
- Mr & Mrs Wedding Confetti Coasters
- Wedding Ring Coasters
- Wedding Gift Kit DIY
- DIY Wedding Cake Coaster
- Bridal Shower Game
- France Meets U.S. Wedding Shower
- Red and Blue Wedding Coasters
*This blog uses affiliate links. As an Amazon Associate I earn from qualifying purchases, at no additional cost to you.
Supplies You Will Need
- Coaster mold: https://amzn.to/2RoLlBj
- White pigment dye: https://amzn.to/2VoAQgj
- Transparency film: https://amzn.to/2CIG3bM
- Laser printer, or you can have a copy store copy your image onto the transparency film: https://amzn.to/2ViBFrf
- Circle cutter (optional): https://amzn.to/2GRueE3
- Resin
- When deciding on which resin to use for your coasters, you need to keep in mind whether you want it just for cold cups or for hot as well.
- If only for cold drinks, you can be flexible and use whatever brand you like:
- If you want it to work for both hot and cold drinks, you need to look for a heat resistant resin, like these:
- FX Poxy ~ According to the manufacturer, this one is heat resistant to 500° F.
- Stone Coat
- When deciding on which resin to use for your coasters, you need to keep in mind whether you want it just for cold cups or for hot as well.
Here is the Wedding Coasters Video Tutorial so you can see exactly how I made them!
Directions
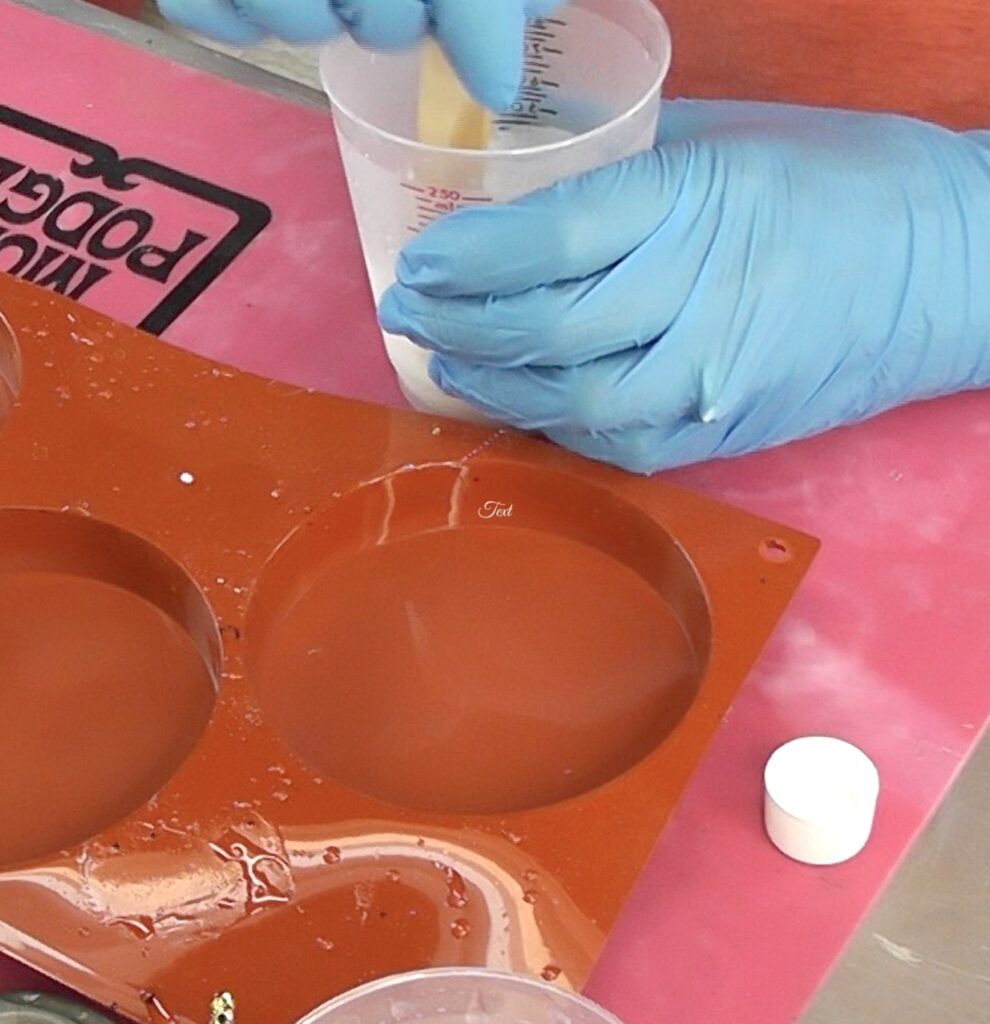
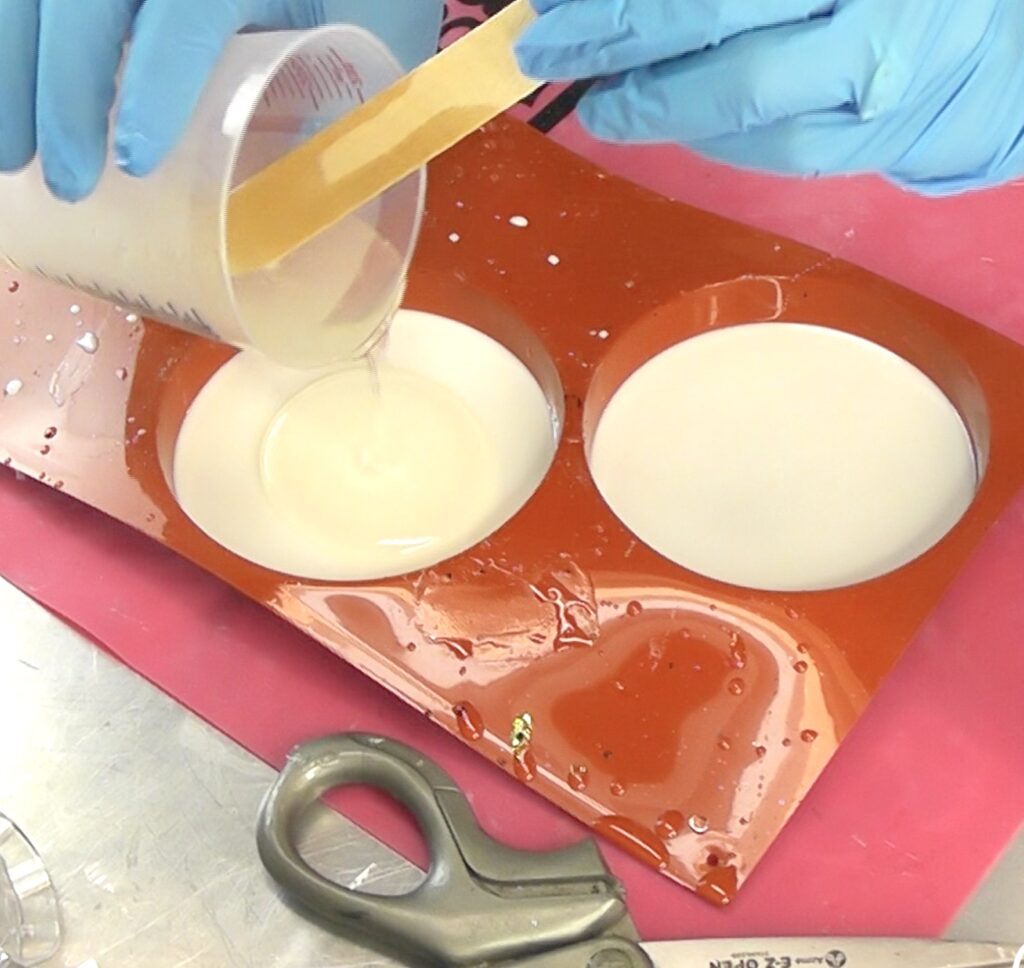
1. Mix two ounces of resin and add some white pigment ink. The two ounces should be enough to create a base for both coasters.
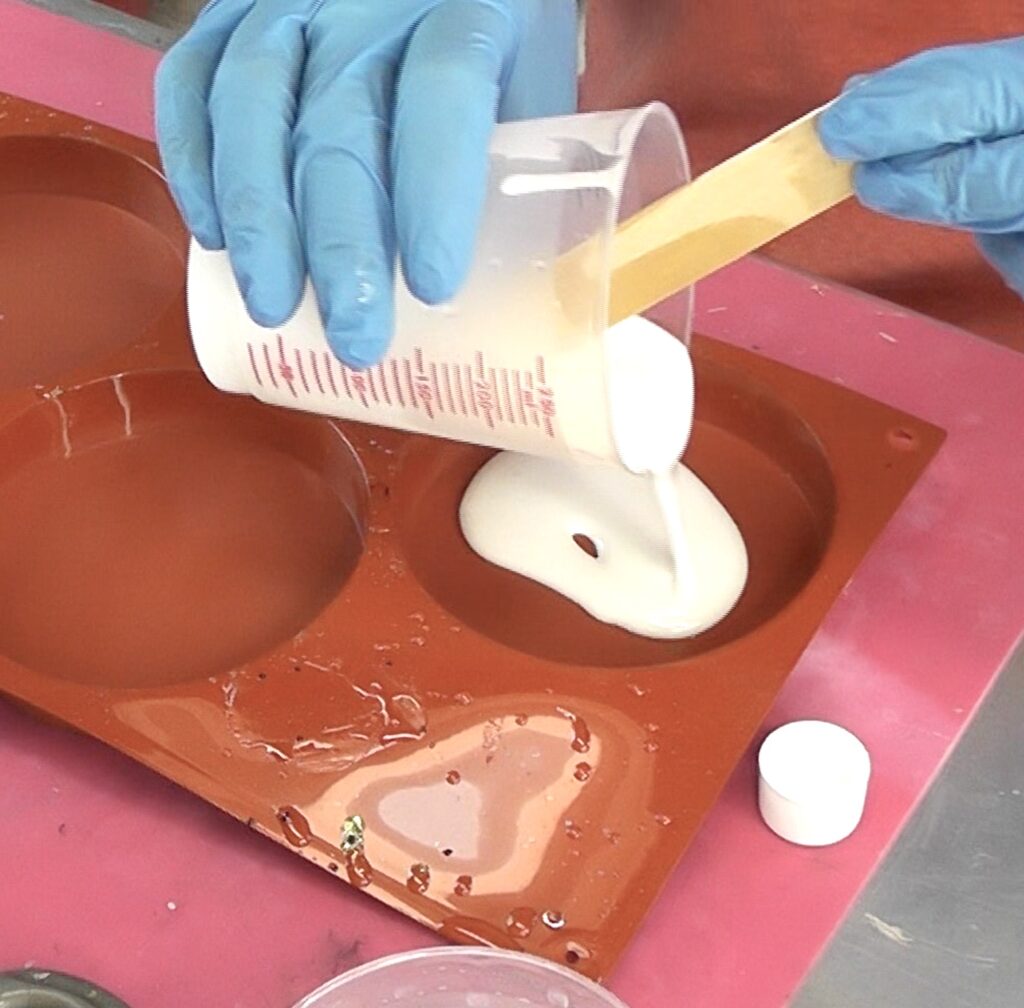
2. Pour into the mold.
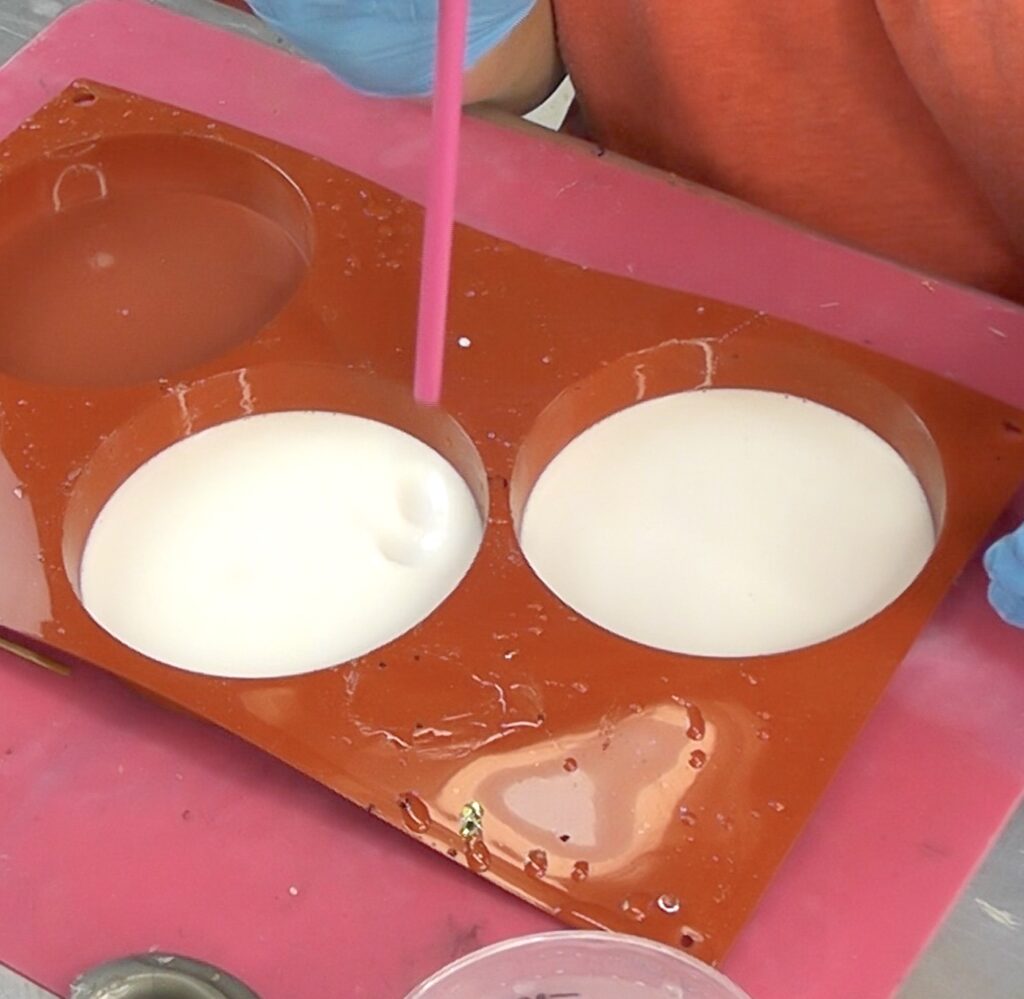
3. Pop bubbles. I typically use a lighter, but it can leave a smokey look on the white coaster. So I used a straw and blew on the resin and that pops the bubbles. It takes longer, but it works. Let it cure a minimum of 12 hours.
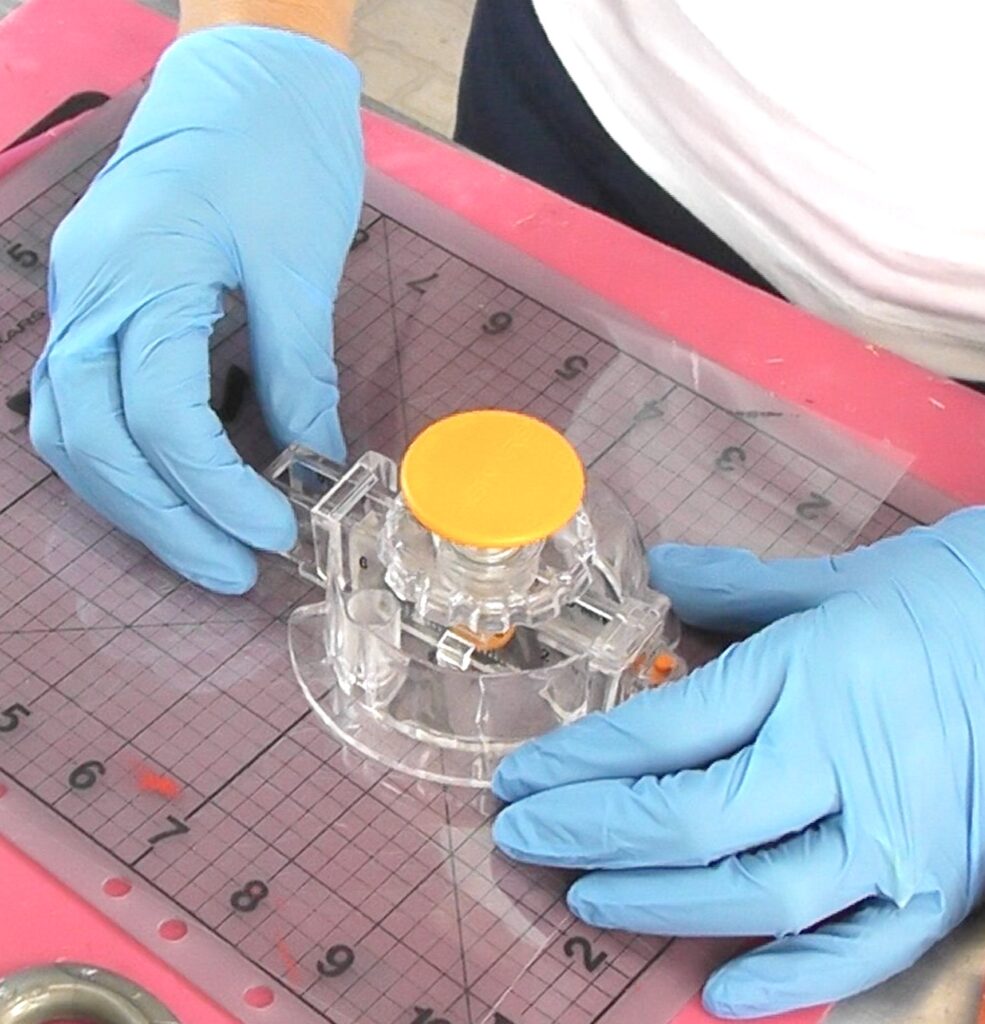
4. Print out the words Mr and Mrs onto transparency film and cut them out with a circle cutter.
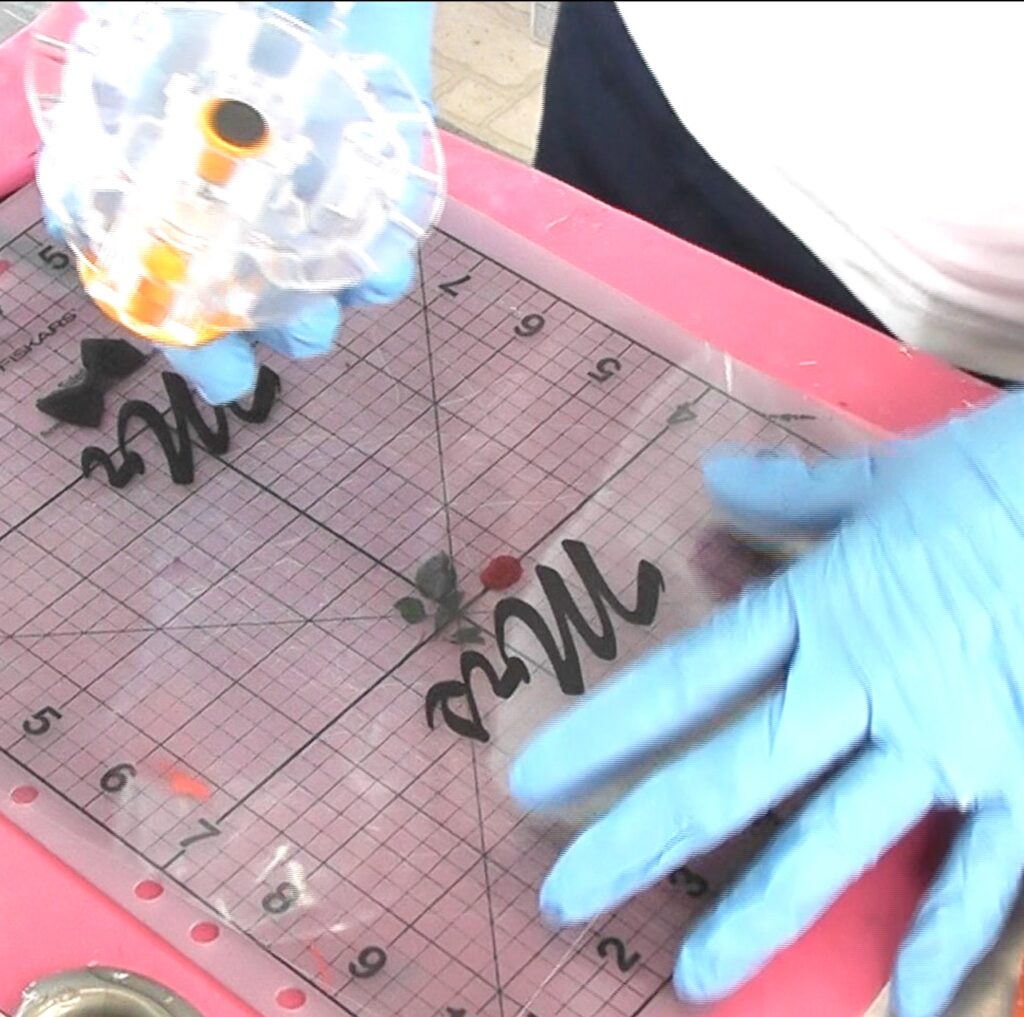
5. Prepare two more ounces of resin and pour it into each cavity – on top of the white. I popped the bubbles and then slid the transparency film into the resin.
6. Use a stir stick, press down the transparency film, make sure to press all the bubbles out from under it.

7. Pop bubbles and let sit for a minimum of 12 hours before unmolding.

Incase You Aren’t Up To Making Wedding Coasters, Here Are Some Alternatives

That’s it! Thanks for stopping by! Remember: Life’s too short not to shimmer, so grab your glue gun and your glitter!™ Stay safe!
Mona
Be sure to Pin It for later!
This comment has been removed by the author.
What size (inch) circle do you use?
Wow, I really like your post because the information which you given in this blog is really extra ordinary.
wedding coasters