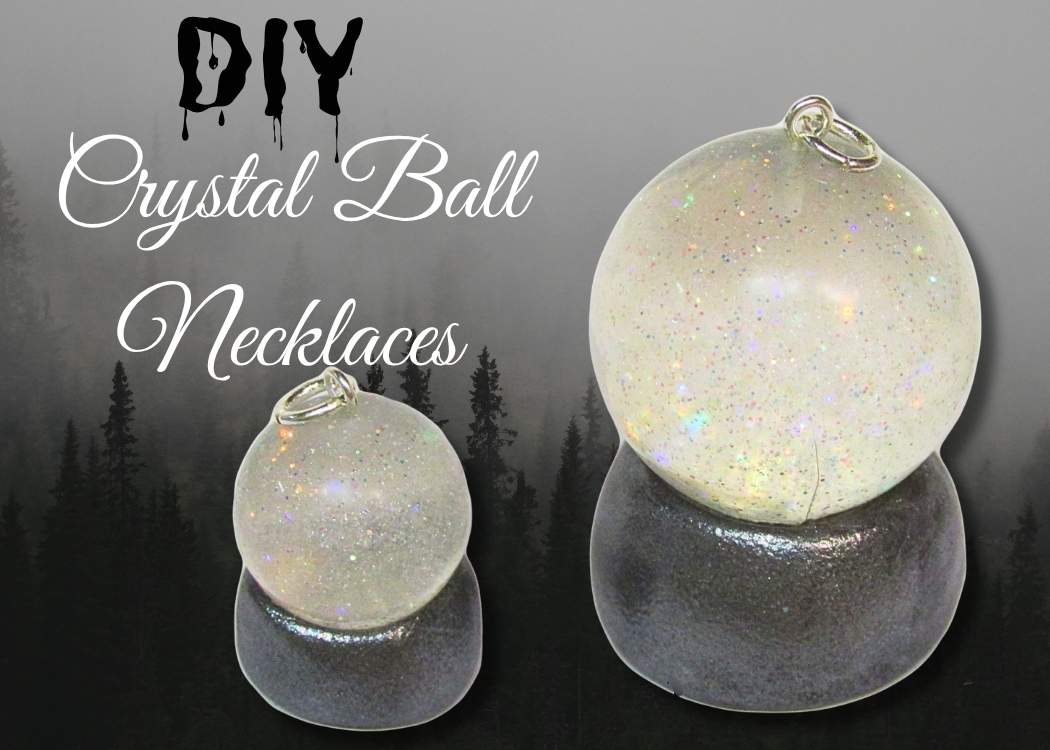
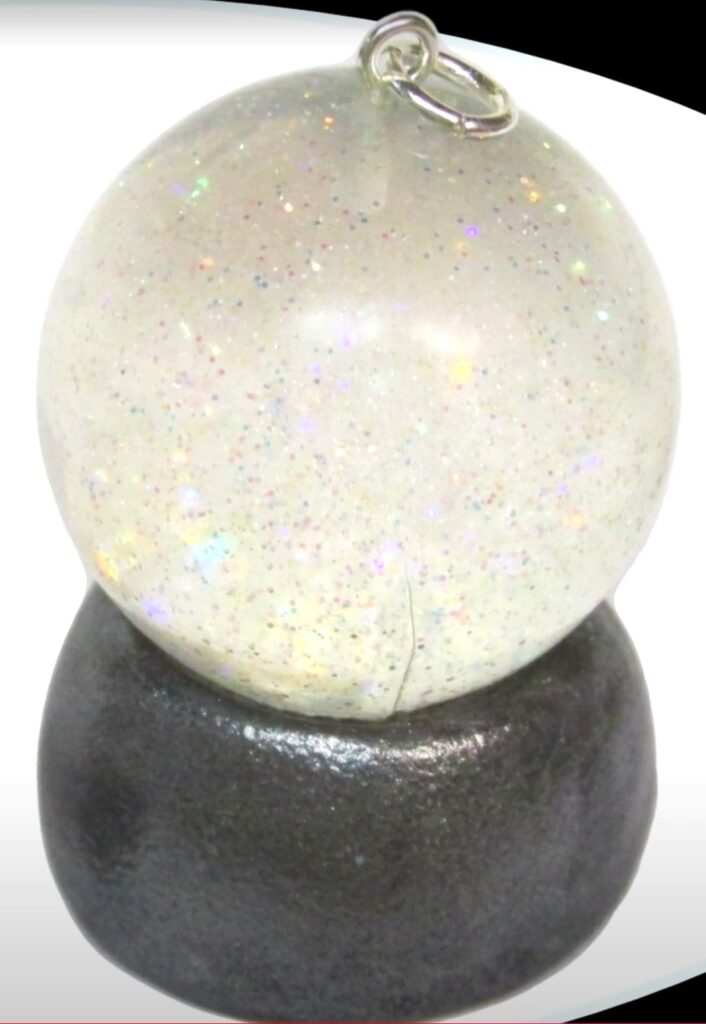
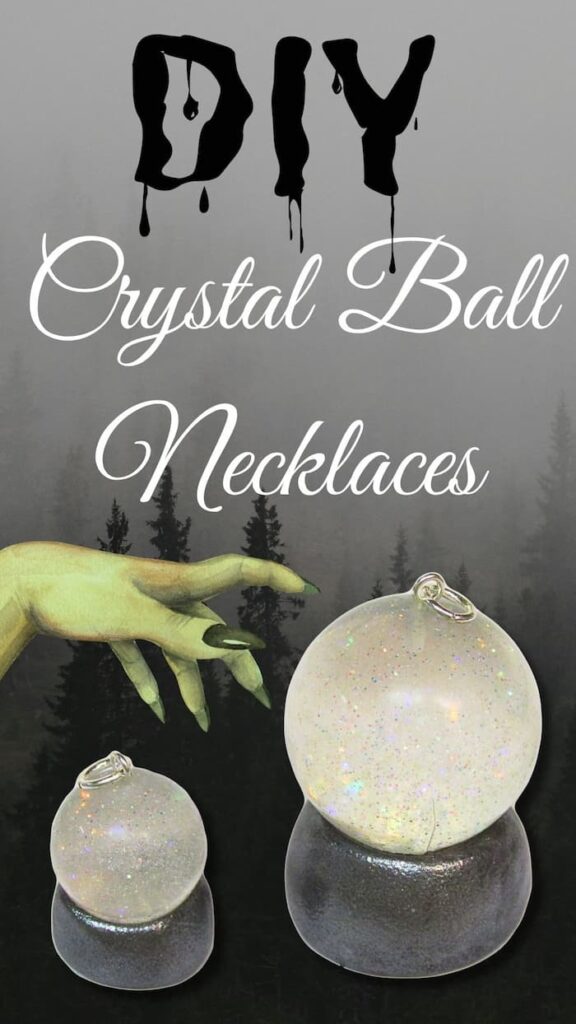
Make a DIY crystal ball necklace using resin, glitter, and clay. A fun Halloween craft that’s magical, sparkly, and easy to customize!
Halloween is just around the corner, and it’s the perfect time to whip up something spooky and sparkly!
In this easy DIY, I’ll show you how to make your own crystal ball necklace using resin, glitter, and polymer clay.
Whether you wear it with a costume or add it to your everyday jewelry collection, this project is full of mystical charm!
Supplies You Will Need to Make a Crystal Ball Necklace
*Disclosure: This blog uses affiliate links from Amazon and other retailers. I earn a small amount from qualifying purchases at no additional cost to you.
- Resin
- Sphere mold
- Black polymer clay
- Glamour Dust glitter
- Silver pigment powder
- Dremel tool
- Super glue
- Eye pins and jump rings
- Necklace cords
Crystal Ball Necklace Video Tutorial
Watch the full video below to follow along step by step!
How to Make a Crystal Ball Necklace in 5 Easy Steps
Step 1: Create Your Crystal Ball
Start by mixing your resin according to the package directions. Add a tiny bit of white Pearl pigment (optional) and some Glamour Dust to give it a magical shimmer.
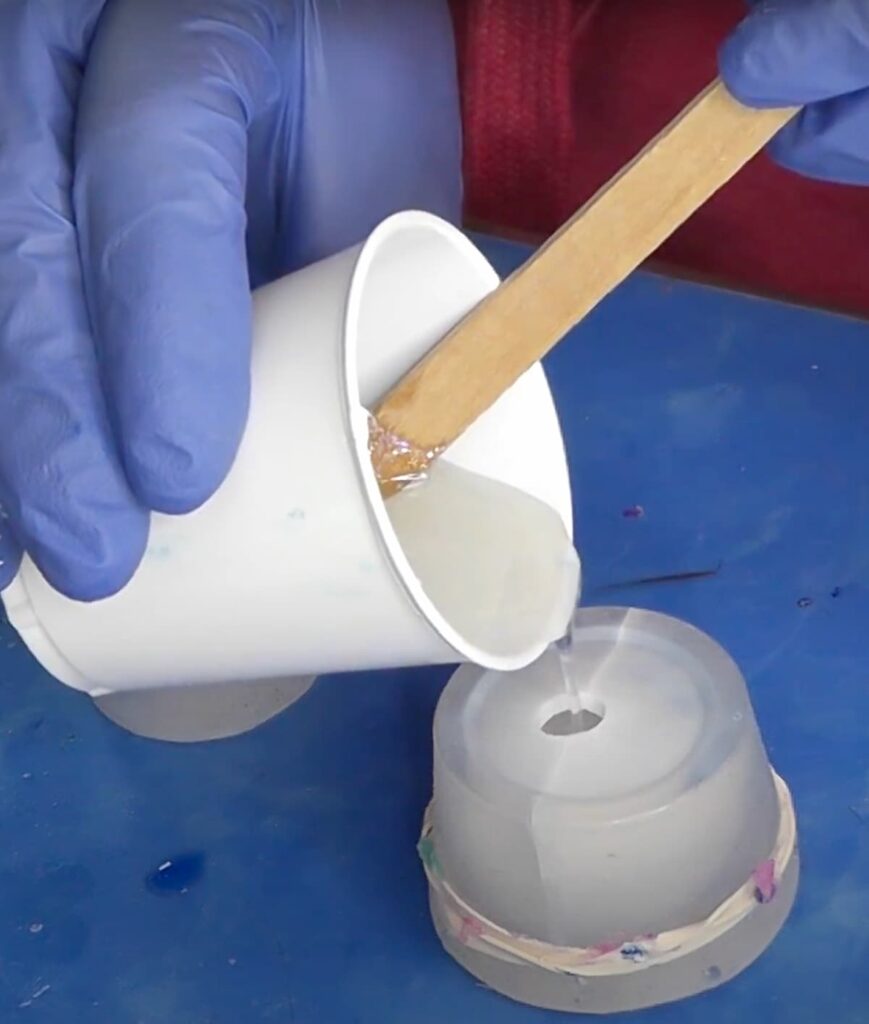
Pour the mixture into your sphere mold—filling it slightly above the rim—and let it cure for at least 12 hours.
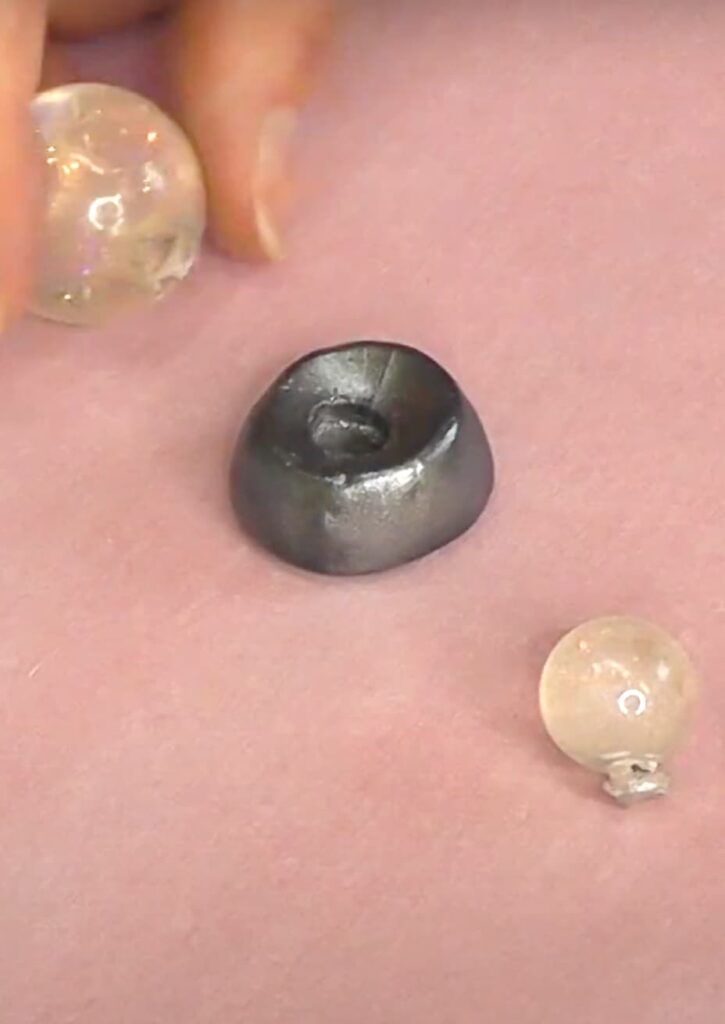
Step 2: Make the Clay Base
Once your resin sphere is fully cured, remove it from the mold.
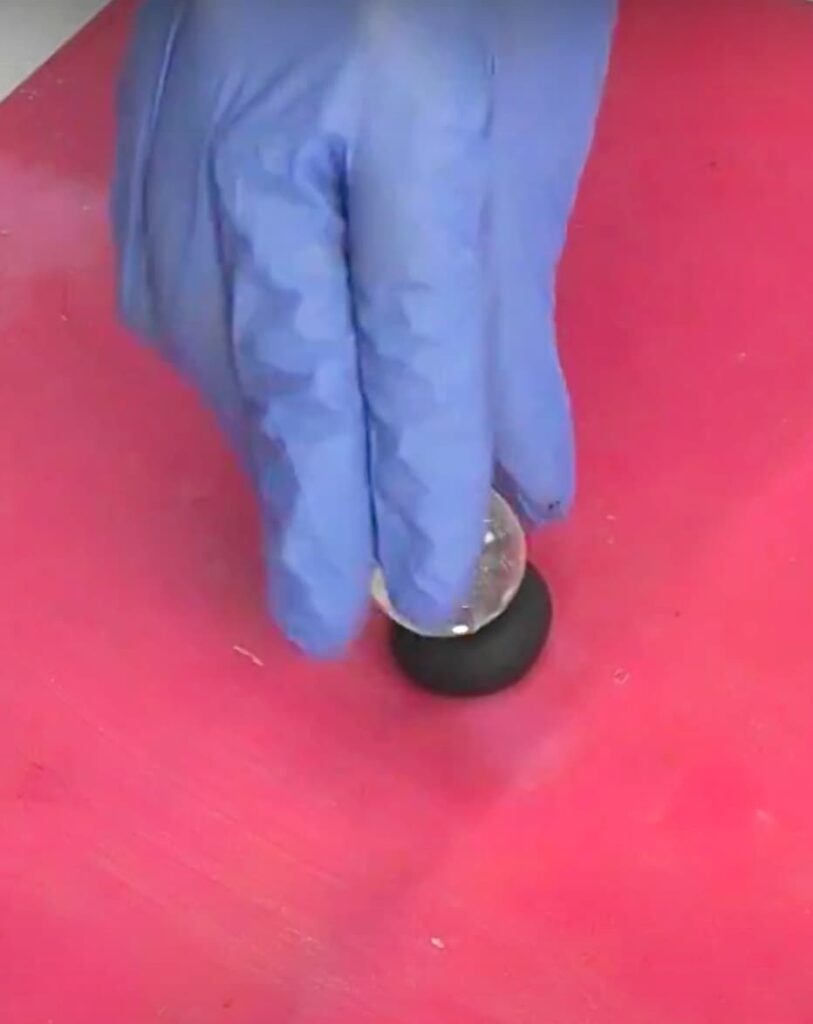
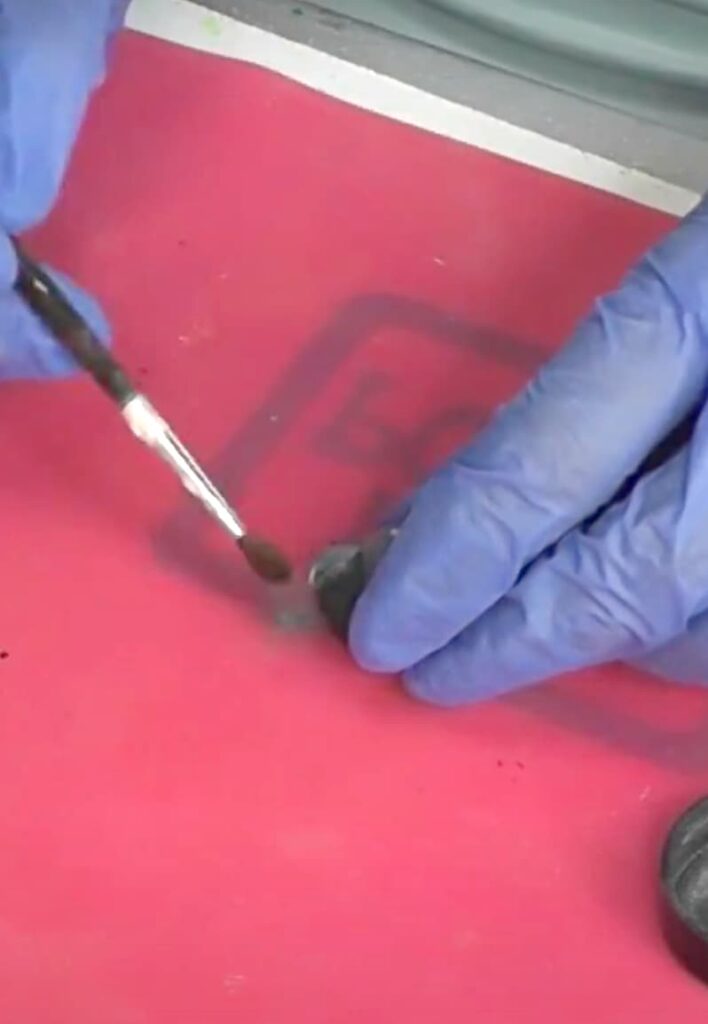
Roll black polymer clay into a ball, press the sphere into it to form a snug base, and shape it as desired. Add pigment powder to the clay for a mystical metallic finish.
Step 3: Bake the Base
Gently remove the resin sphere from the clay and bake the base according to your polymer clay’s instructions. Let it cool completely before moving on.
Step 4: Assemble the Crystal Ball Necklace
Glue the resin sphere into the cooled base using a strong adhesive. Once dry, drill a small hole into the top of the resin ball using a Dremel and a fine bit. Add a dab of glue and insert an eye pin into the hole.
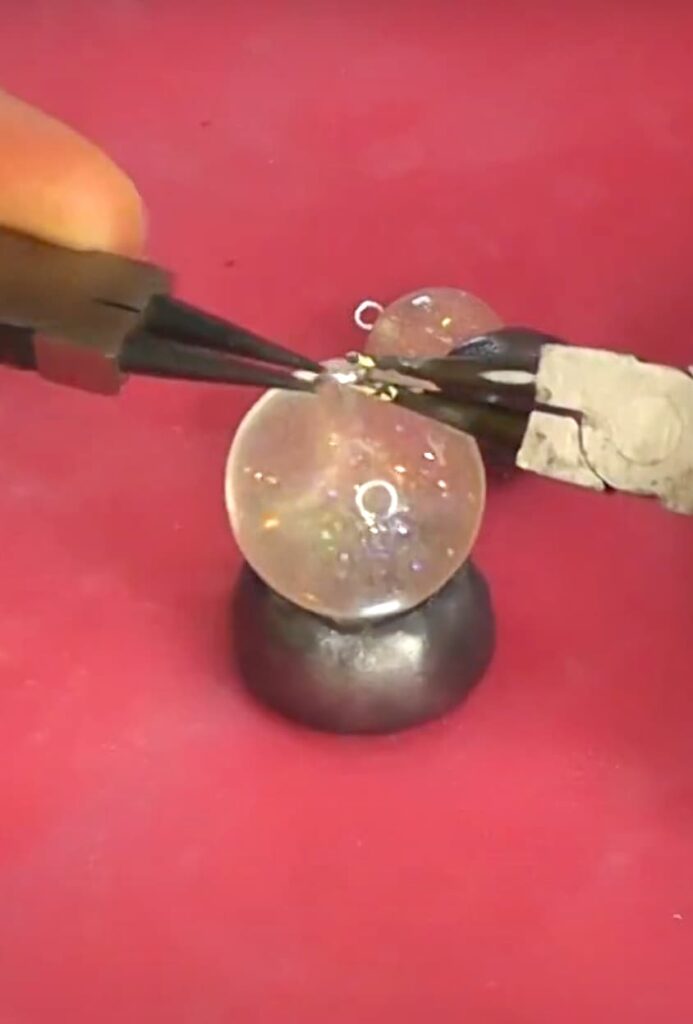
Step 5: Add the Final Touches
Attach a jump ring to the eye pin and thread it onto your favorite chain or cord. Just like that, your crystal ball necklace is ready to wear! You can also turn it into a keychain, charm, or even a bookmark.
Why You’ll Love This Crystal Ball Necklace DIY
This crystal ball necklace is perfect for Halloween, but it’s also great any time you want a little extra sparkle or mystery. The best part? You can customize it with different glitter colors, pigments, or even a glow-in-the-dark effect!
Whether you’re keeping it for yourself or gifting it to a fellow fortune-teller, this crystal ball necklace is a fun and magical accessory that’s sure to turn heads.
What will your crystal ball necklace reveal? Let me know how yours turned out in the comments below, or tag me on Facebook or Instagram—I love seeing what you create!
Check Out These Halloween Projects:
- Halloween Mummy DIY
- Halloween Bat Coaster
- Frankenstein Halloween Votive
- Skeleton Halloween Dollar Tree Craft
- Easy Halloween Zombie Votive
Remember to PIN IT for later!
Thanks for stopping by!
Remember: LIfe’s too short not to shimmer, so grab your glue gun and your glitter!
Mona
You Can Find the Video Tutorial on YouTube HERE:
Be sure to follow me on YouTube so you can see the latest videos as they are posted! I have lots of fun resin projects over there!