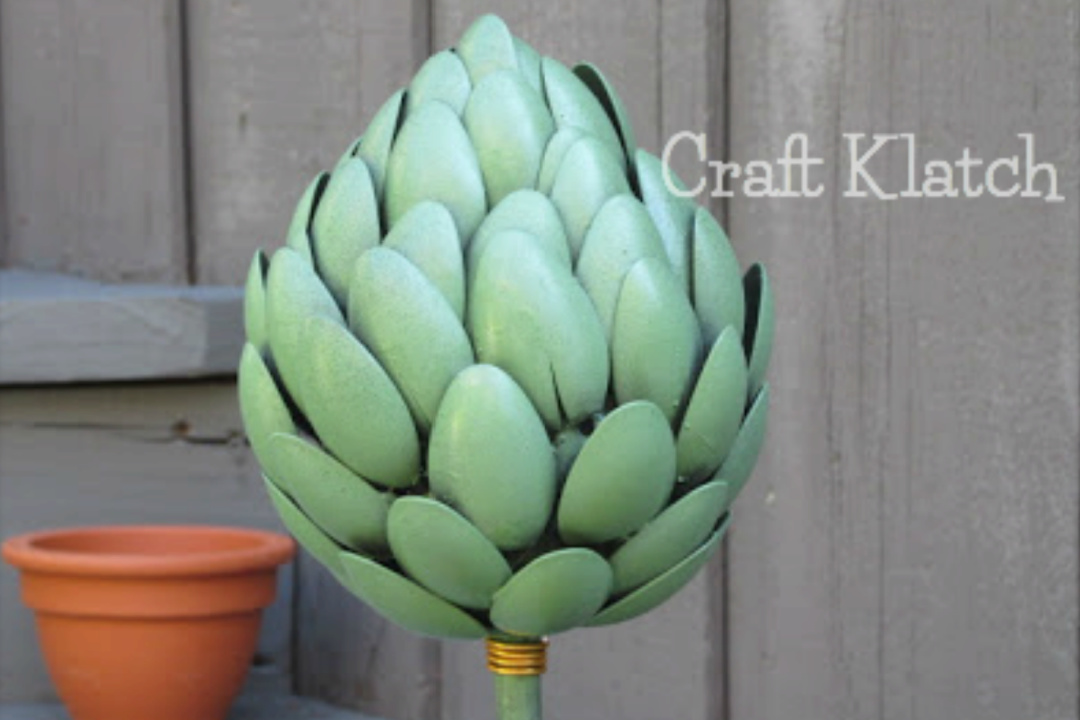
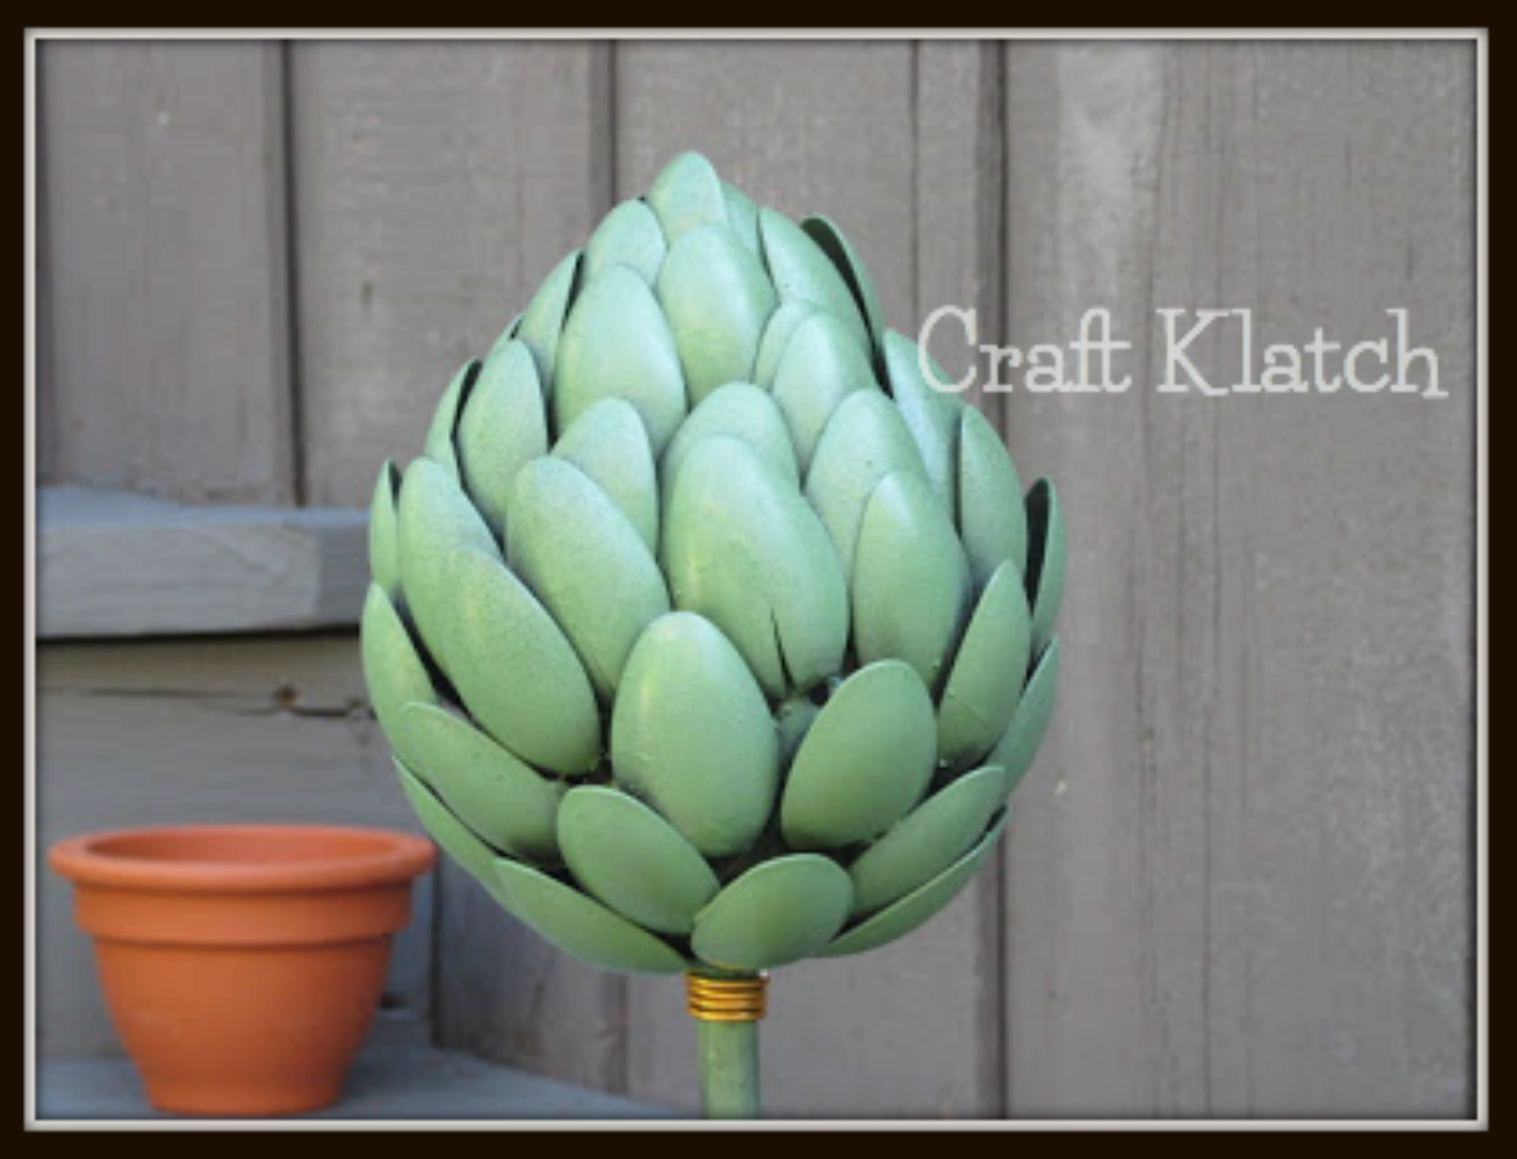
I’ll show you how to make an artichoke garden art project that will be sure to WOW! Never underestimate the beauty of a recycling project!
I have been thinking about doing this craft for a while and have had all the supplies for a while, but I just did not know how it would turn out. I decided it was time, so here it is!!
Remember to PIN IT for later!

An Artichoke May Not Be The Obvious Choice…
I’ll walk you step by step through the artichoke making process below. However, if you want a more traditional flower or bug type of project for your garden, I have a few other garden art projects that you will love!!!
- Recycled Flower Garden Art
- Recycled Sunflower Garden Art
- Dandelion Inspired Garden Art
- Giant Ants Recycled Garden Art
- Sunflower Garden Art Wall Hanging
- Ladybug Garden Craft
Supplies You Will Need to Make the Artichoke
*This blog uses affiliate links. As an Amazon Associate I earn from qualifying purchases, at no additional cost to you.
- Dowel: https://amzn.to/2CBi7Zy
- Plastic spoons – mine took just over two boxes of inexpensive plastic spoons: https://amzn.to/2CNFnnr
- Glue: https://amzn.to/2p3ERb3
- Wire: https://amzn.to/2QrzuPC
- Black spray paint: https://amzn.to/2xc6bYr
- Green spray paint: https://amzn.to/2QrCefD
- Styrofoam ball: https://amzn.to/2QwwW2K
- Hot glue: https://amzn.to/2p57Kng
Here is the video tutorial:
Directions:
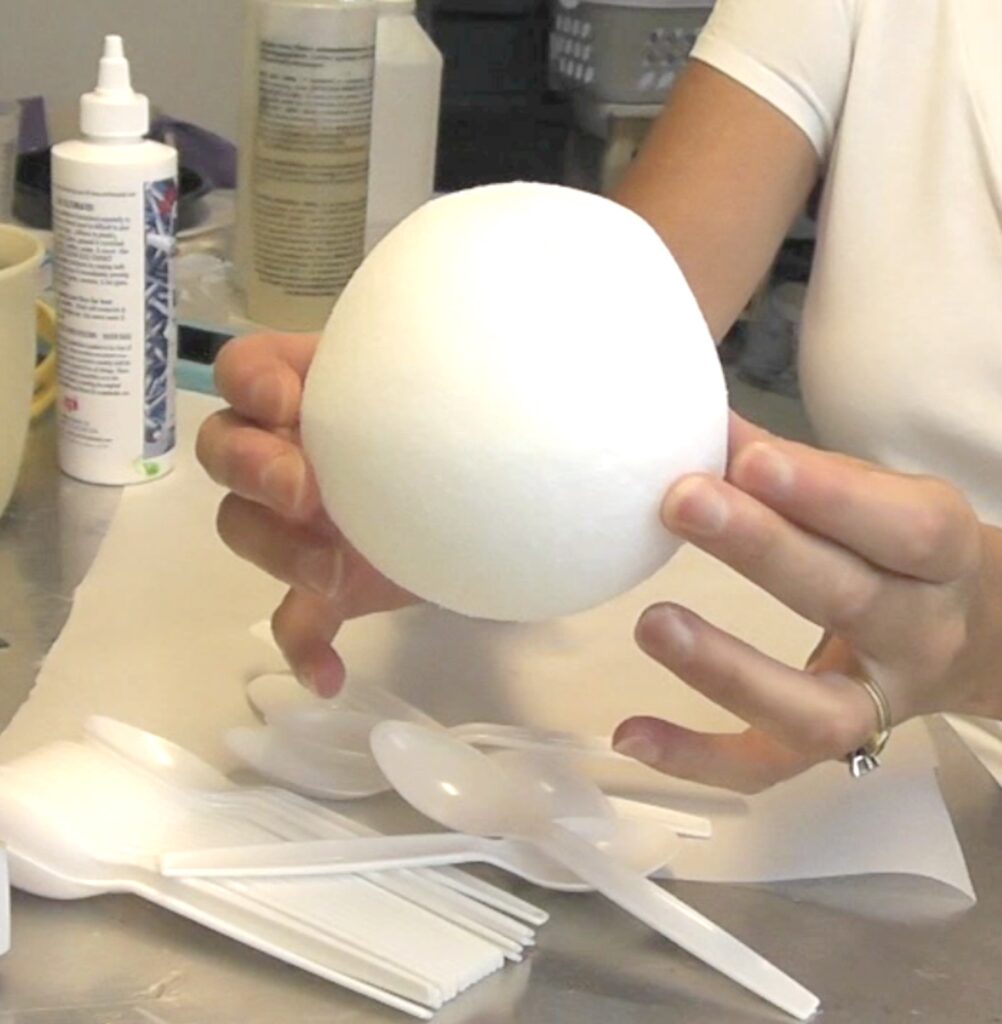
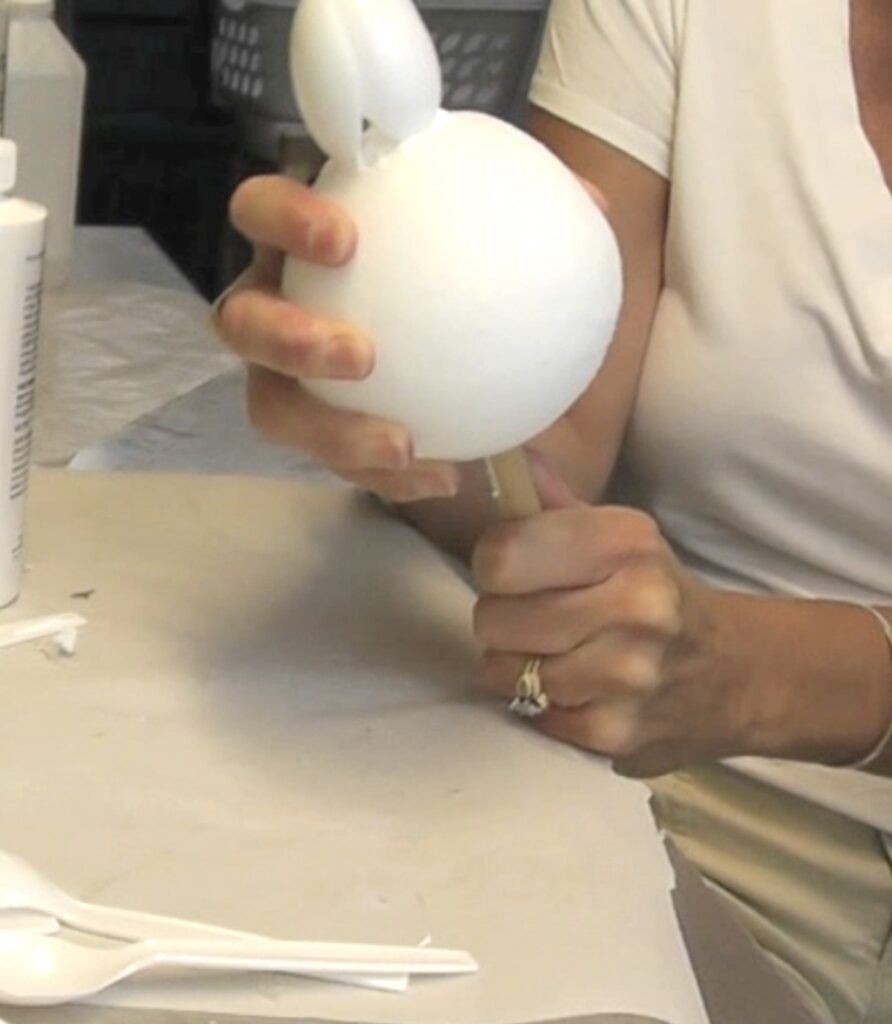
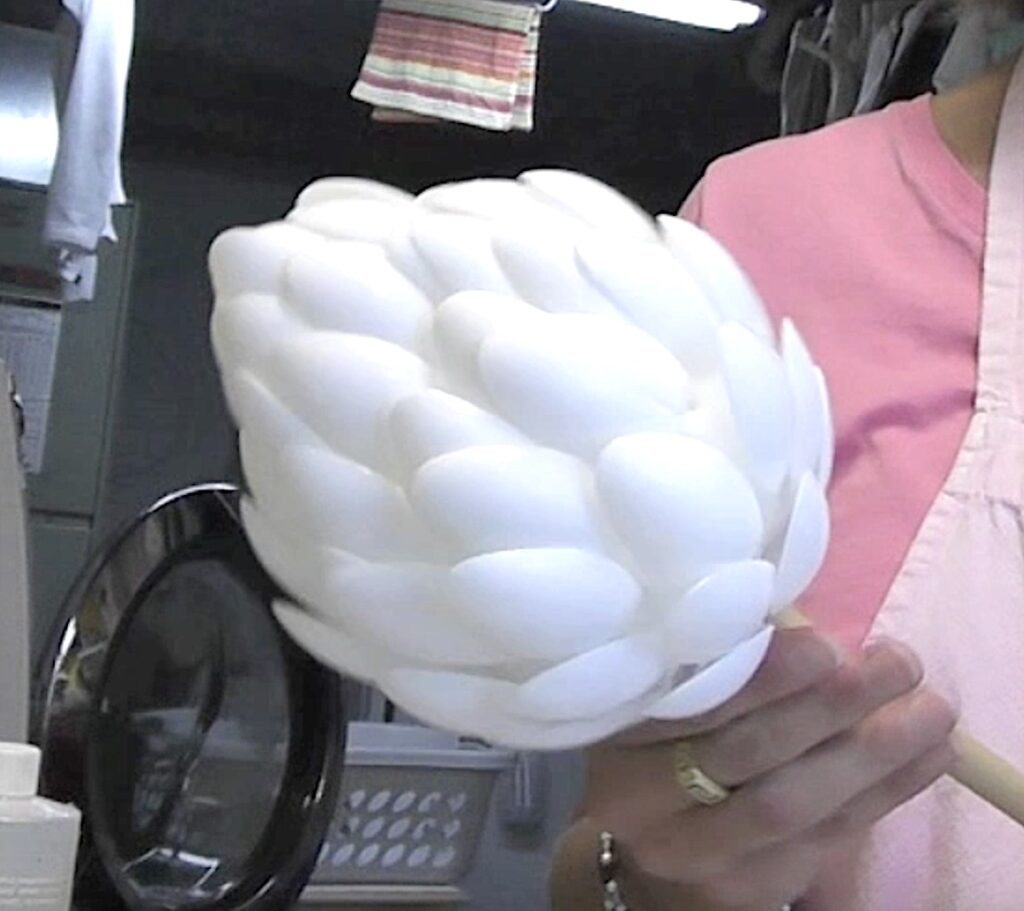
1. By pressing the styrofoam ball against the table, try to shape it so one end tapers and is not round. You are trying to create the shape of the artichoke.
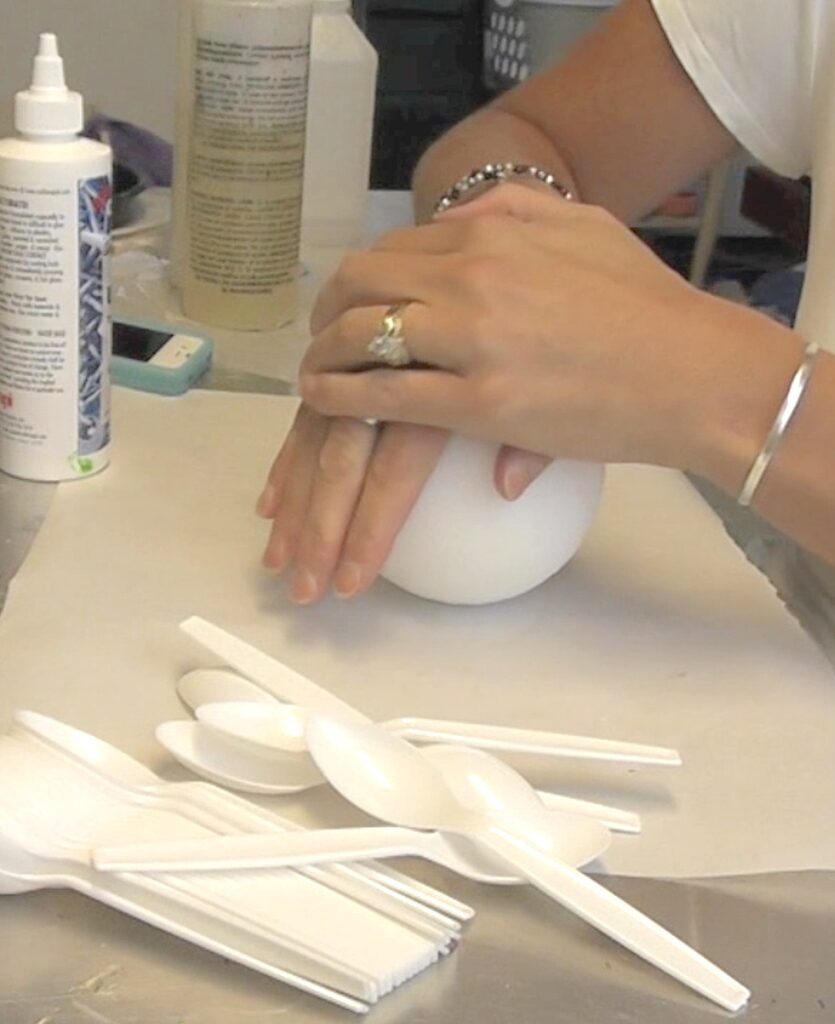
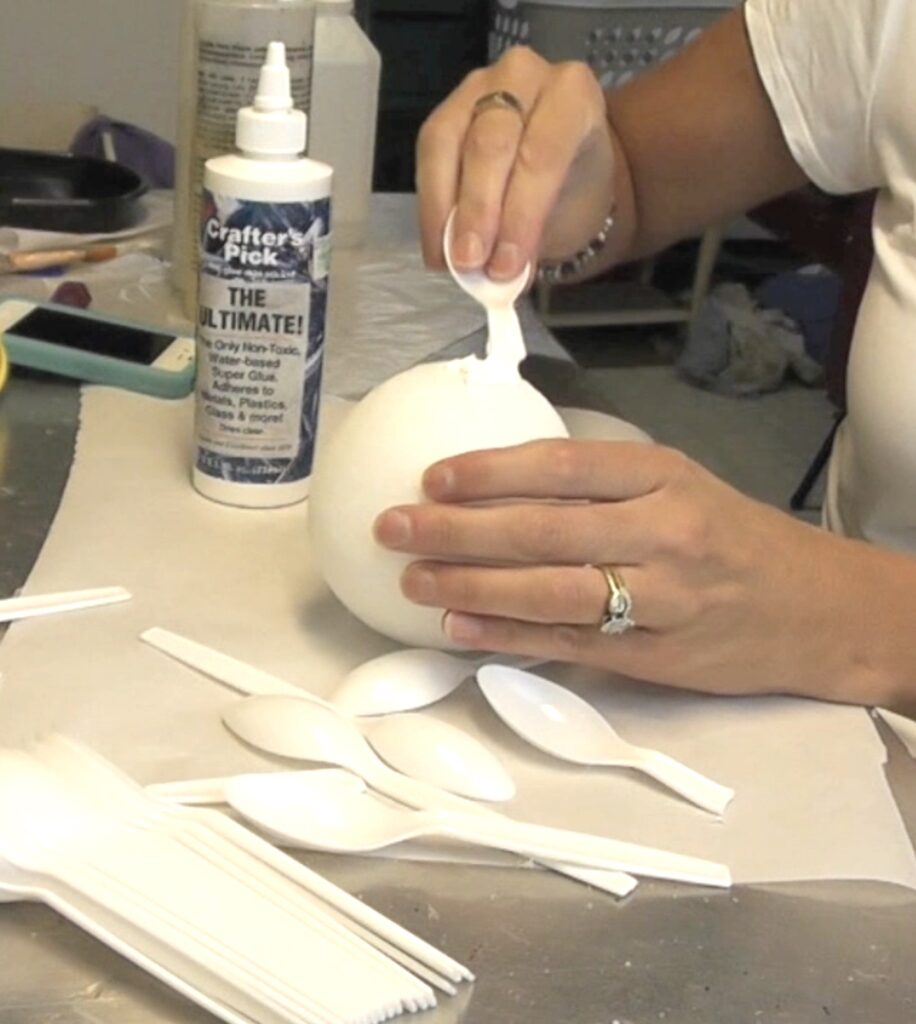
2. Take your spoons and snap them off (wear safety glasses).

3. Start at the very top/middle area and using three spoons, create a type of teepee. Attach your dowel rod/stem into the bottom of the styrofoam and put glue into the hole before attaching it.
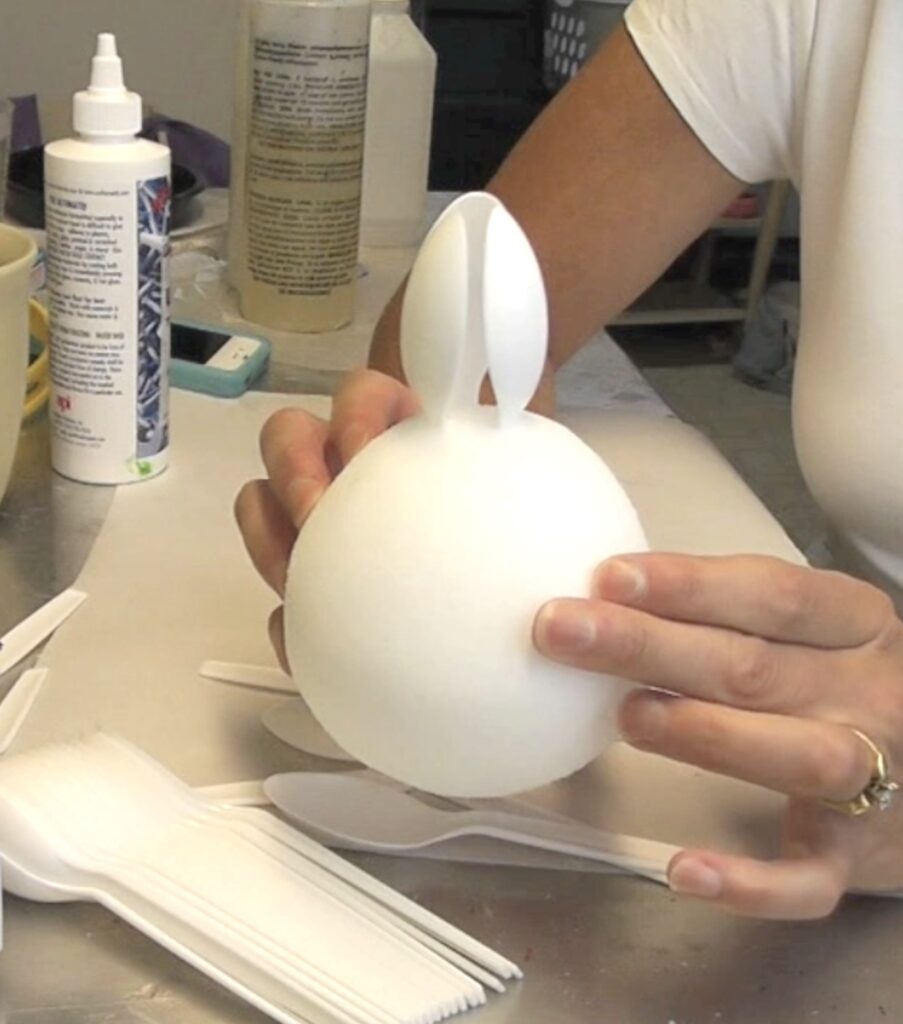
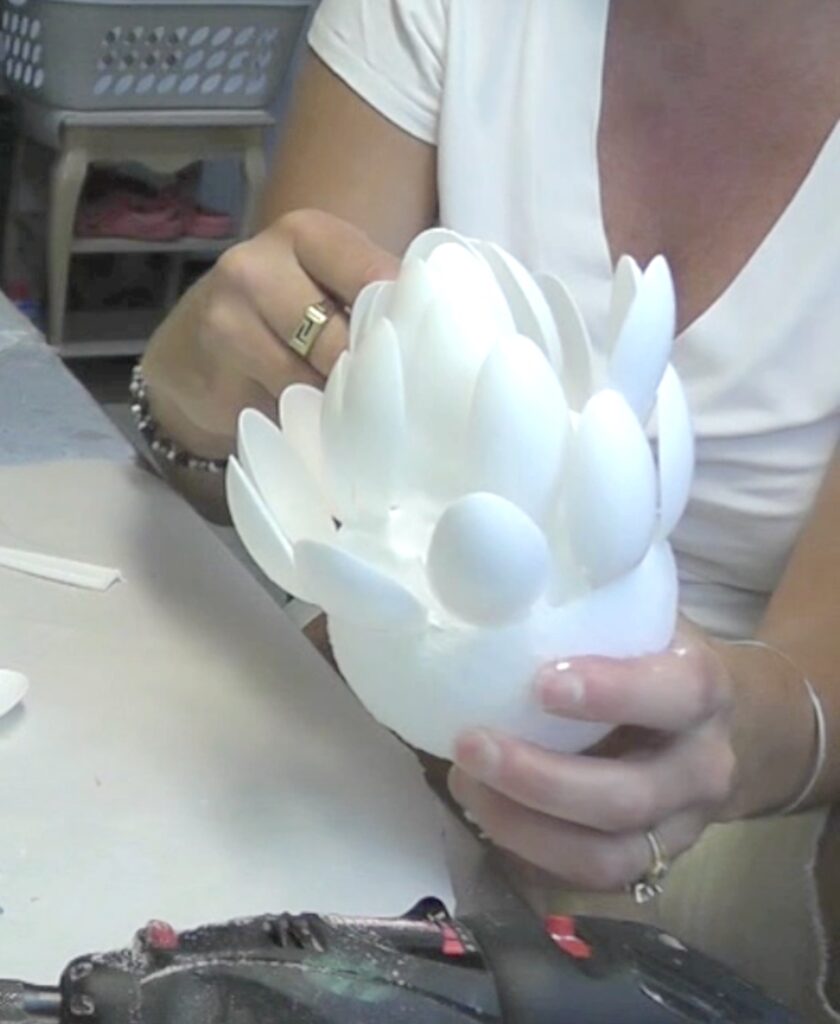
4. Put glue on the styrofoam ball, one section at time, and stick the broken spoons into the styrofoam ball, in a leaf pattern, like the artichoke.
5. About halfway down, you will need to bend your spoons, into an “L” shape, so you can stick them into the styrofoam ball. Remember to keep generously putting on the glue.
6. At about this point, I found it helpful to put a rubber band around the leaves/spoons to better keep their shape. I left the rubber band in place until it completely dried.
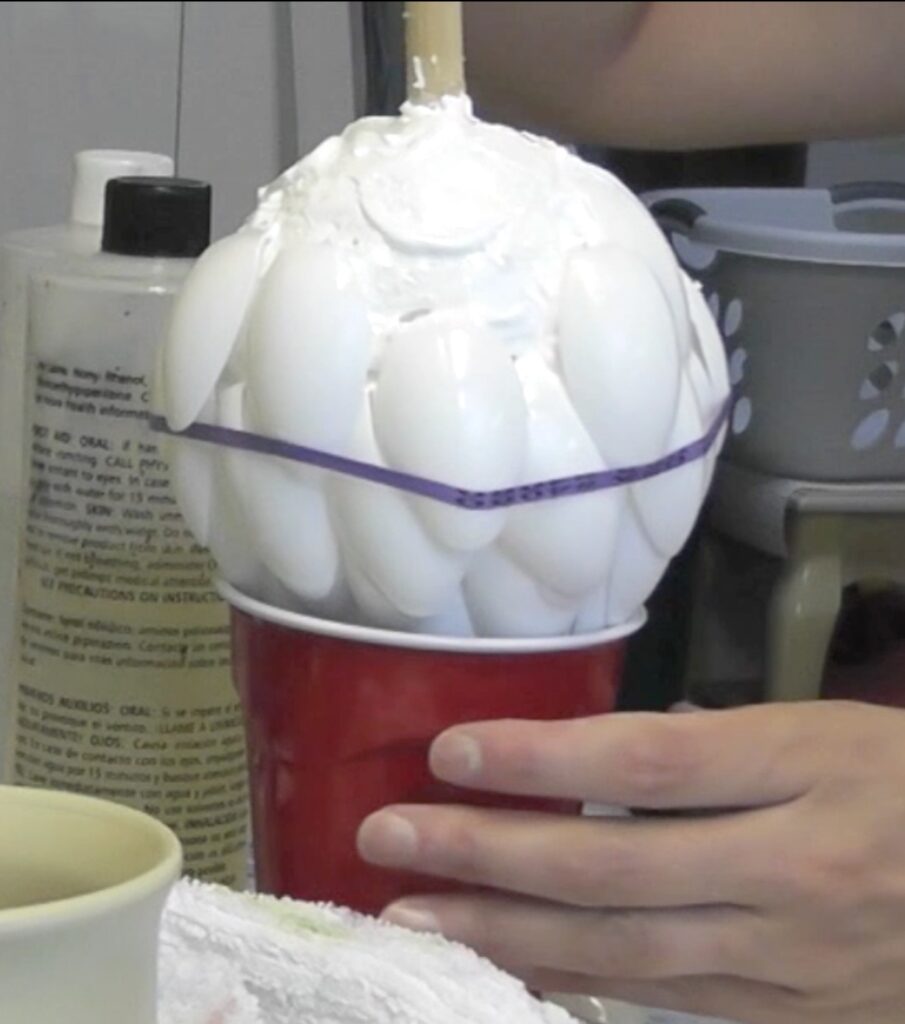
7. Attaching the bottom leaves/spoons was a little harder. I inverted the artichoke on a clay pot and I broke the spoons closer to the base of the spoon. I put the glue on as I normally would and then I put a small dab of hot glue on the spoons, in strategic places, so it would not be visible, but would hold it in place until the regular glue dried.
8. When everything is in place, allow to fully dry. This might take some time.
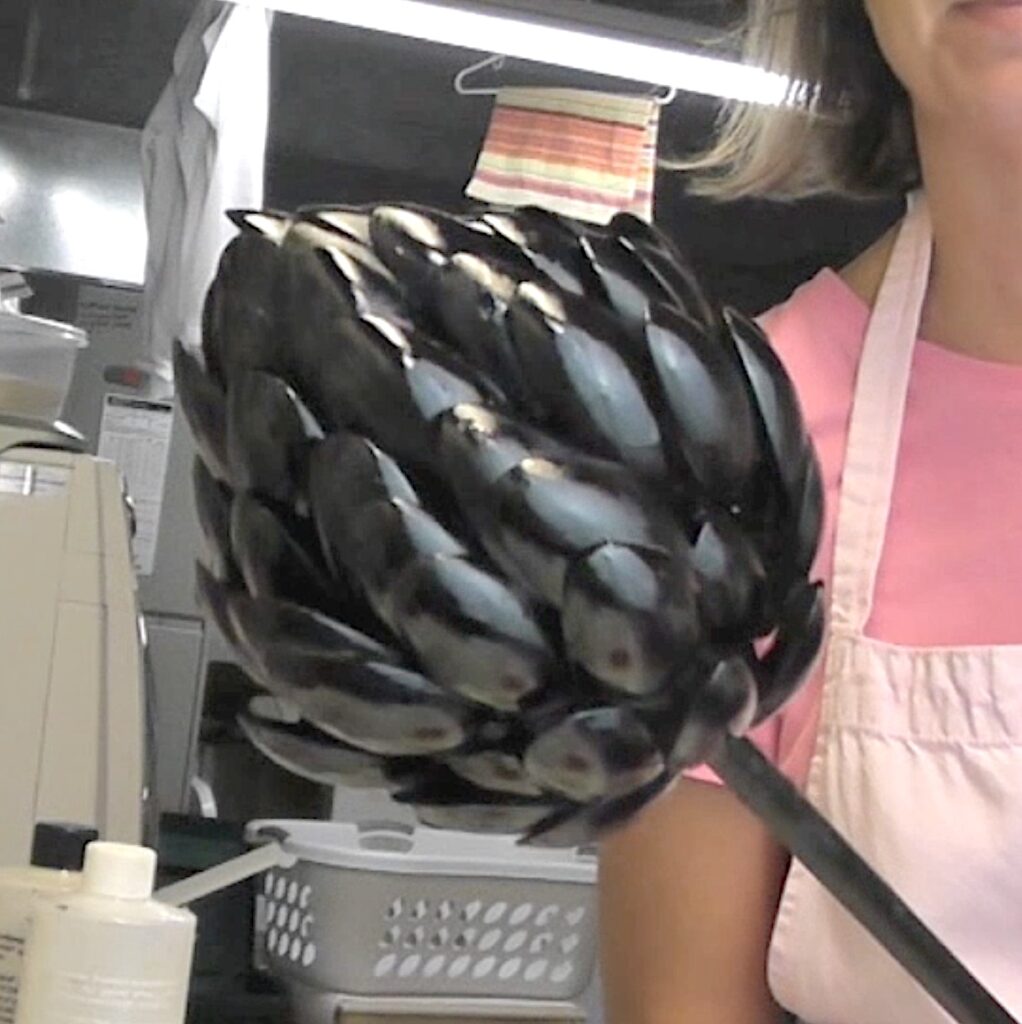
9. Get spray paint that bond to plastic and paint it black. Do not miss the in between areas.
10. Follow up with the green, leaving a little of the black visible on the inside of the leaves.
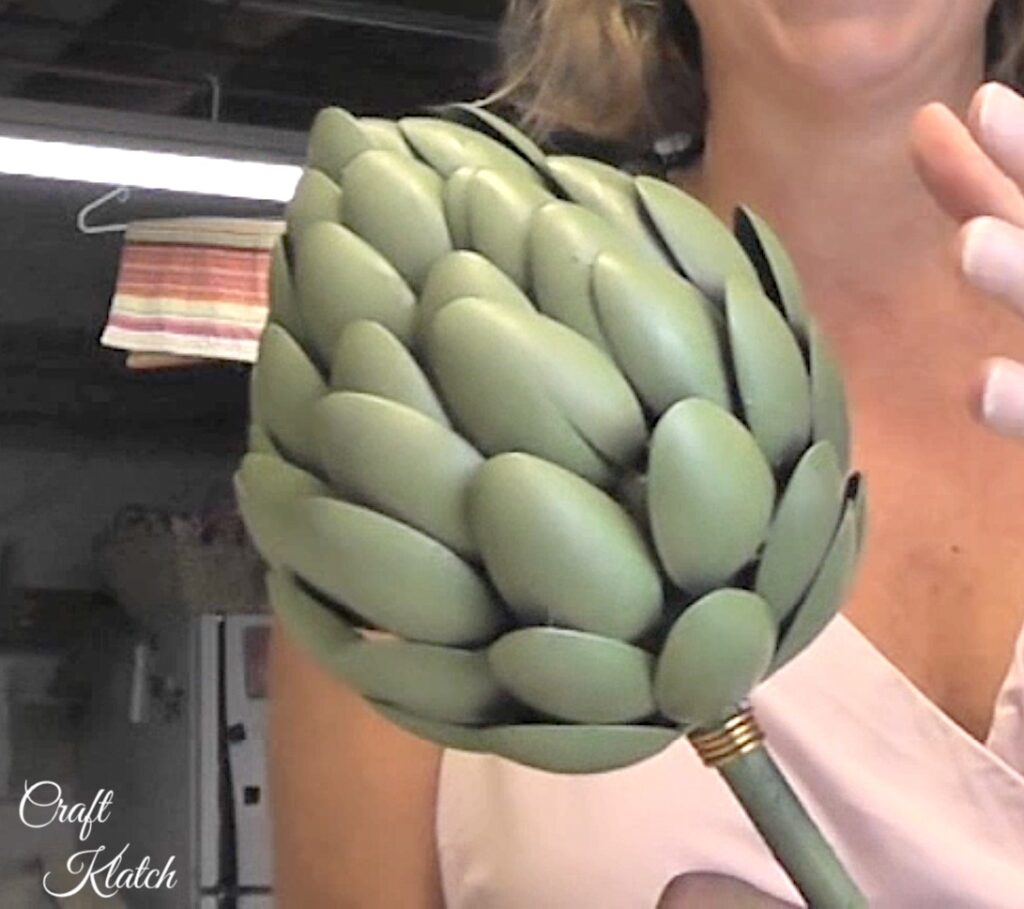
11. Allow everything to dry.
12. I added a little bit of gold wire, under the artichoke, just as a decorative accent.
Great Garden Art Alternatives
If you aren’t up to make your own garden art, here are some great alternatives to brighten up your garden!

If you aren’t following me on Instagram, be sure to find me there!
That’s it! Thanks for stopping by! Remember: Life’s too short not to shimmer, so grab your glue gun and your glitter!™ Stay safe!
Mona
This is stunning. It looks just like a metal garden sculpture.
Thank you Kathleen! I put it in a big planter by my gate every year, amongst the seasonal flowers. It still looks great. It is one of my favorite crafts and gets the most compliments!
I want to try this, looks cool
I like the idea and the look, I might give the a try maybe figure a way to add LED lights with solar charging
Love your Artichoke Garden Art made of Plastic Spoons.
Great way to reuse the spoons that restaurants give you. I challenge you to use some old kitchen items that either you no longer use or need, or can pick up at a flea market or Goodwill. Something other than a windchime or bird feeder.