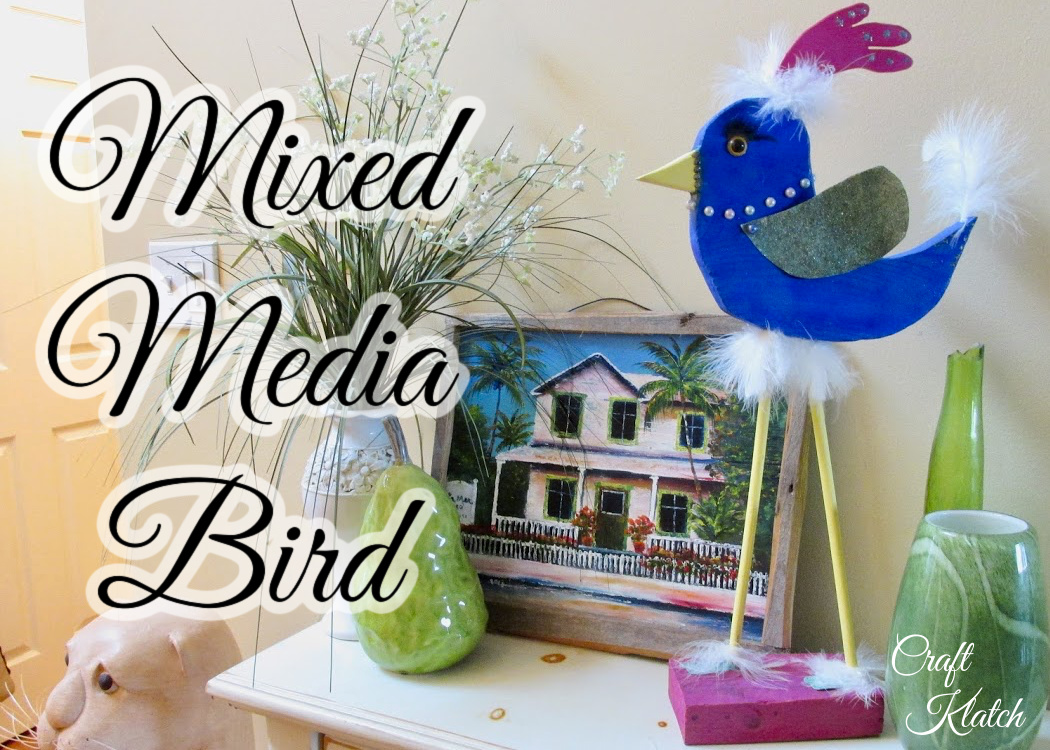
Woodworking projects for beginners are a great way to get creative! I have included a video tutorial for this mixed media bird so you can see exactly how to make it!
This post is sponsored by Worx Tools in collaboration with Hometalk, for the MakerX tool. All of the opinions are my own.
You guys. I made bird. This is not my first bird and I don’t know why I like making birds, but if I’m being honest, I REALLY love making birds!
I had a rough idea of how it would turn out, but it kept getting better as I went along.
The Coolest Thing In My Craft Room
I used the MakerX tool from Worx to make this project. With the different attachments (airbrush, rotary tool, heat gun, woodburning tool, and angle grinder, it’s an amazing tool for any crafter or DIYer!

*This blog uses affiliate links. As an Amazon Associate I earn from qualifying purchases, at no additional cost to you.
Supplies
The main tool I used to make the bird is the MakerX
There are so many ways to add details to dress up the bird. If you look around your house, I bet you’ll find you have a number of the items already and/or A LOT of fun alternatives for free!

Scrap/Recycling Items
- Wood (I used cedar scrap for body)
- Aluminum can
- 1/8″ plywood for plume
Directions for Woodworking Projects For Beginners: Mixed Media Bird
Be sure to check out the bird video tutorial, so you can see exactly how I made it!
Don’t be intimidated! You can do this!
You can draw anything, cut it out and turn it into a piece of art!
I did a project with my granddaughter, Reagan. She drew a fish. I cut it out. She painted it. I put resin on it. She hung it up on a wall. Total teamwork!
Be sure to see how her fish turned out HERE!
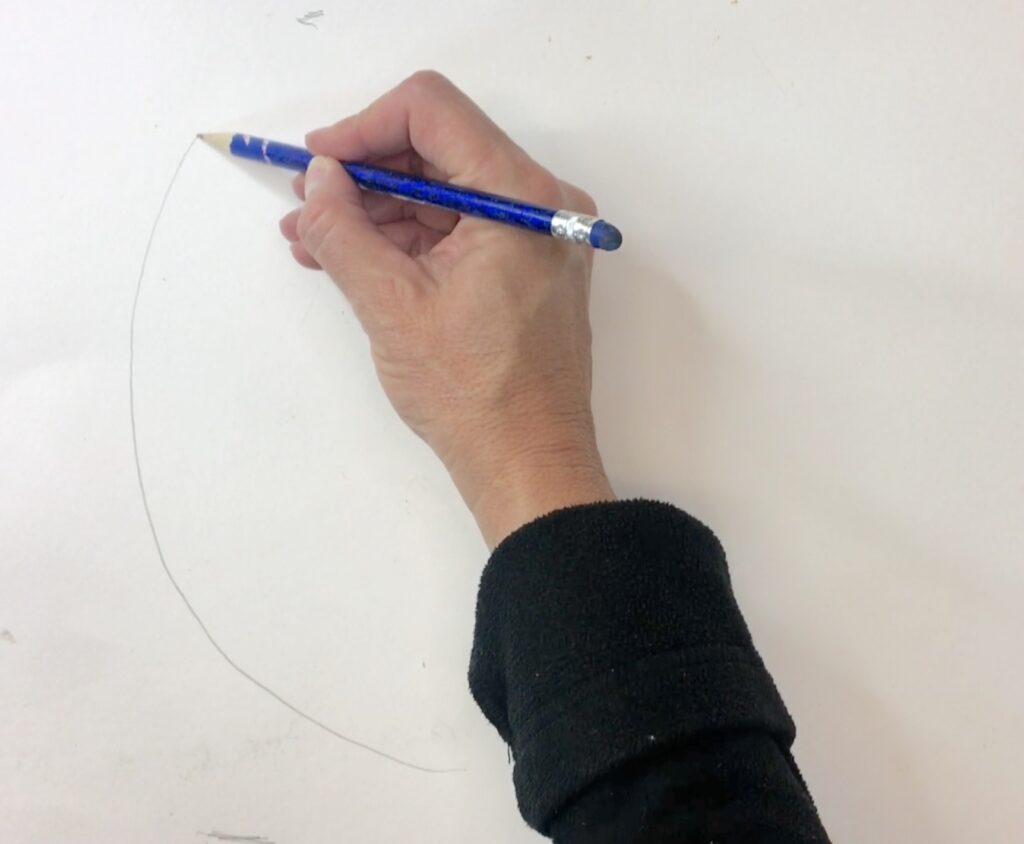
Step 1: Draw the bird
Draw a basic bird shape. Add a beak and plume for some interest. You can use posterboard for a sturdier template, but a regular sheet of paper will do.
If a five year old can draw a fish, you can totally draw a bird!
Cut it out with scissors and make the plume separate.
Step 2: Find your wood
Finding your wood is important. It is the first element in your mixed media project.
If you have scrap wood available, this is a great opportunity to use it! You can use any wood you like. The wood for the bird should be thicker than the plume. That way, it looks like the plume is actually coming out of the head.
Once you have your wood, trace the bird onto the wood.
Make your markings bold, so you can follow them!

Step 3: Cut it out!
Use a saw to cut out the shapes.
I used the Worx Bladerunner saw and it worked like a charm!

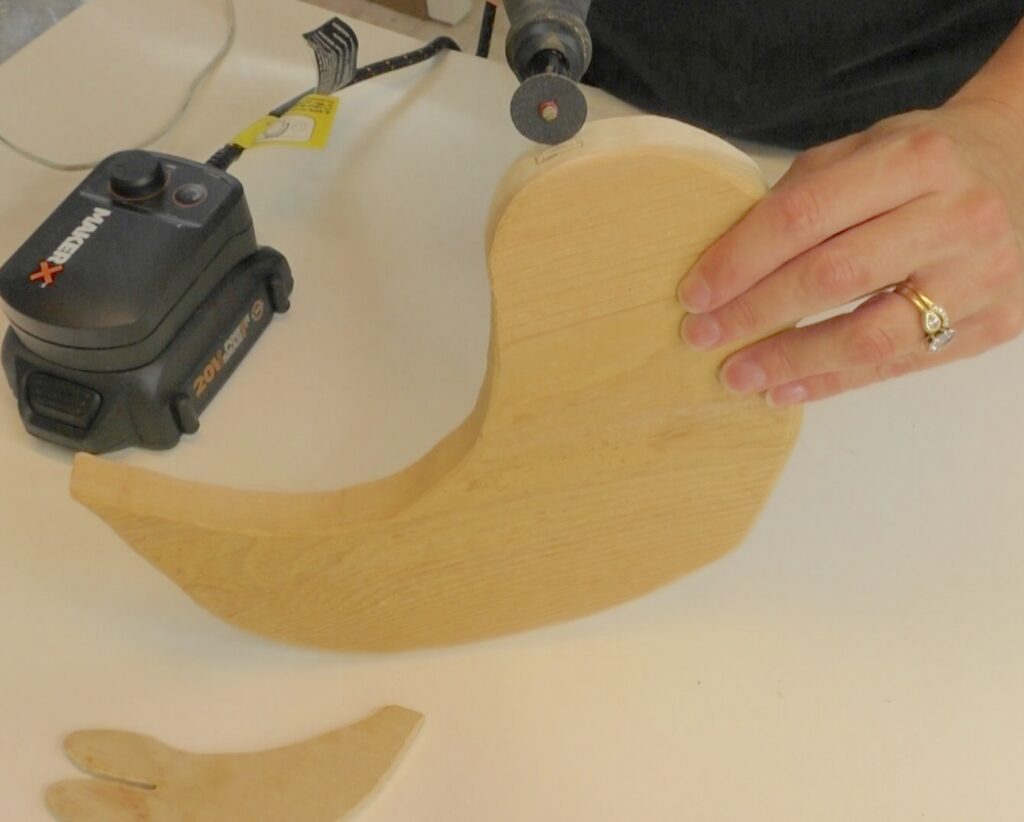
Step 4: Sand it
This is where the MakerX comes in handy! Using the MakerX rotary tool attachment sand and round the edges.
It makes quick work of the task and gets rid of any leftover markings.

Step 5: Notch for the plume
Figure out where you want the plume to be positioned on the bird’s head. Trace the base of the plume to that spot. Use the rotary tool and cut off wheel to make the notch.
Once finished, the plume should fit into it snuggly.
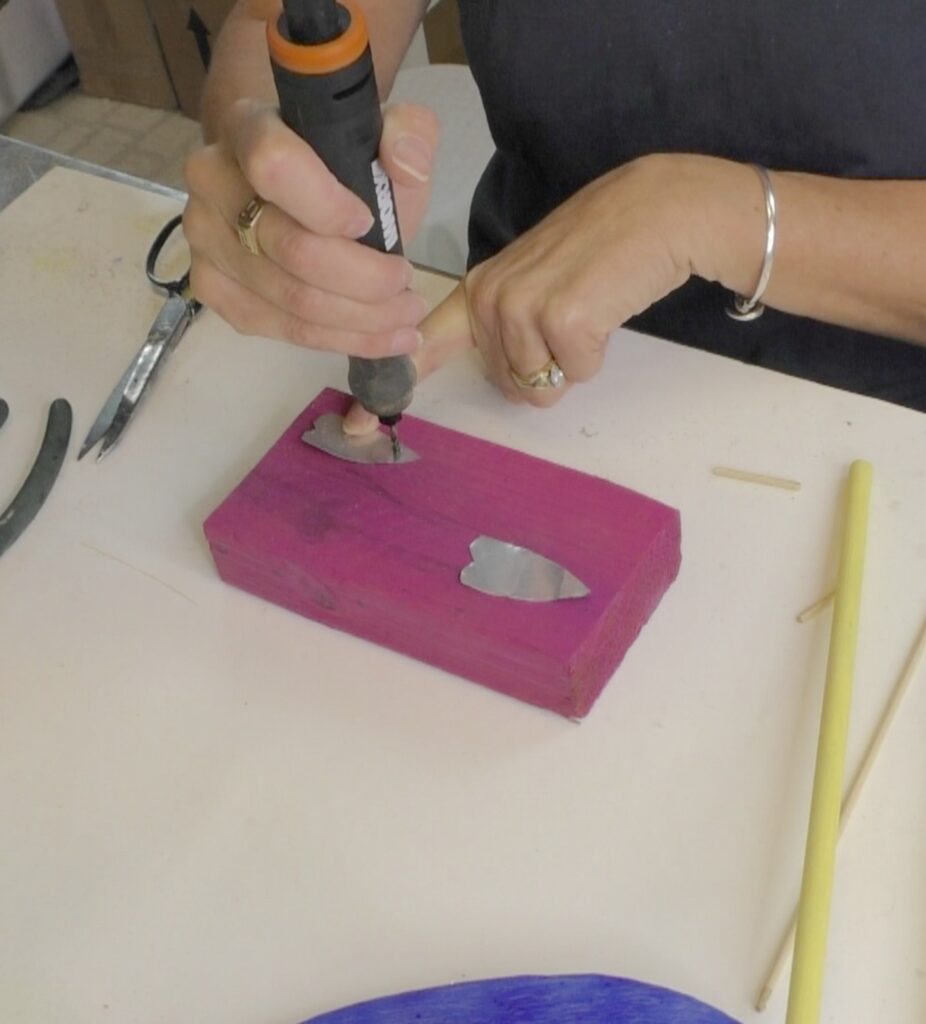
Step 6: Mark the eye
Use a marker to mark where you want the eye to be located. Use the rotary tool with the ball grinder bit and hollow out an indent for the eye.

Step 7: Airbrush
Use the MakerX airbrush attachment.
If you want the colors to be bolder and brighter, do a coat of white first. If you don’t mind the color of the wood muting the colors, go ahead and skip the white and paint your colors.
Do any color combination that makes you happy!
Paint all of the pieces, front back and sides.
Clips of airbrushing different colors are in the bird video tutorial.
If indoors, you don’t necessarily need a protective varnish.

Step 8: Woodburning
With the woodburning MakerX attachment, add a little detail where the beak meets the bird.
Just a little something to add interest.

Step 9: Cut up a pop can
Carefully cut open an empty and clean pop can. Metal is part of the mixed media theme. It is a great element to include in projects for beginners, especially if you don’t want to do intricate woodworking.
Cut the ends off.
Then, cut down a side, so you can open it and flatten it like a piece of paper.
You can freehand a wing or draw a template and cut it out, with scissors.

Step 10: Emboss it
Work on a piece of paper and apply embossing ink to the wing and pour embossing powder over it.
Tap the excess embossing powder off the wing, onto the paper, and return it to the jar.
Use the heat gun attachment for the MakerX to heat up the embossing powder. Once heated it will liquify and will stick to the wing.
Once it cools, you can add other layers and other colors if you want. Dab (don’t rub) additional layers of embossing ink and powder onto the wing and heat up again.
The embossing powder adds another layer of interest in our mixed media journey.
If you are a fan of mixed media, I did a Paris Mixed Media Resin coaster you might enjoy!

Step 11: Add the wings
(If you are doing a bird that will hang on the wall, you can do only one side. If you want to do a standing bird sculpture, you will want to do both sides.)
Drill a hole in the wing, where you would like to have the wing attached.
Determine the placement of the wing on the bird and match up the hole and drill.
Use a small screw to attach the wings.

Step 12: Glam route?
If going the glam route, glue on half pearls around her neck as a necklace.
The pearls make yet another nice addition to our mixed media piece.
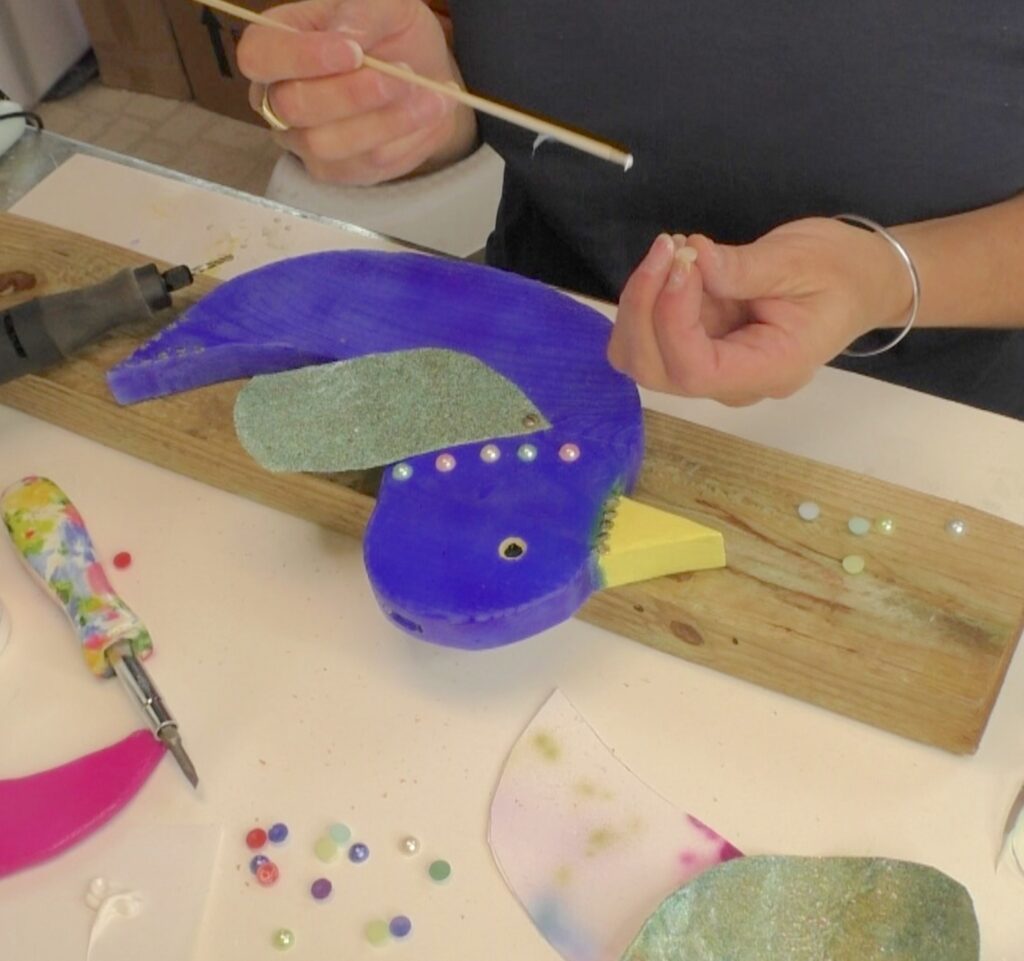
Step 13: Time for the eyes
If your eyeballs have stems, trim them short enough to fit into the eye indent you made earlier.
*I was originally planning to paint the eye and fill it with a liquid that hardened. The liquid came out more yellow and I did not like the look. I think the plastic eyes have a nicer look…so…happy accident!
Having indents is a great way to have the eye flush with the side of the bird and still have the added strength of the glue and stem, even if you had to trim the eye stem a little shorter.

Step 14: Legs!
Use dowel rods and cut to the desired length. Yes! You can do that with the MakerX rotary tool and cut off wheel!
Drill holes into the bottoms of the dowel rods, at both ends. Insert short pieces of bamboo skewer sticks into the holes you just drilled.
The bamboo pieces work like a support because they will be inserted into the dowel and the base and into the dowel and the underside of the bird. With some glue, they should be nice and secure.
Step 15: Base & Feet
Cut a base out of scrap wood. If you got it, use it!
You could buy a wood plaque from the craft store, if you would rather.
Cut out the feet from the pop can scraps leftover from the wings. Emboss them, drill a hole at the heel and glue them into place.
Drill a hole into the base where the heel holes are. Depending on how you want your legs to be or where you want to attach them to your bird, you may want to drill at a slight angle.
Step 16: Attach legs
Make sure you have the bamboo skewer pieces in the ends of the dowels. Add glue and insert them into the base.

Step 17: Drill more holes
Now that you have the legs positioned, drill holes in the underside of the bird, where you want the legs attached.
Again, add the bamboo skewers and glue.
If for some reason, the legs are not staying in place and are twisting, you probably didn’t use enough glue or didn’t wait long enough for them to dry.
Not to worry!
Use your small drill bit and pre-drill a hole into the back of the leg, near the base, and into the base at an angle. Use a small screw and drive it into the hole, so it holds the base and dowel in place.

Step 18: Details
At this point you can stop, but I didn’t. You decide when yours is done. I really wanted to glam mine up!

It’s A Cover Up!
If you have any screws showing that you want to be covered, do it now. Cover them with half pearls or a dab of glue and some glitter.
I added white feathers to soften it. I added them around the base of the plume, the underside by the legs and around the ankles. Those were all places where you might have glue or imperfections you might want to hide. The feathers are PERFECT for that!
Another great way to camouflage imperfections is glue and glitter! Of course, that’s just a fun accent and another mixed media detail too!
Give Me A Wink
Finally, while searching in my craft supplies, I found fake eyelashes. I cut them to size and glued them right onto the bird! That was a definite glam detail!
I have no idea why I had them. I have never worn fake eyelashes.

The MakerX
The MakerX was a complete asset in making the bird! She’s fun and funky! The only attachment I did not use was the angle grinder, but I know I’ll use it in the future!
See What You Can Find
I had everything on hand to make this bird, except the airbrush paint and you probably have a lot of it on hand too!
I found scrap pieces of wood in the garage.
Tip: If you (or anyone you know) ever have a tree taken down, always save some slabs for crafting!
If you have some old costume jewelry that you don’t wear anymore, dissect it and use the pieces to decorate. Don’t use the good stuff!
Scrounge through the recycling bin for empty pop cans.
You can make eyelashes out of wire, some trim, or even yarn!
Shockingly, the embossing powder and ink I have has to be at least 15 years old and it still works and the embossing ink didn’t dry out! Reuse what you have at your house and if you can’t find something go snoop around your mom, your sister, or your best friend’s house! Just don’t tell them I told you to do it!
Hopefully, you see that woodworking projects can be easy and for beginners! If you have good tools and fun ideas, you can get really creative!
Woodworking Projects For Beginners: Mixed Media Bird Video Tutorial
You can find the full bird video tutorial HERE!
If you like woodworking projects for beginners and bird projects, I have a Spring Bird project that has a video tutorial as well!
I also did a Birds on a Stick craft, that also has a video tutorial. This project still lives on my living room coffee table! This one, however, involves clay, not woodworking. If you like working with gourds, I have a Fall Gourd Bird that you will love!
Be sure to get ready for the holidays with an Easy and Beautiful Twig Wreath for your front door!
Thank you for stopping by! I hope you give it a try!
Remember: Life’s too short not to shimmer, so grab your glue gun and your glitter!™ Stay safe!
Mona
What a cool project. Thanks for sharing.
Thank you, Carol! I’m so glad you like it!
What a cutie, and great to “meet” you on craft schooling Sunday, looking forward to more projects!
Great to “meet you” too! Thank you for hosting!
Your bird is the cutest project ever!
Thanks for sharing at Inspire Me Monday at Create With Joy.
CONGRATS for being one of our Featured Guests this week! 🙂
Thank you so much! ❤️ I’m glad you liked it!