Back to school is in our sights, so it seems only fitting to DIY some great projects for your books, your locker, your desk, or your dorm room! Today VersaChalk is helping me do just that! Check out the projects and at the end I will tell you about the amazing GIVEAWAY they are offering!!!
In addition to the giveaway, the fine folks at VersaChalk are offering free white markers to the first 50 people at their website!!! Use the code KLATCHFREE at checkout!

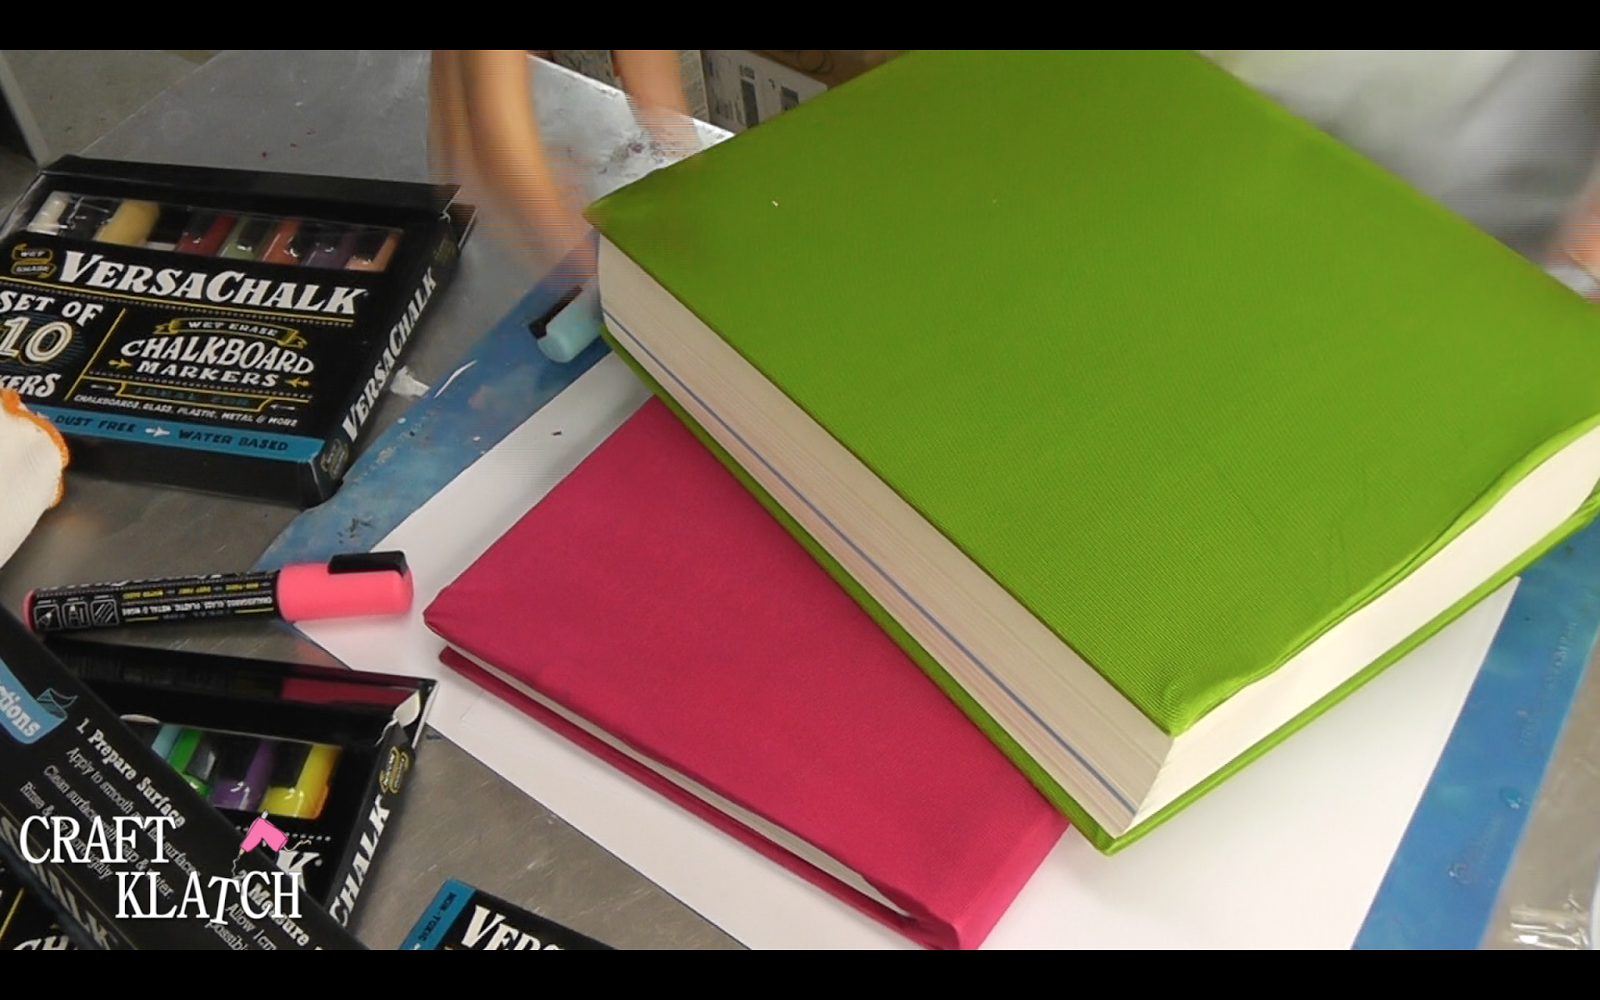
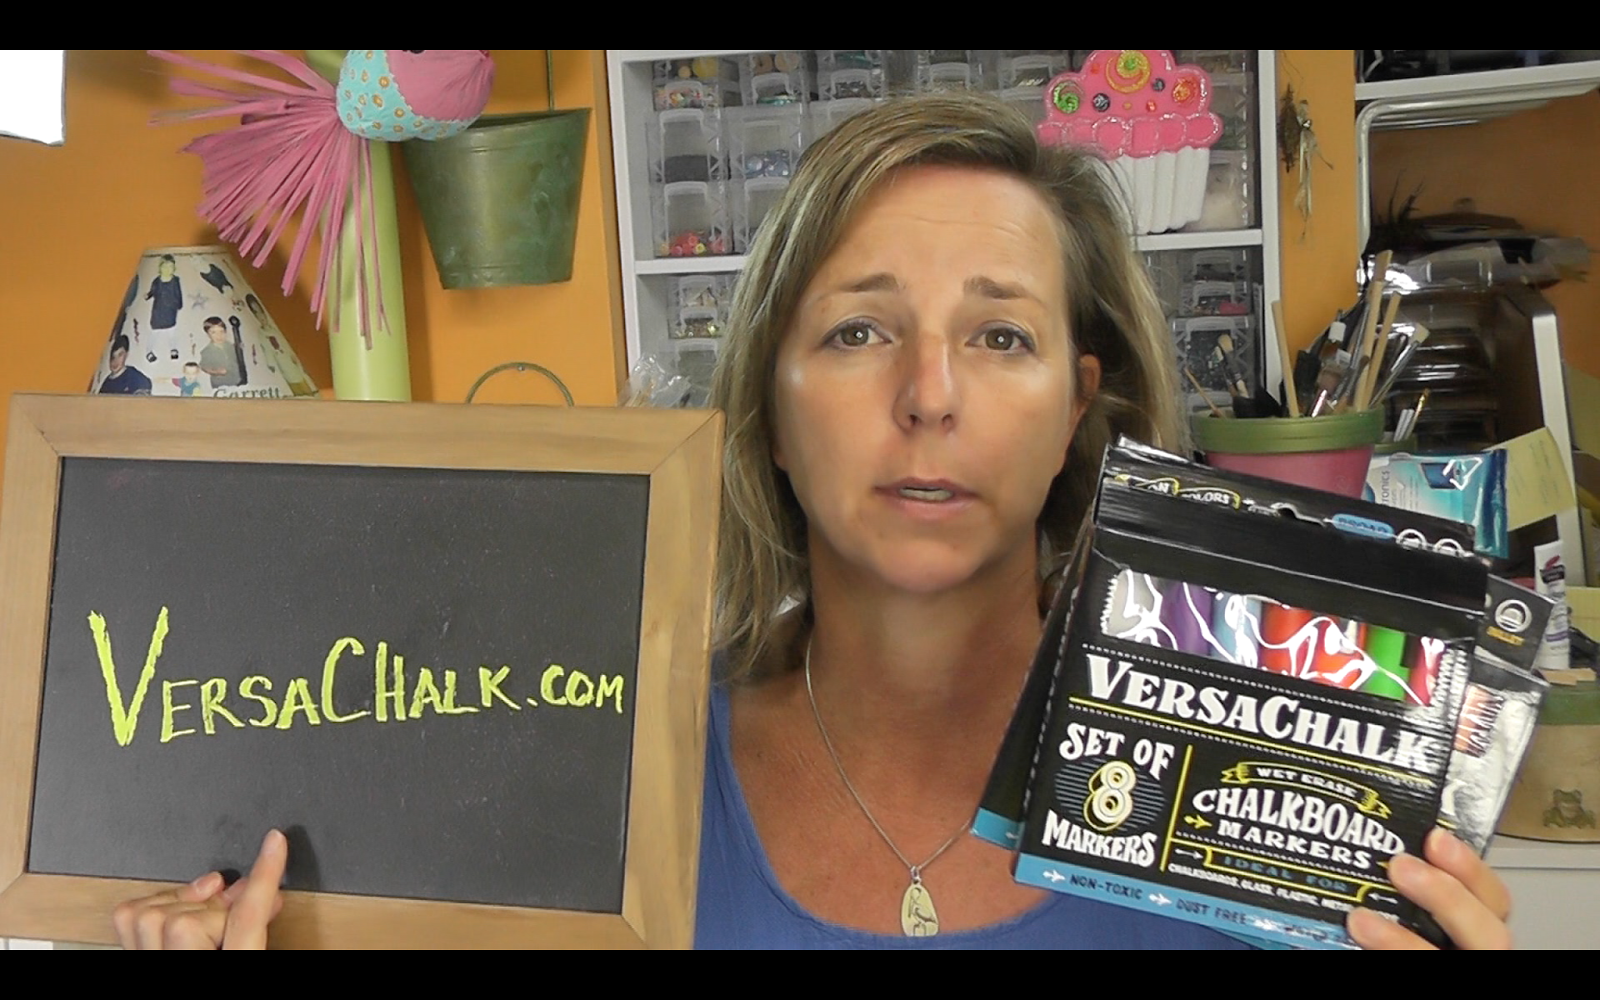
We are going to make some chalkboards and decorate our books using the VersaChalk products!
Items I used in the video:
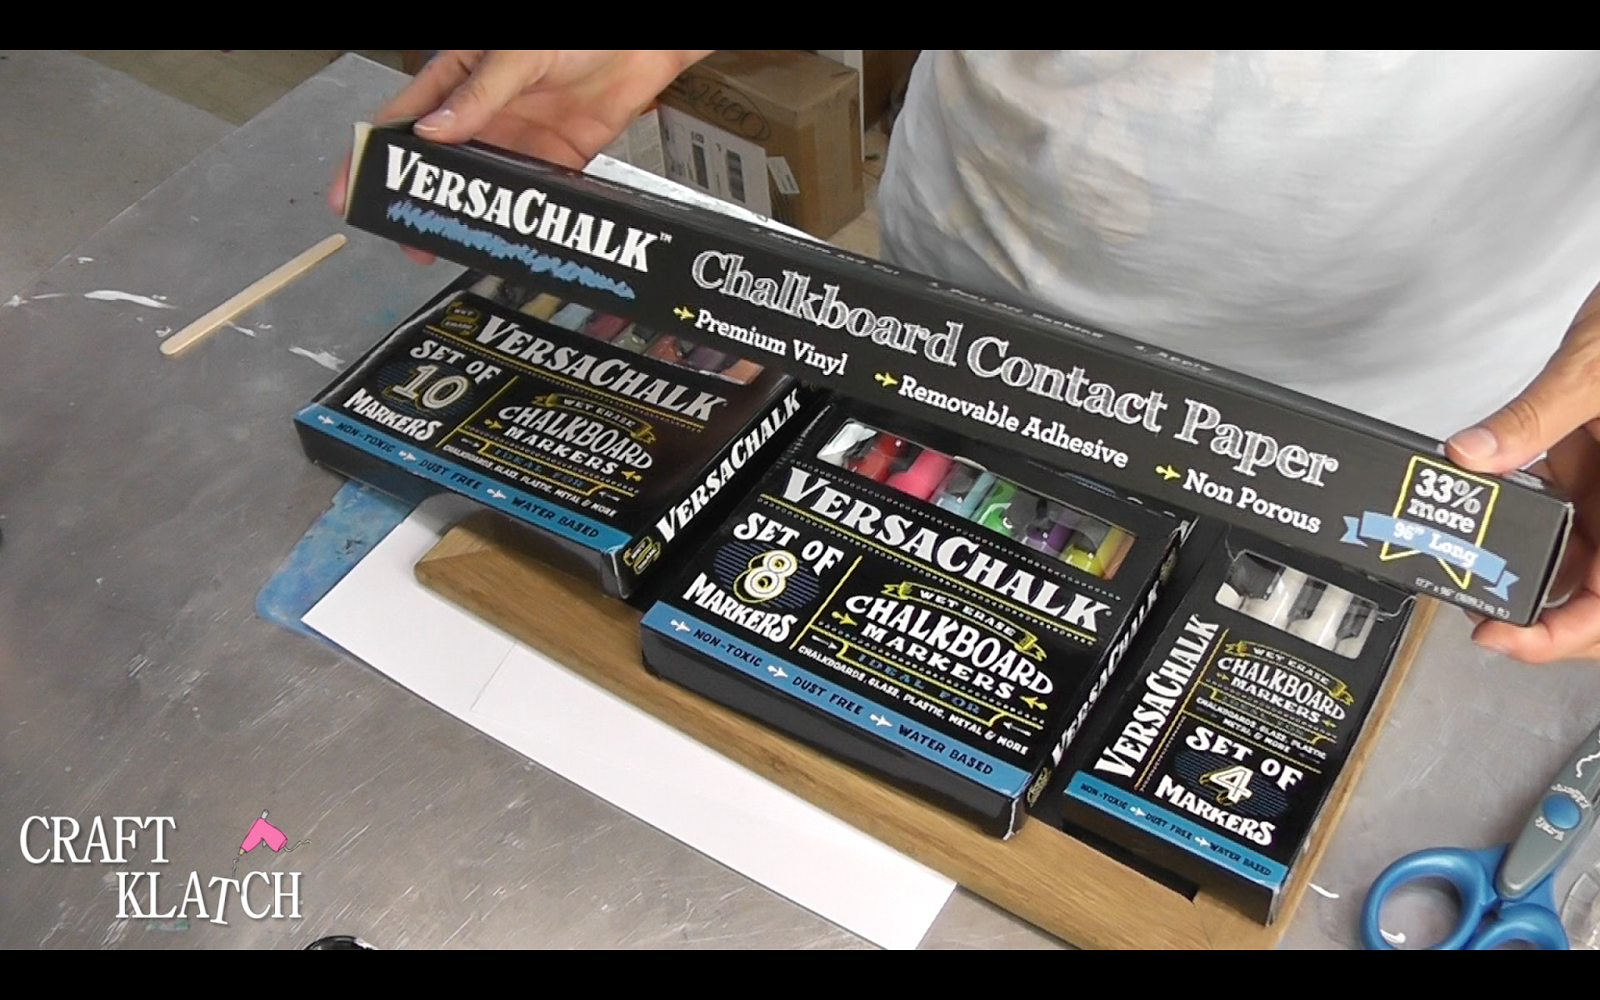
– Chalkboard contact paper
– Classic markers
– Neon markers
– White markers
– Chalkboard
– Magnetic sheets
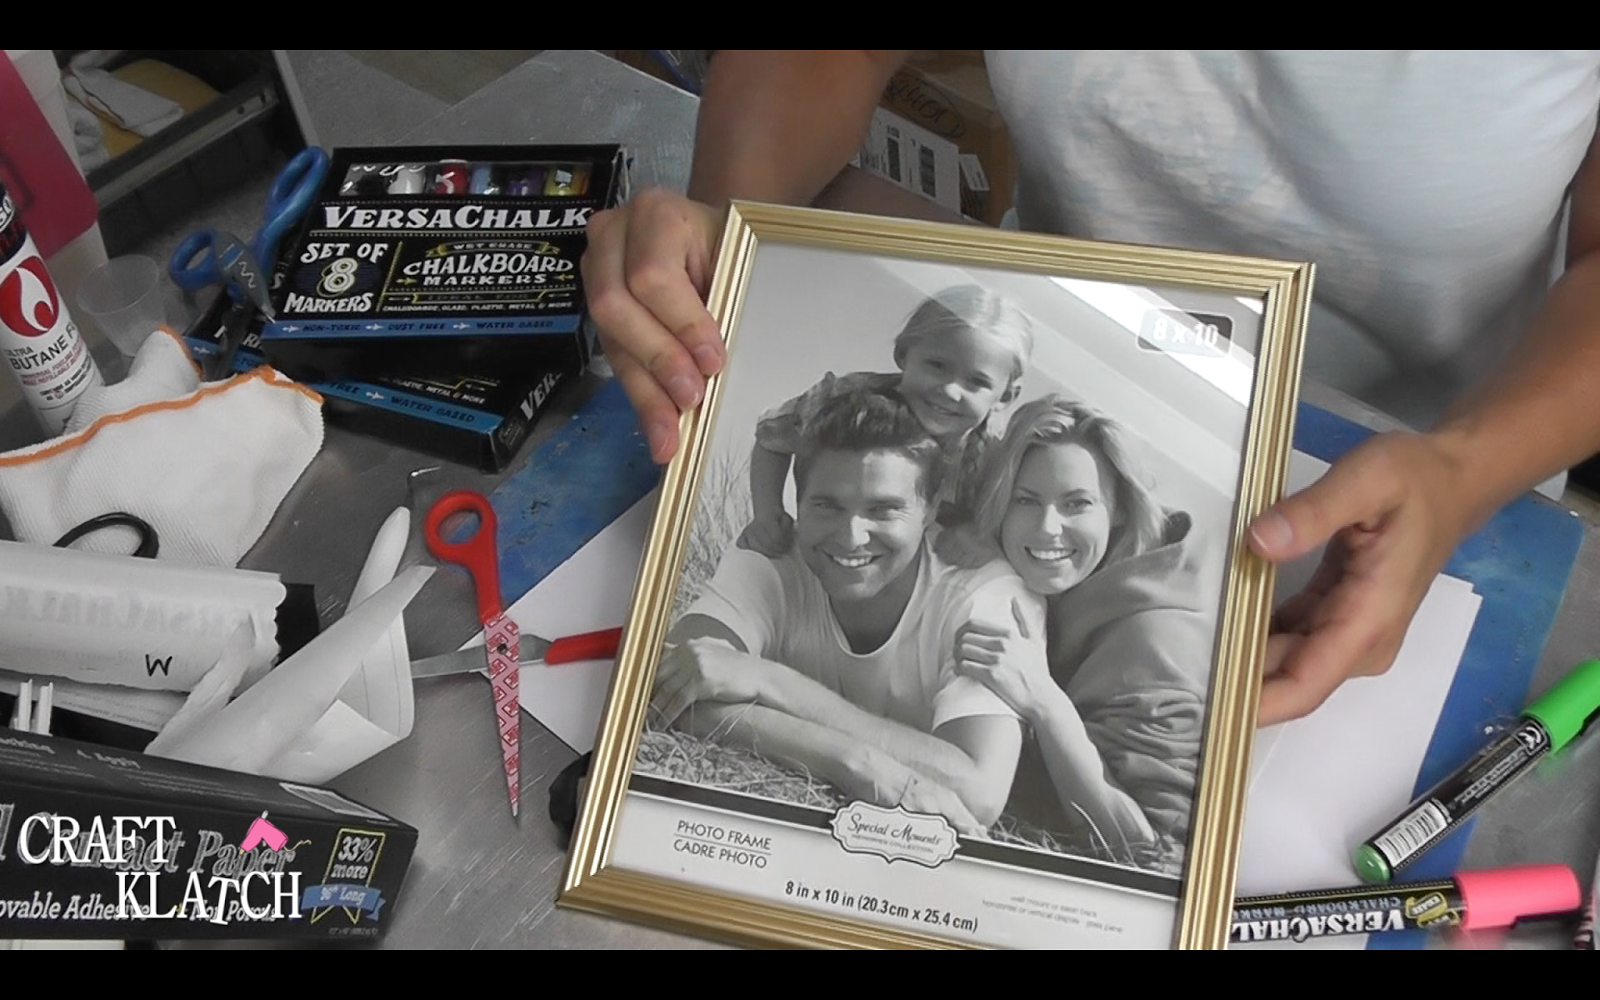
– Dollar store frame
– Cutting machine from manufacturer or
– Cutting machine on Amazon
– Stretchy book covers
1. Cover books in the stretchy fabric book covers. When I was in school, it took us a whole evening of cutting paper
bags and taping them to cover our books! How far we have come!!
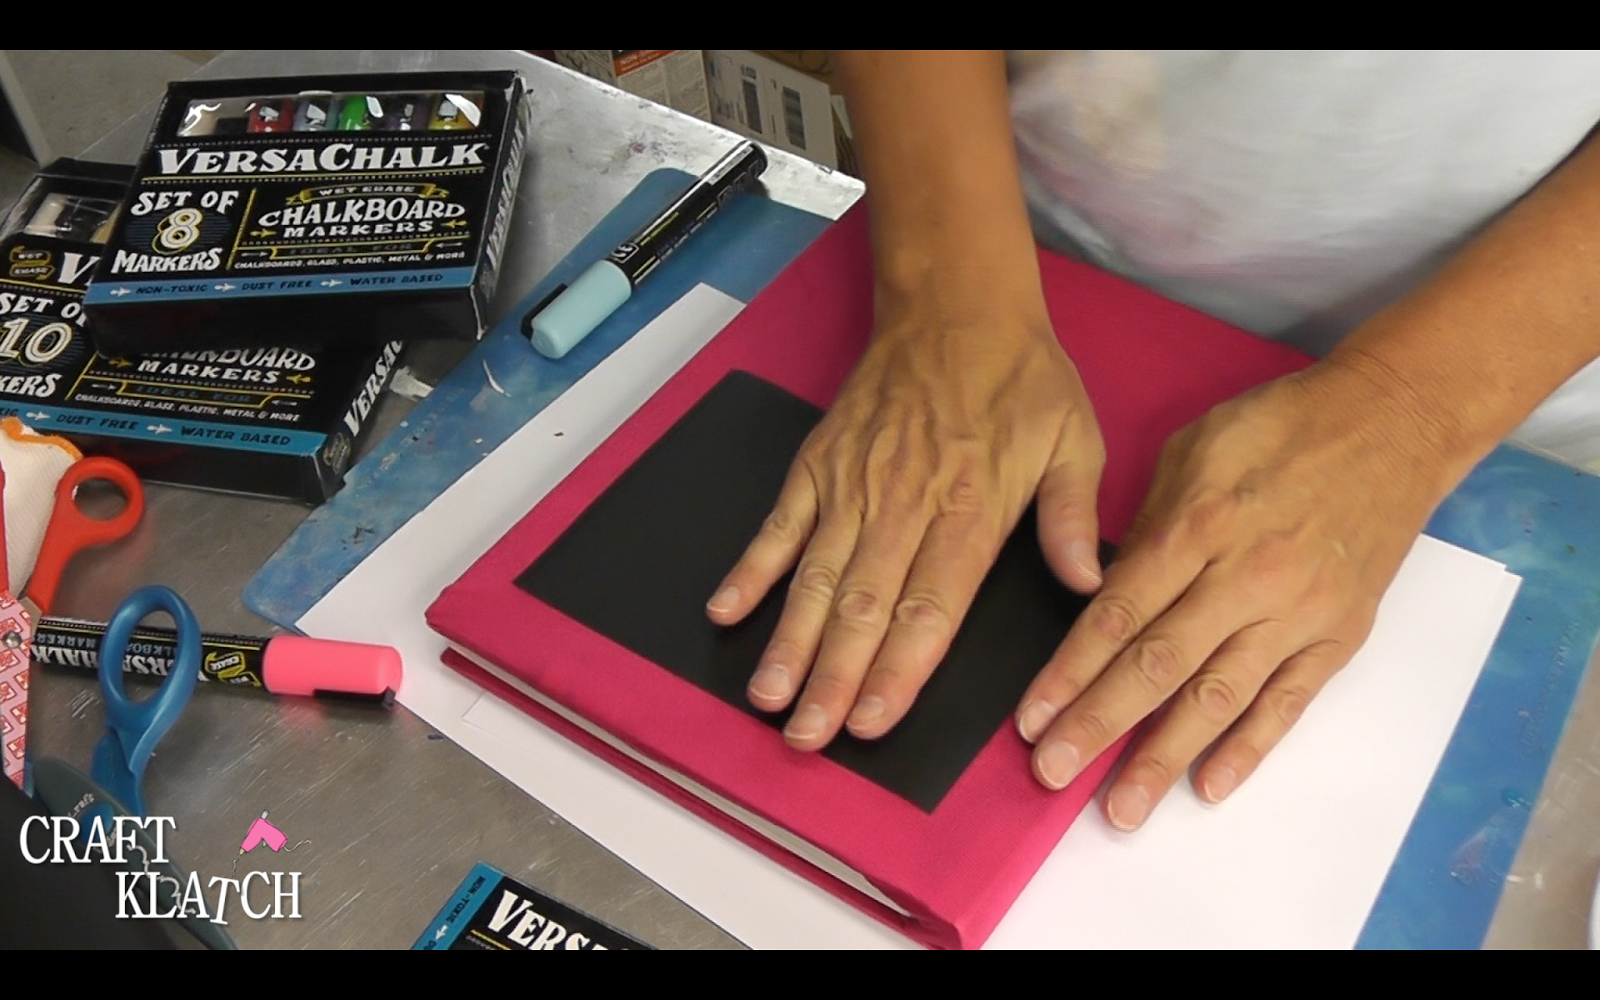
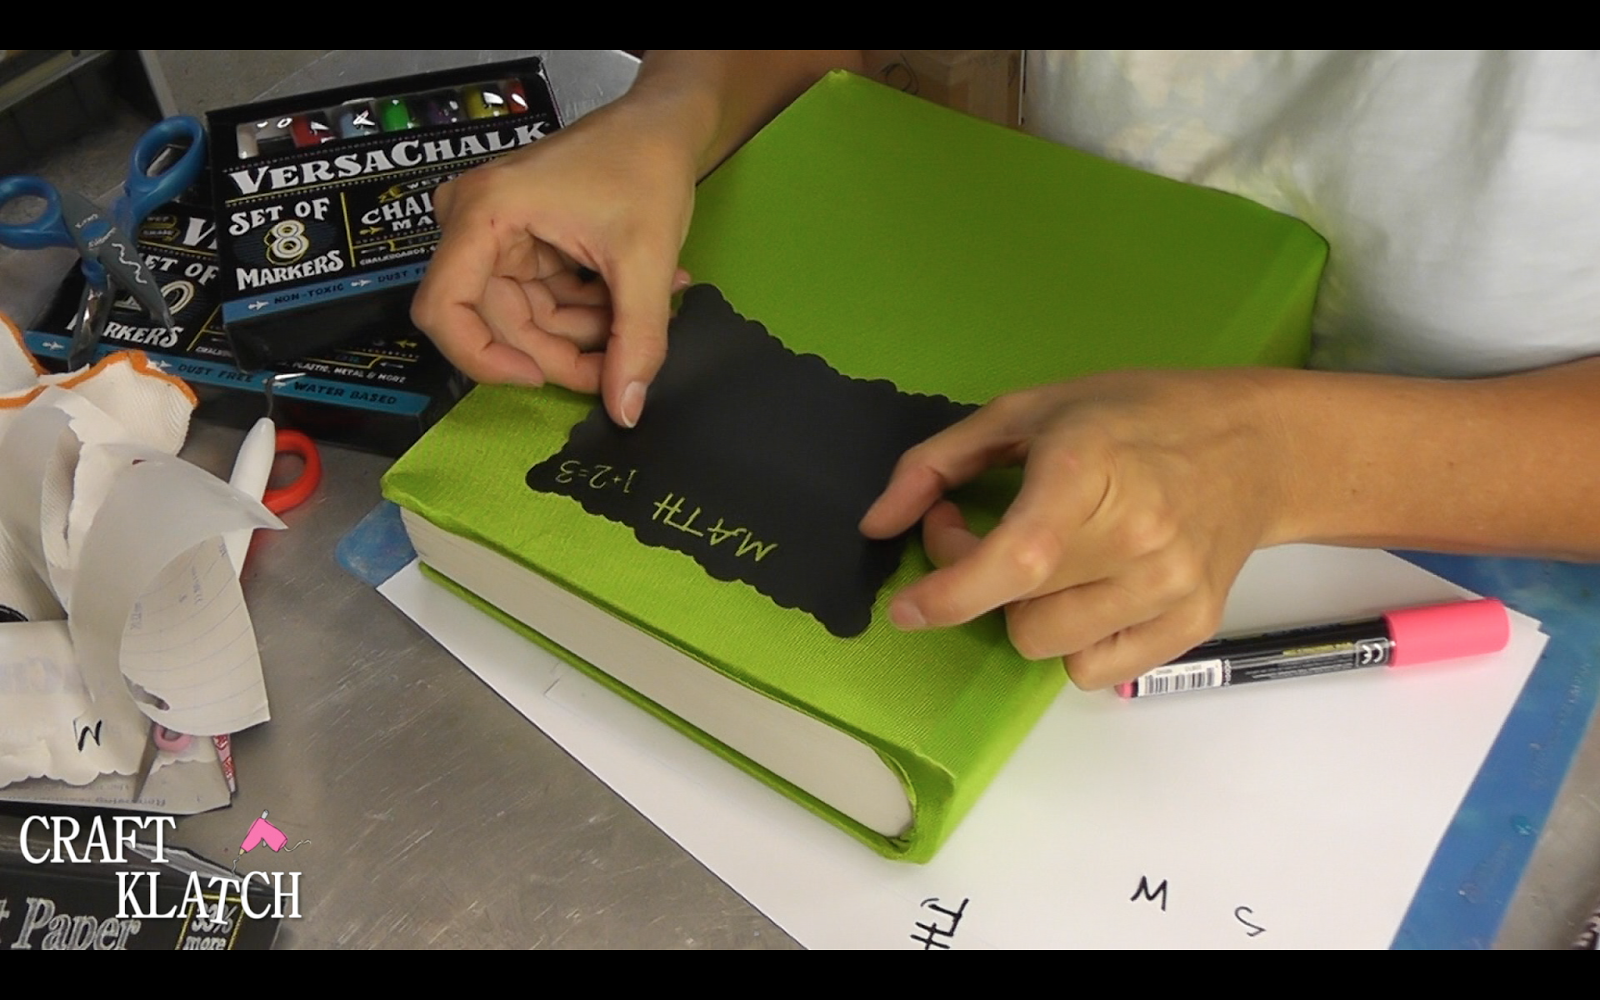
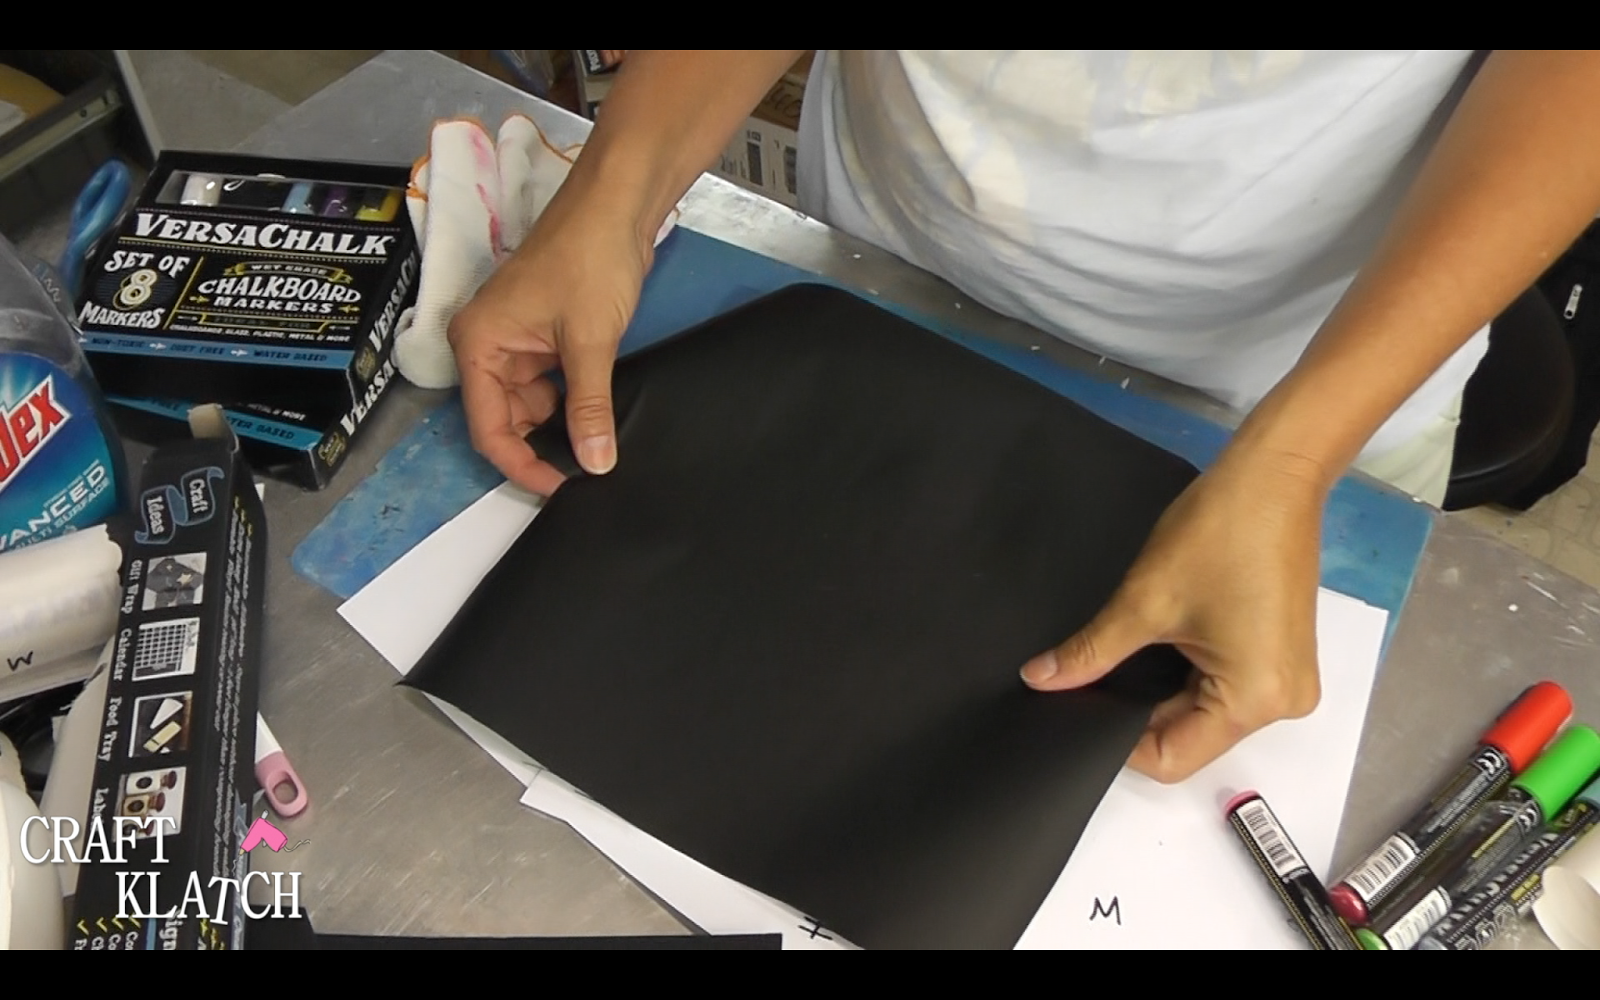
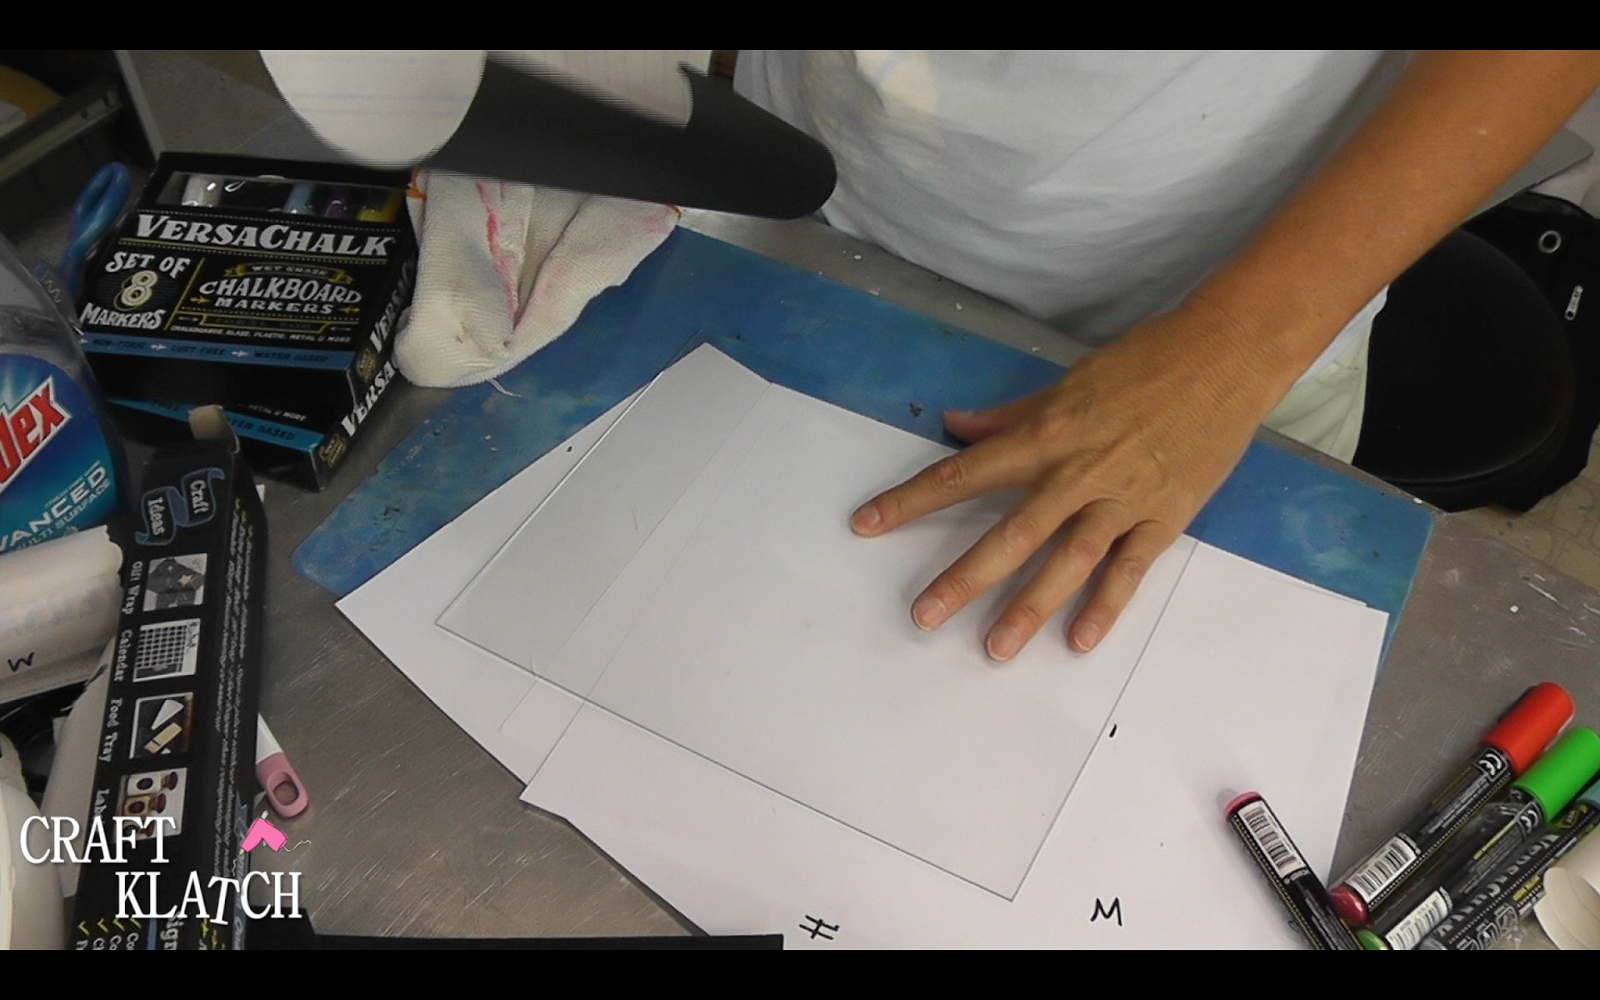
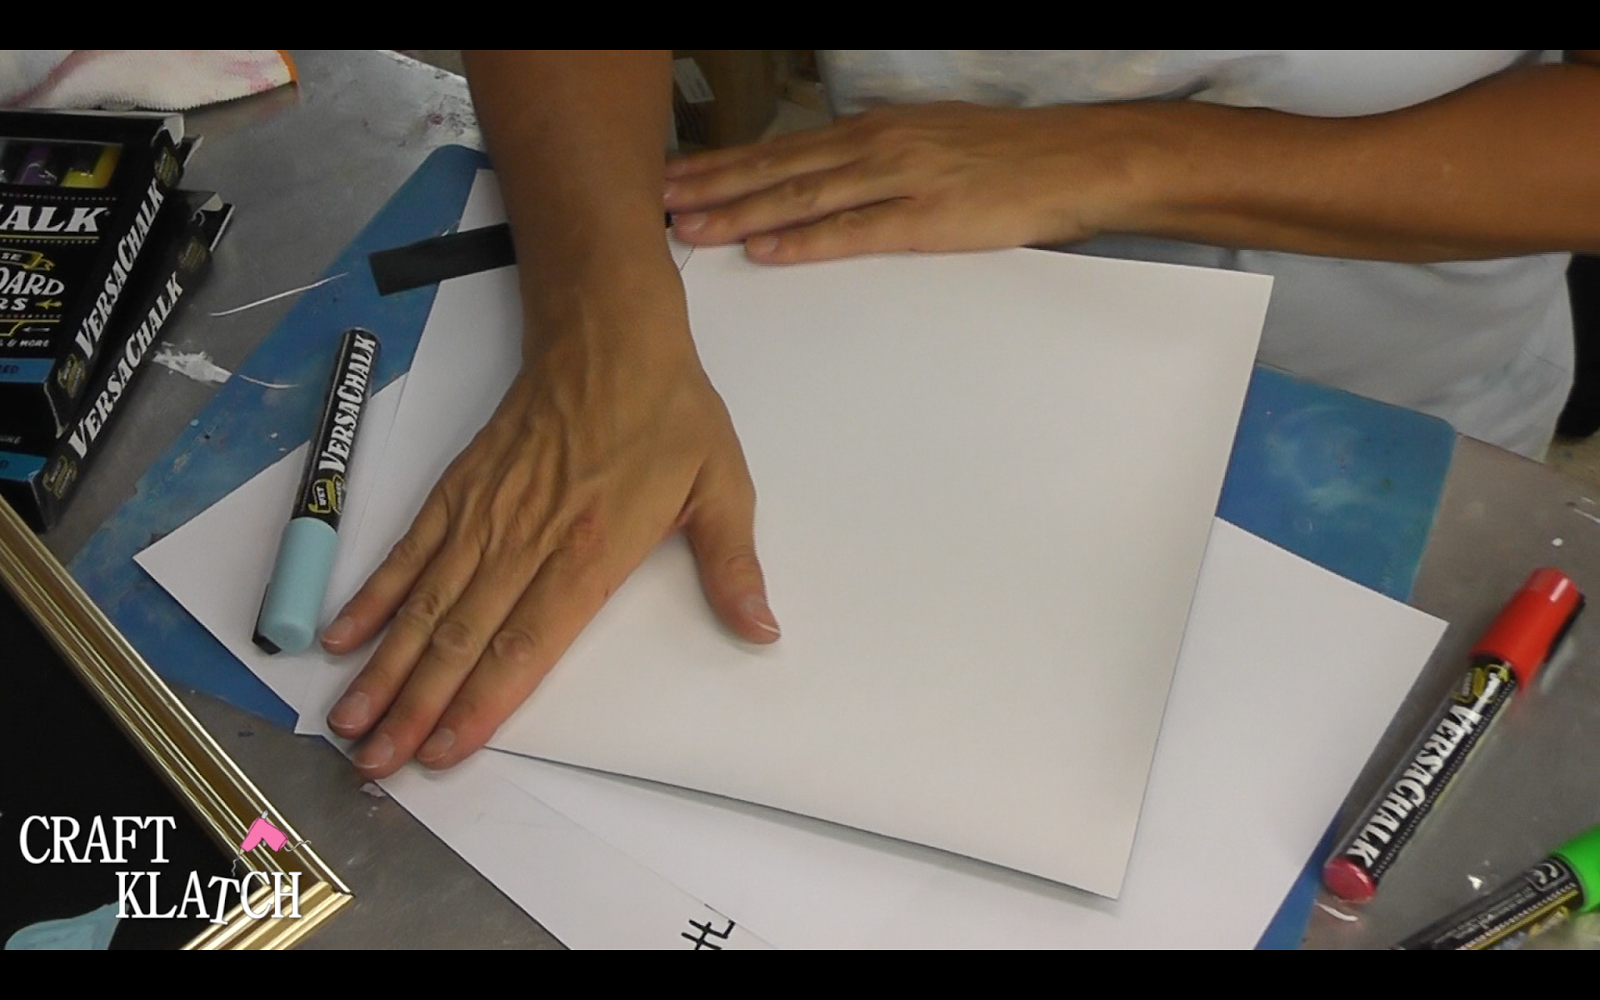
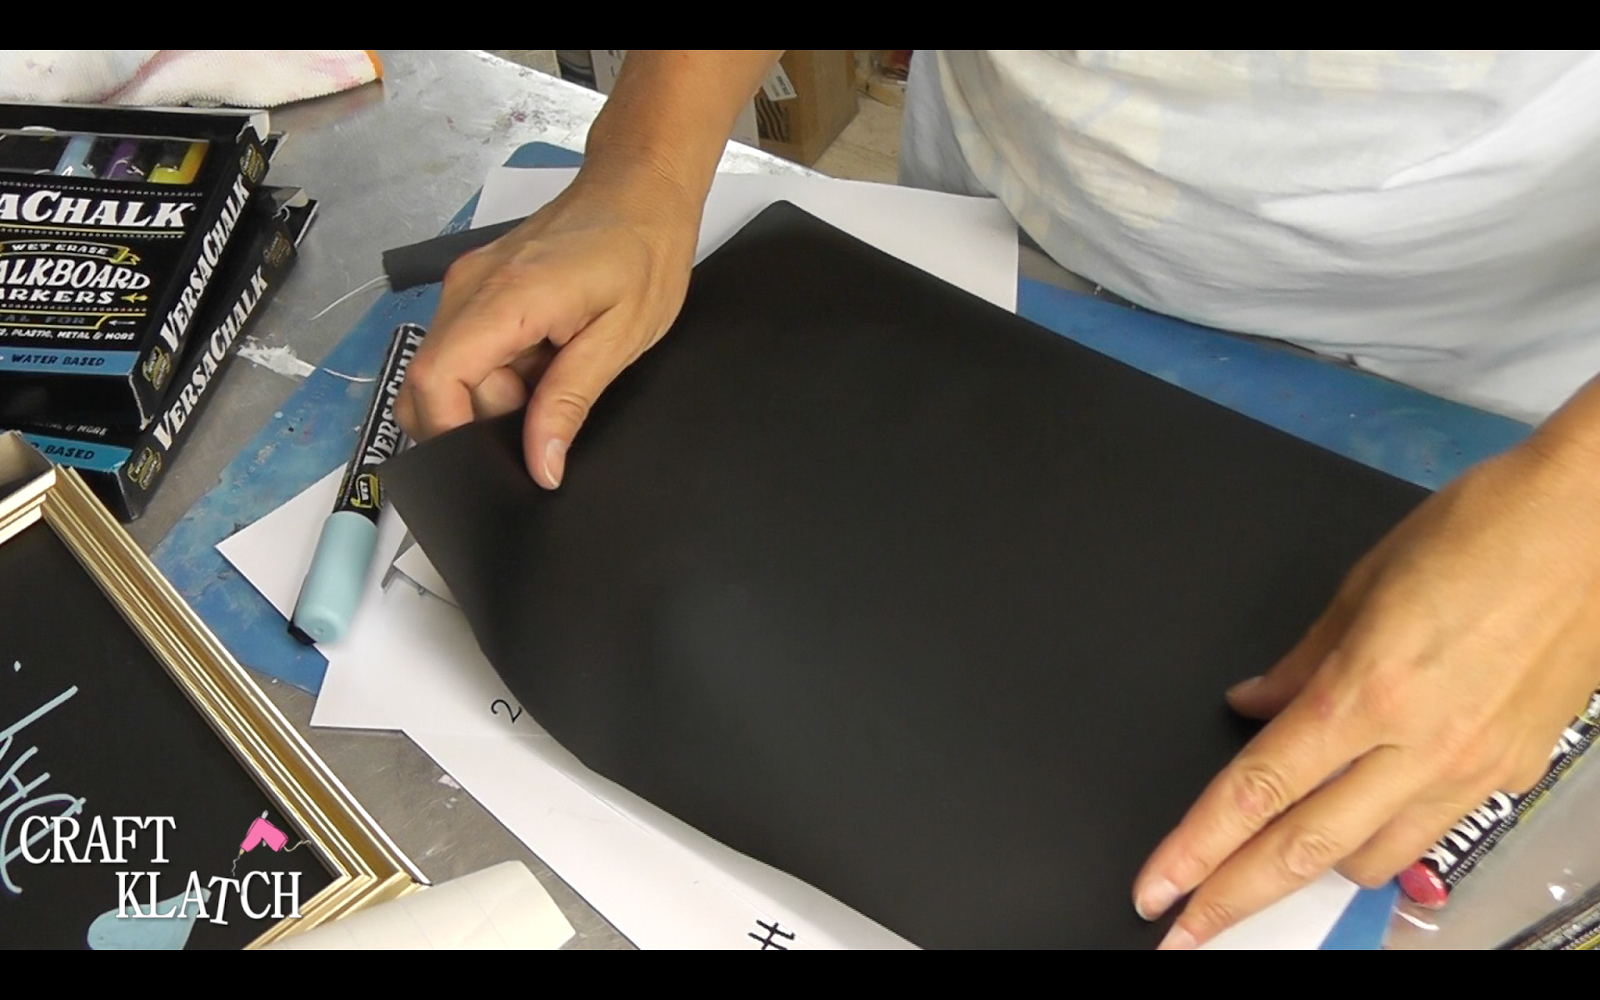
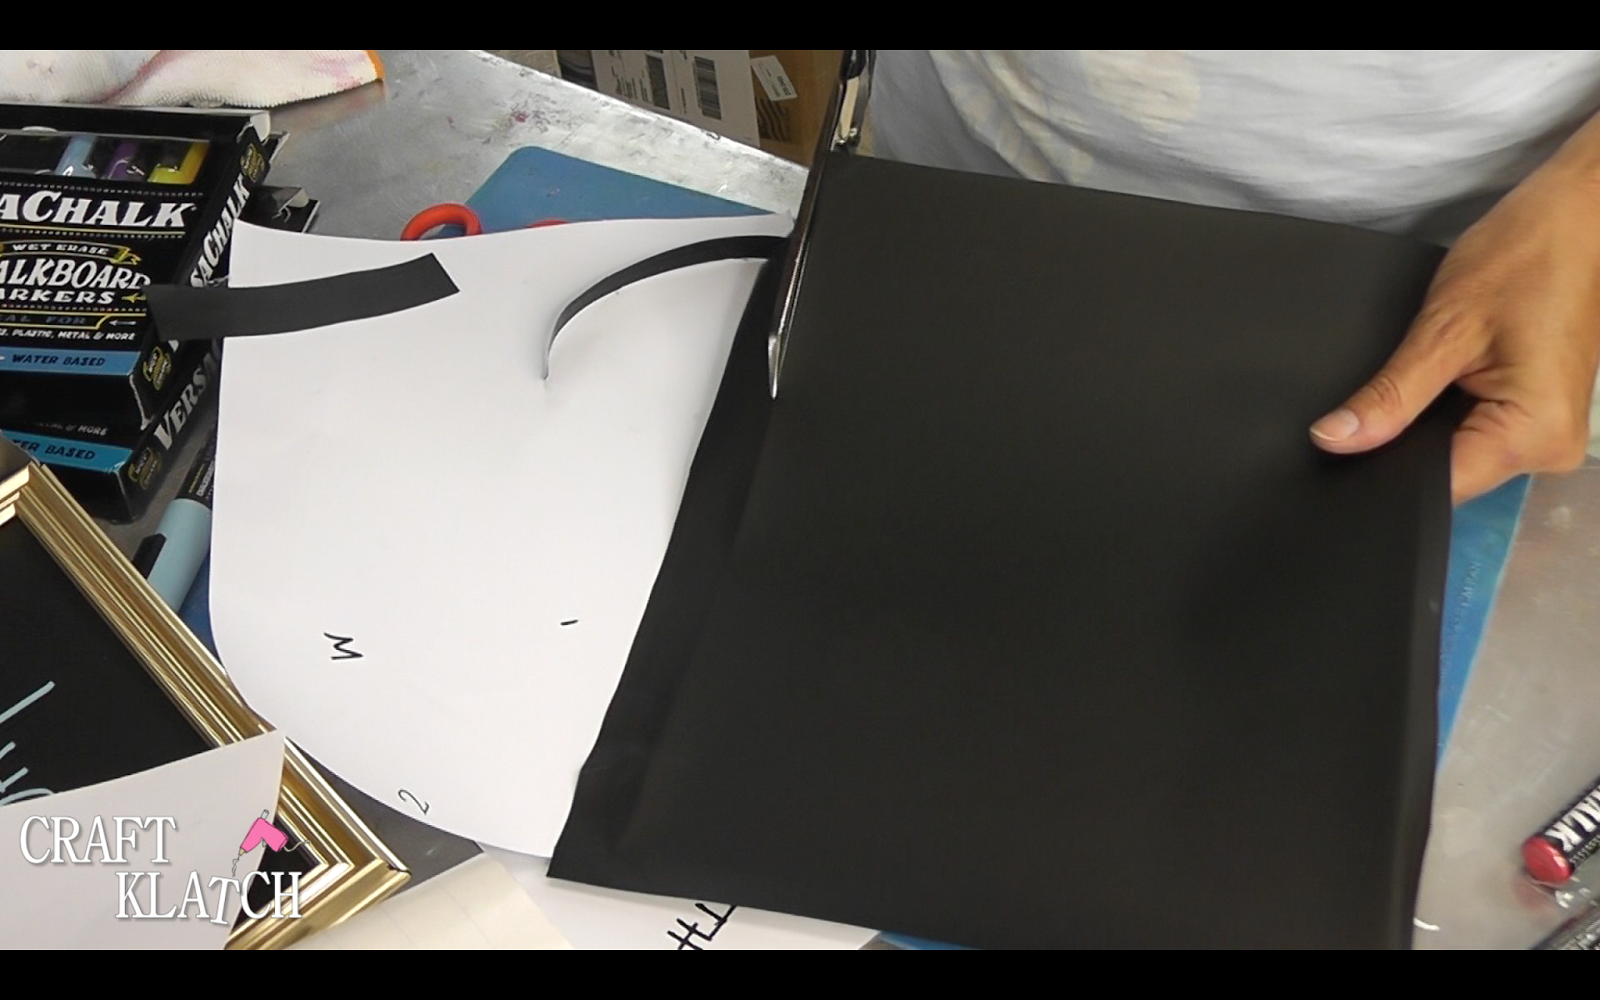
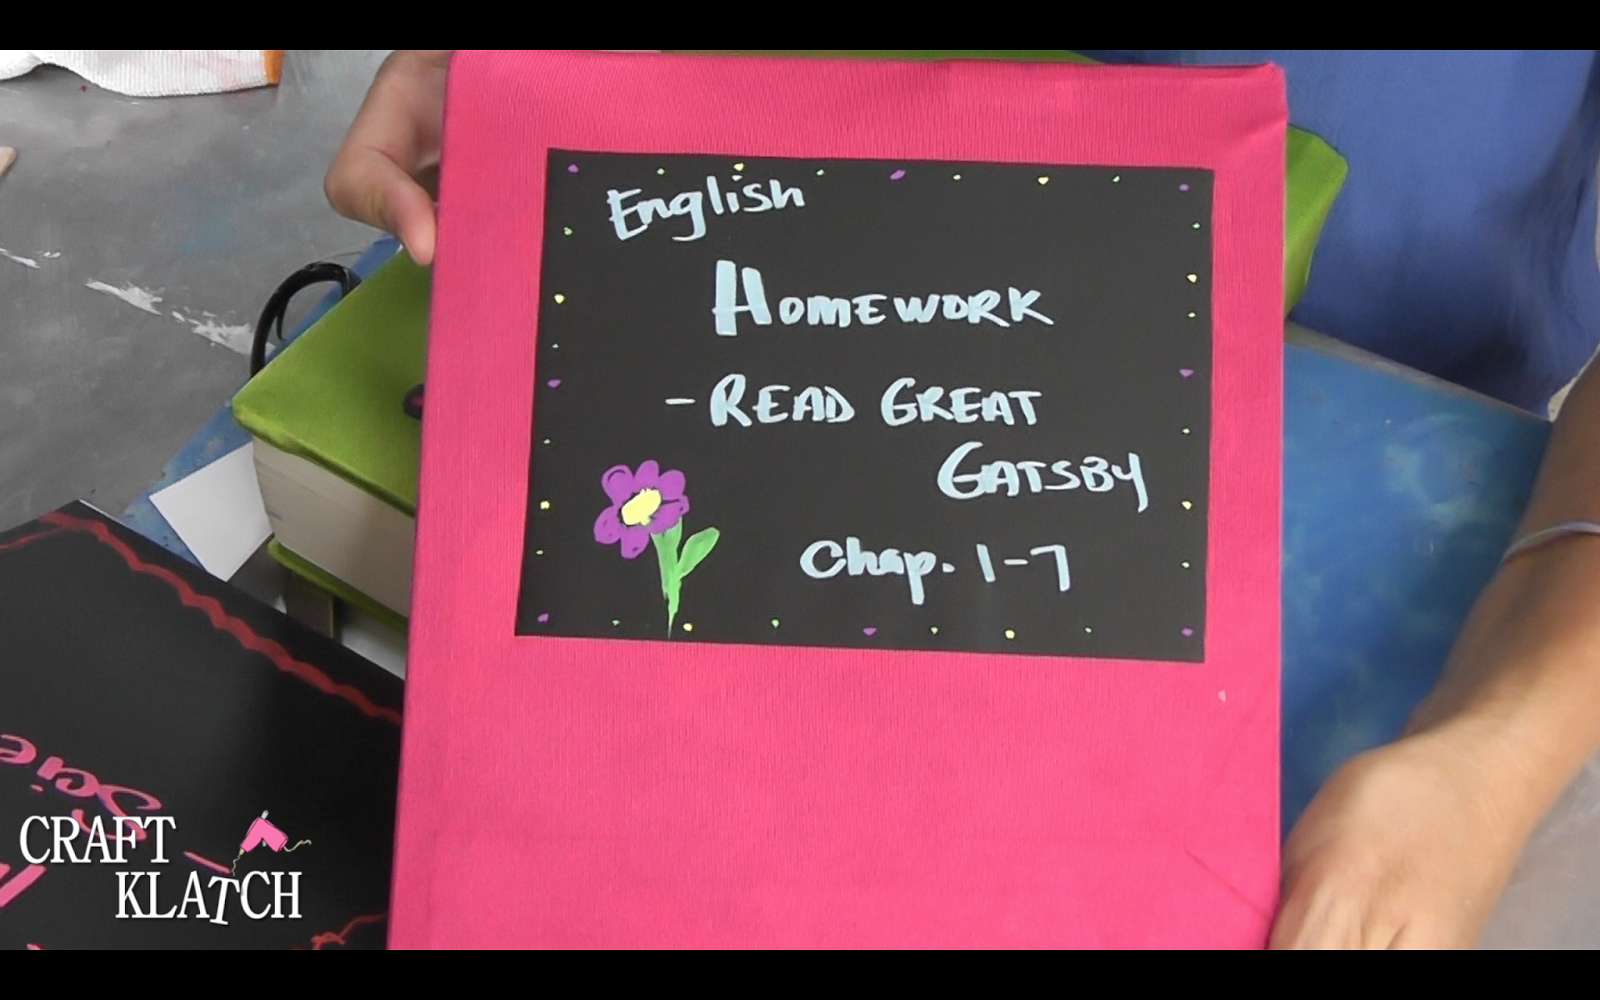
2. The chalkboard contact paper has a grid on the back to make it easy to cut straight lines and have a nice clean look. It cuts great with regular scissors. My decorative scissors were not sharp enough. Size it whatever size you want. It could be the size of the whole front of the book, if you wanted.
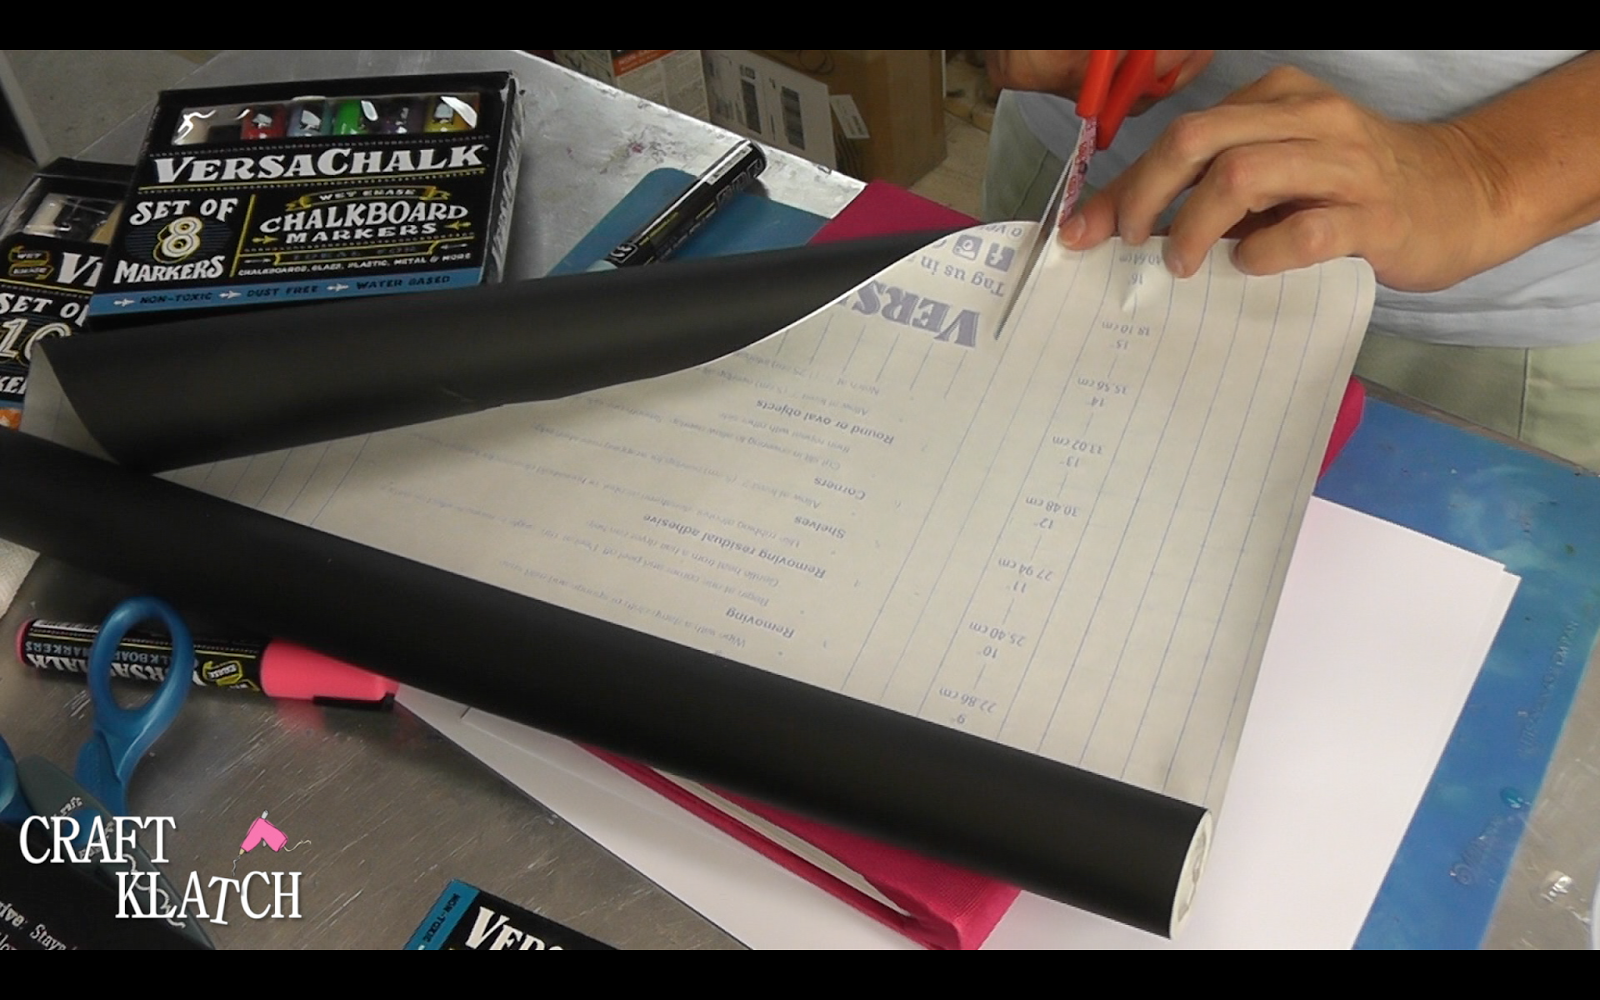
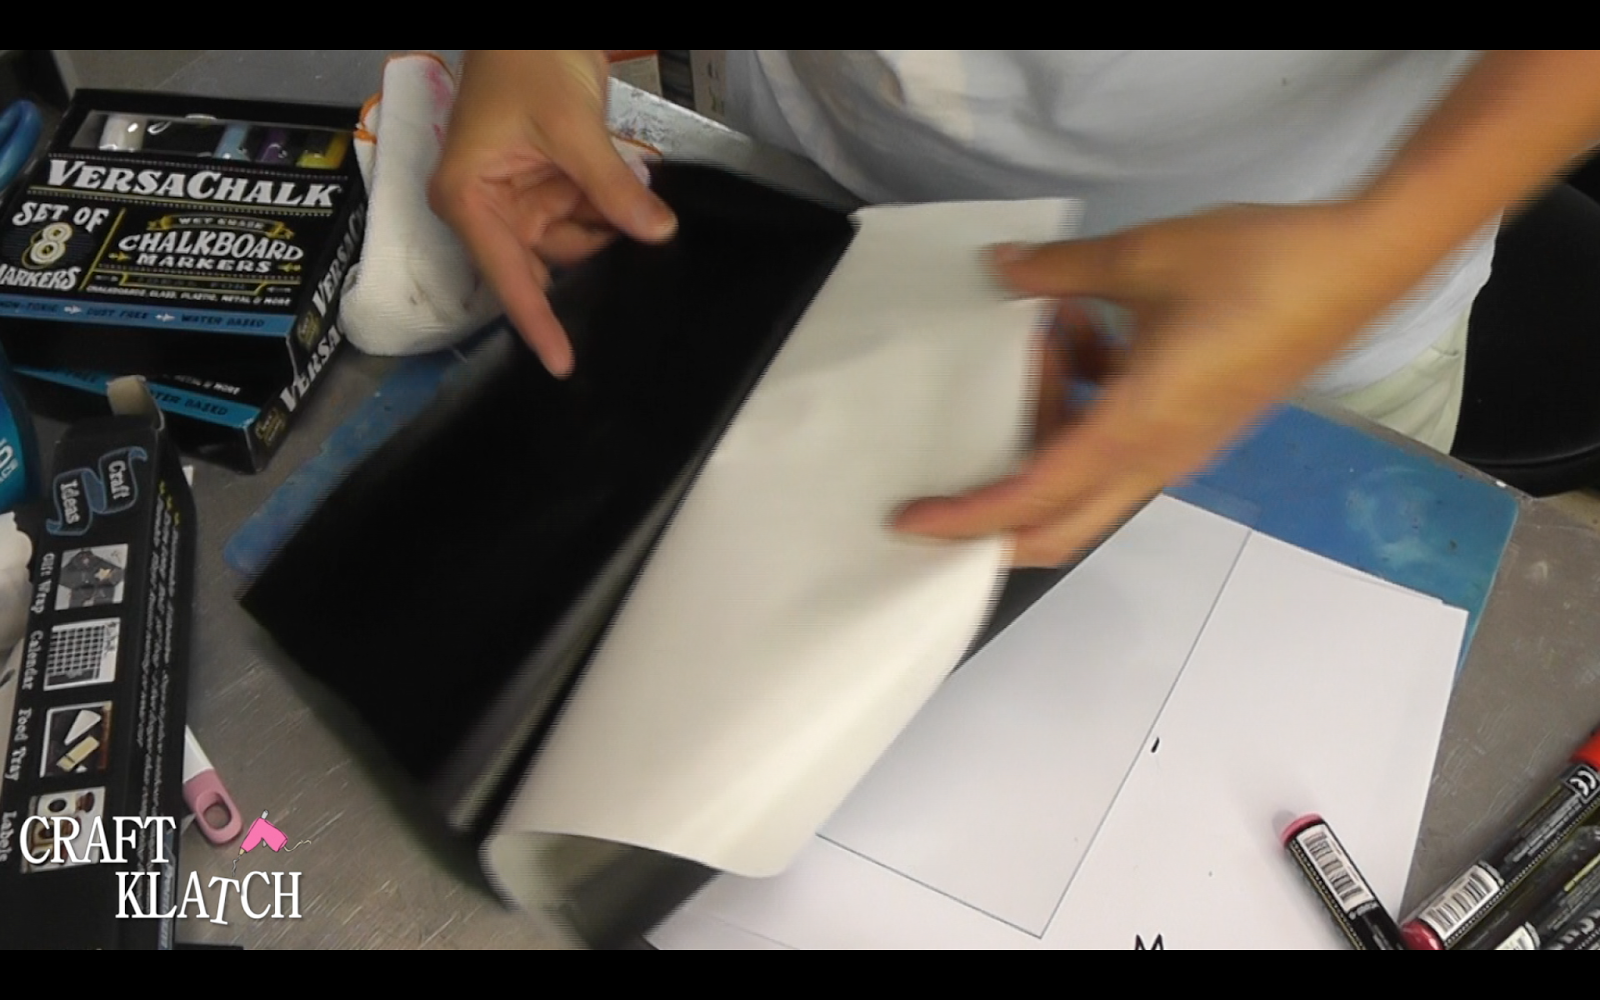
3. Peel off the backing and stick it to the cover. It sticks great to the fabric, but will peel off without damaging it. Yay!
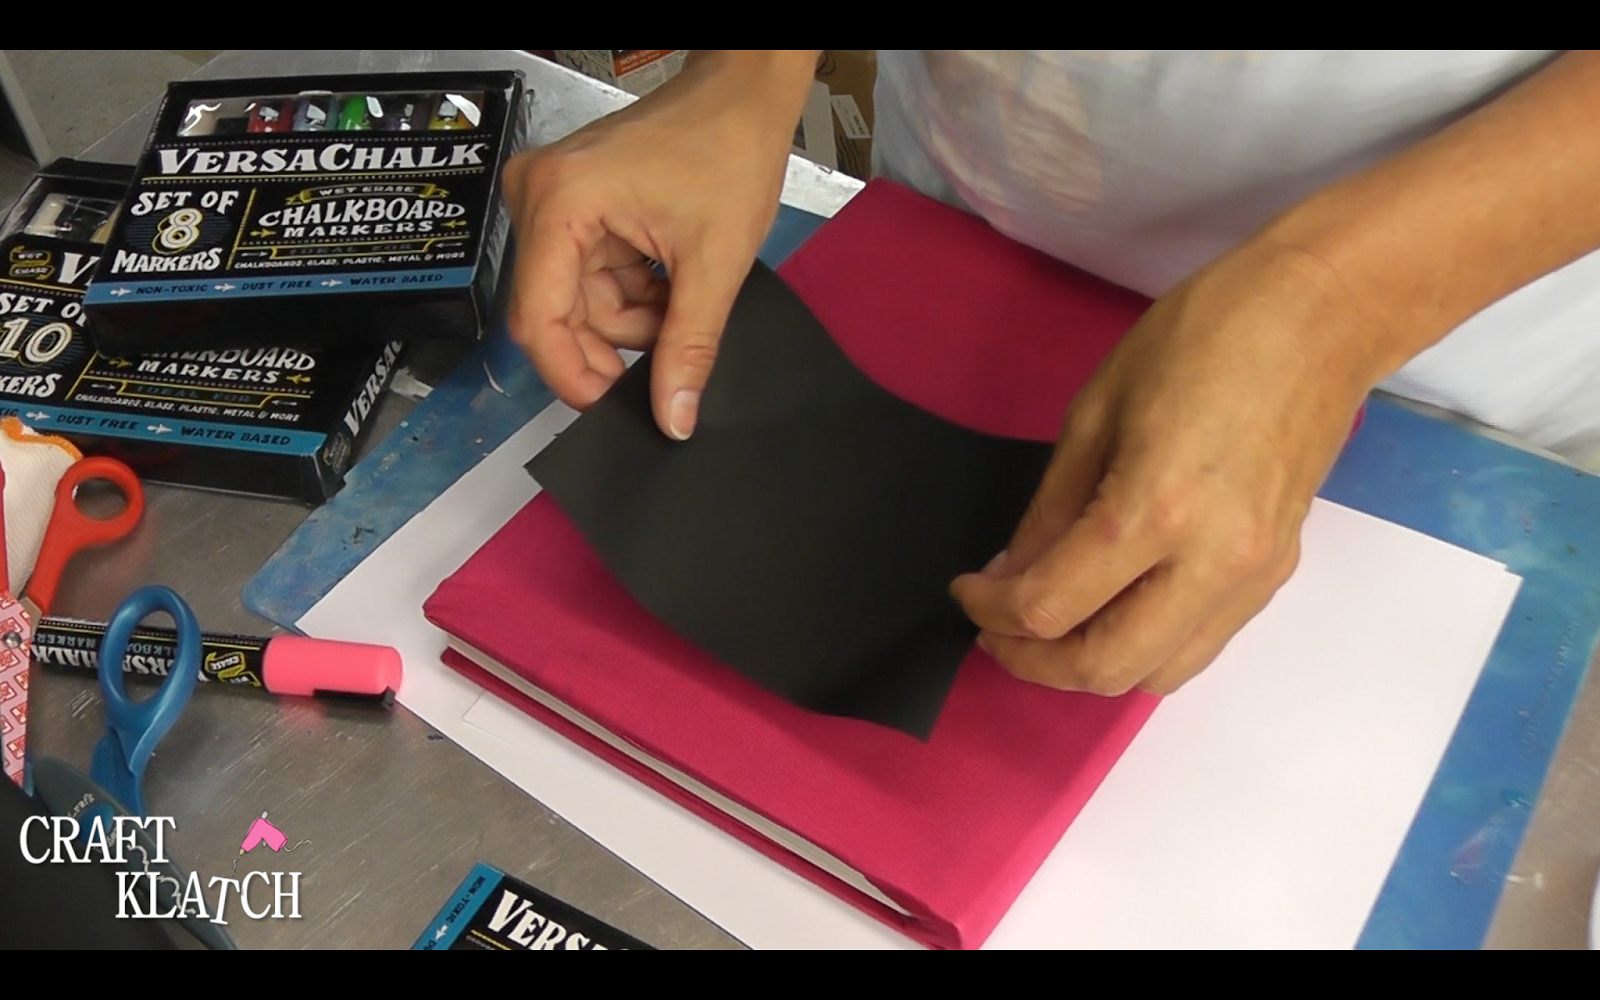
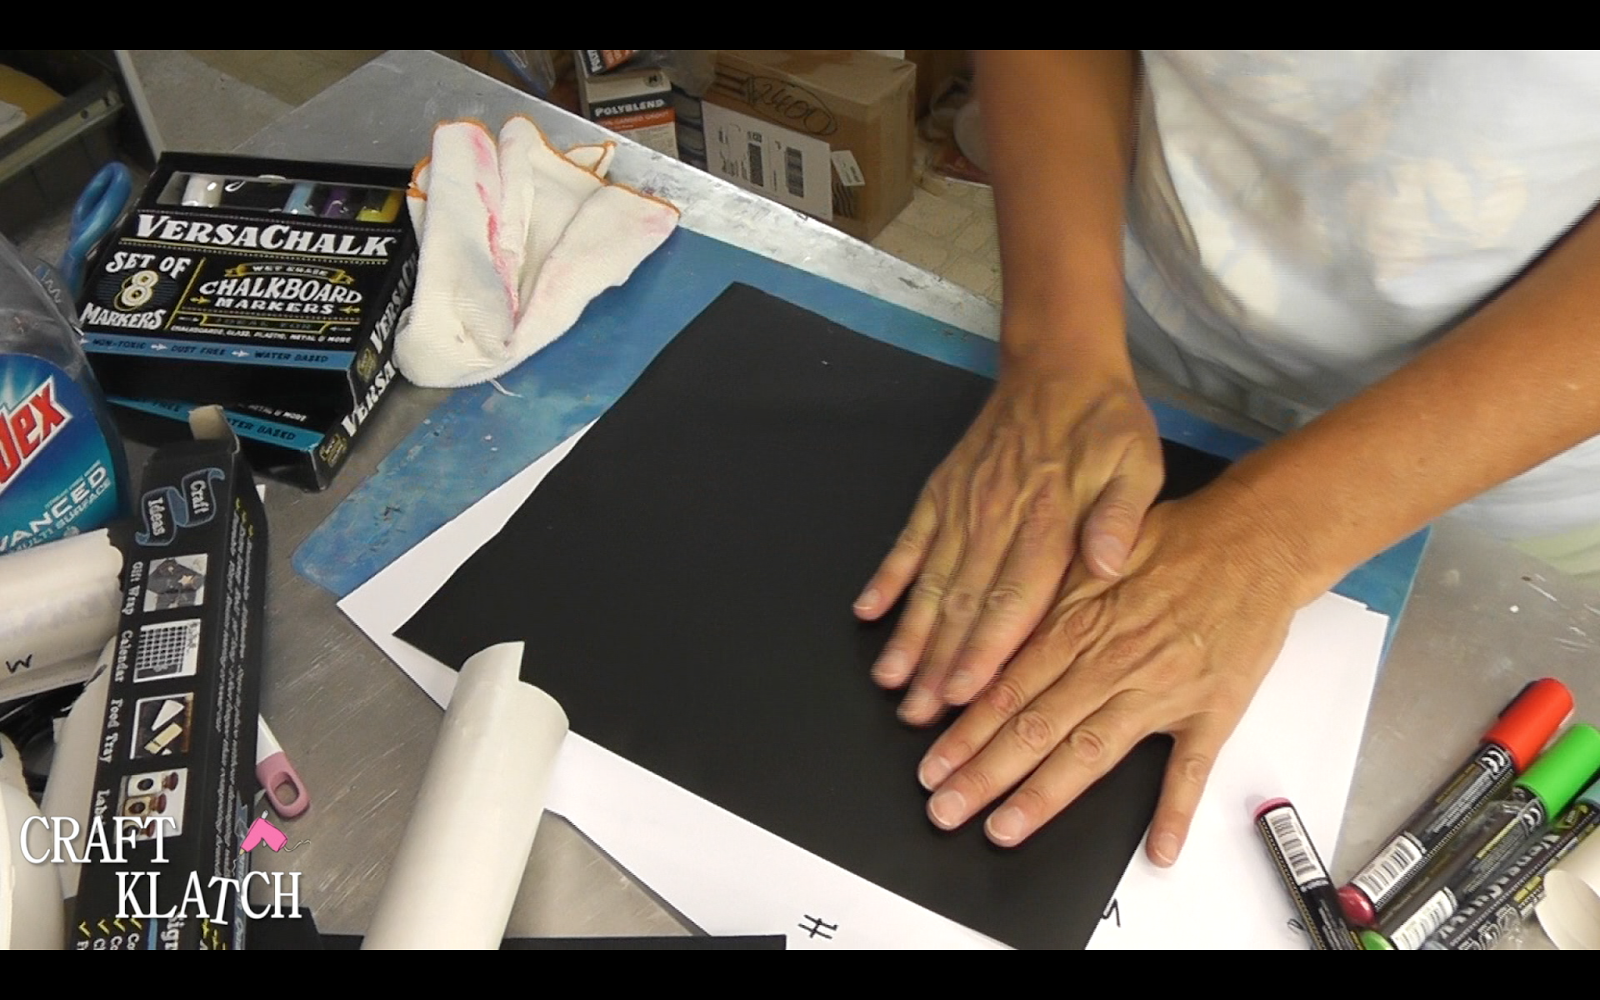
4. Be sure to smooth it down, so there aren’t any bubbles. It’s a nice clean look!
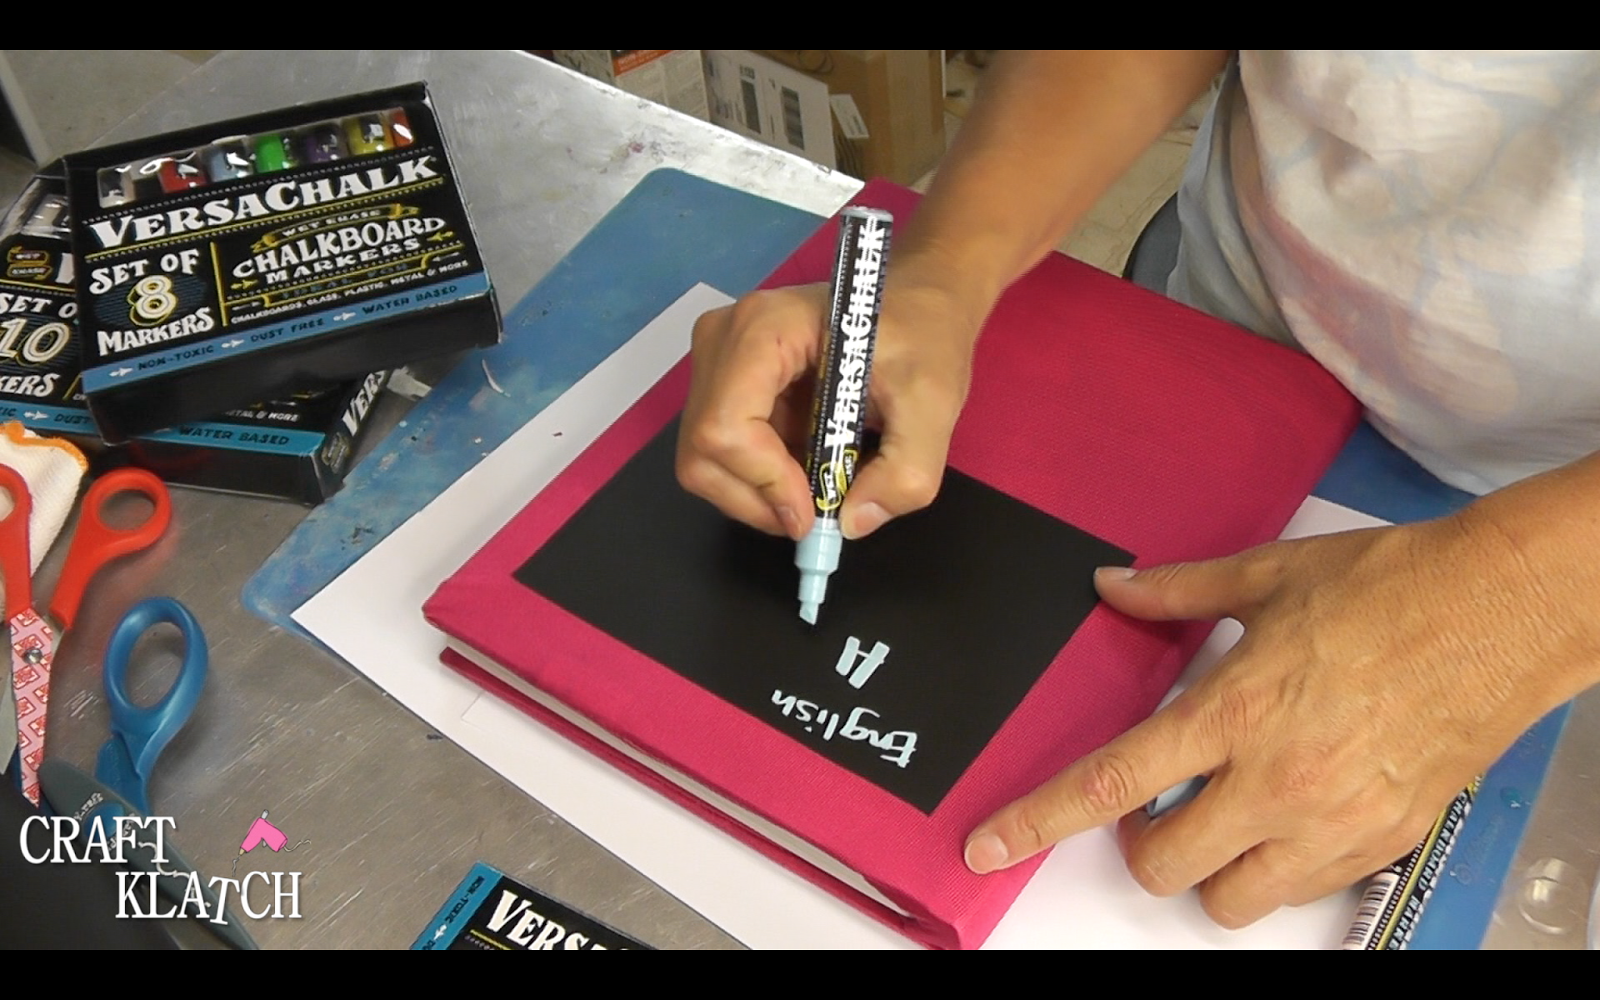
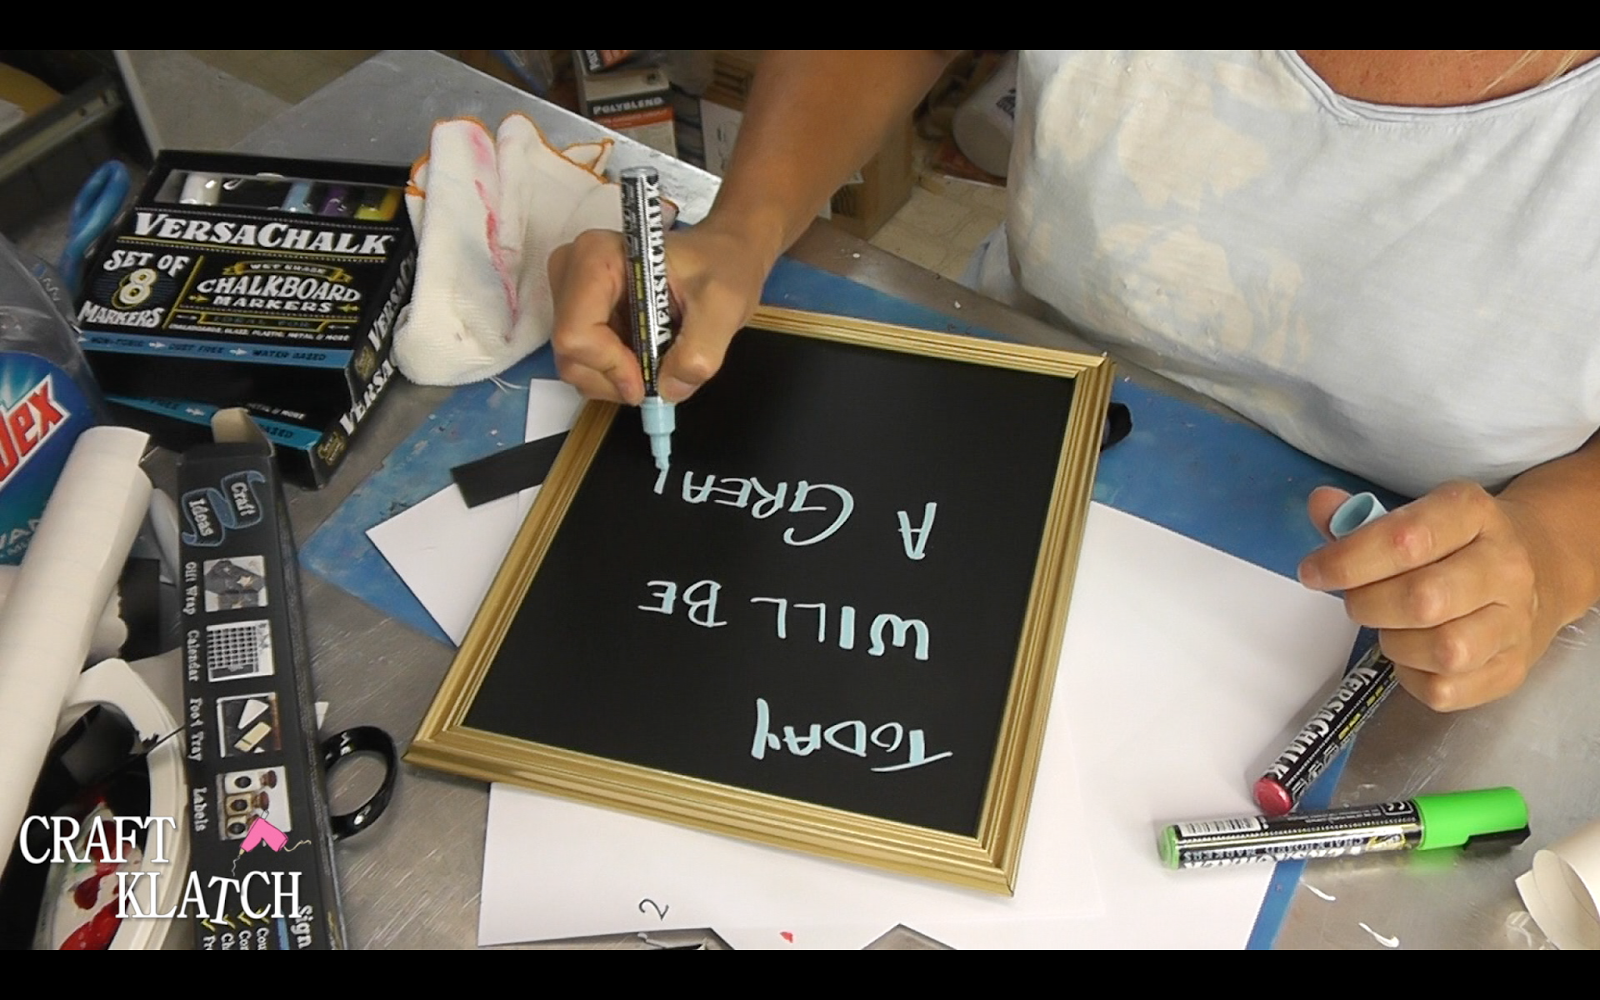
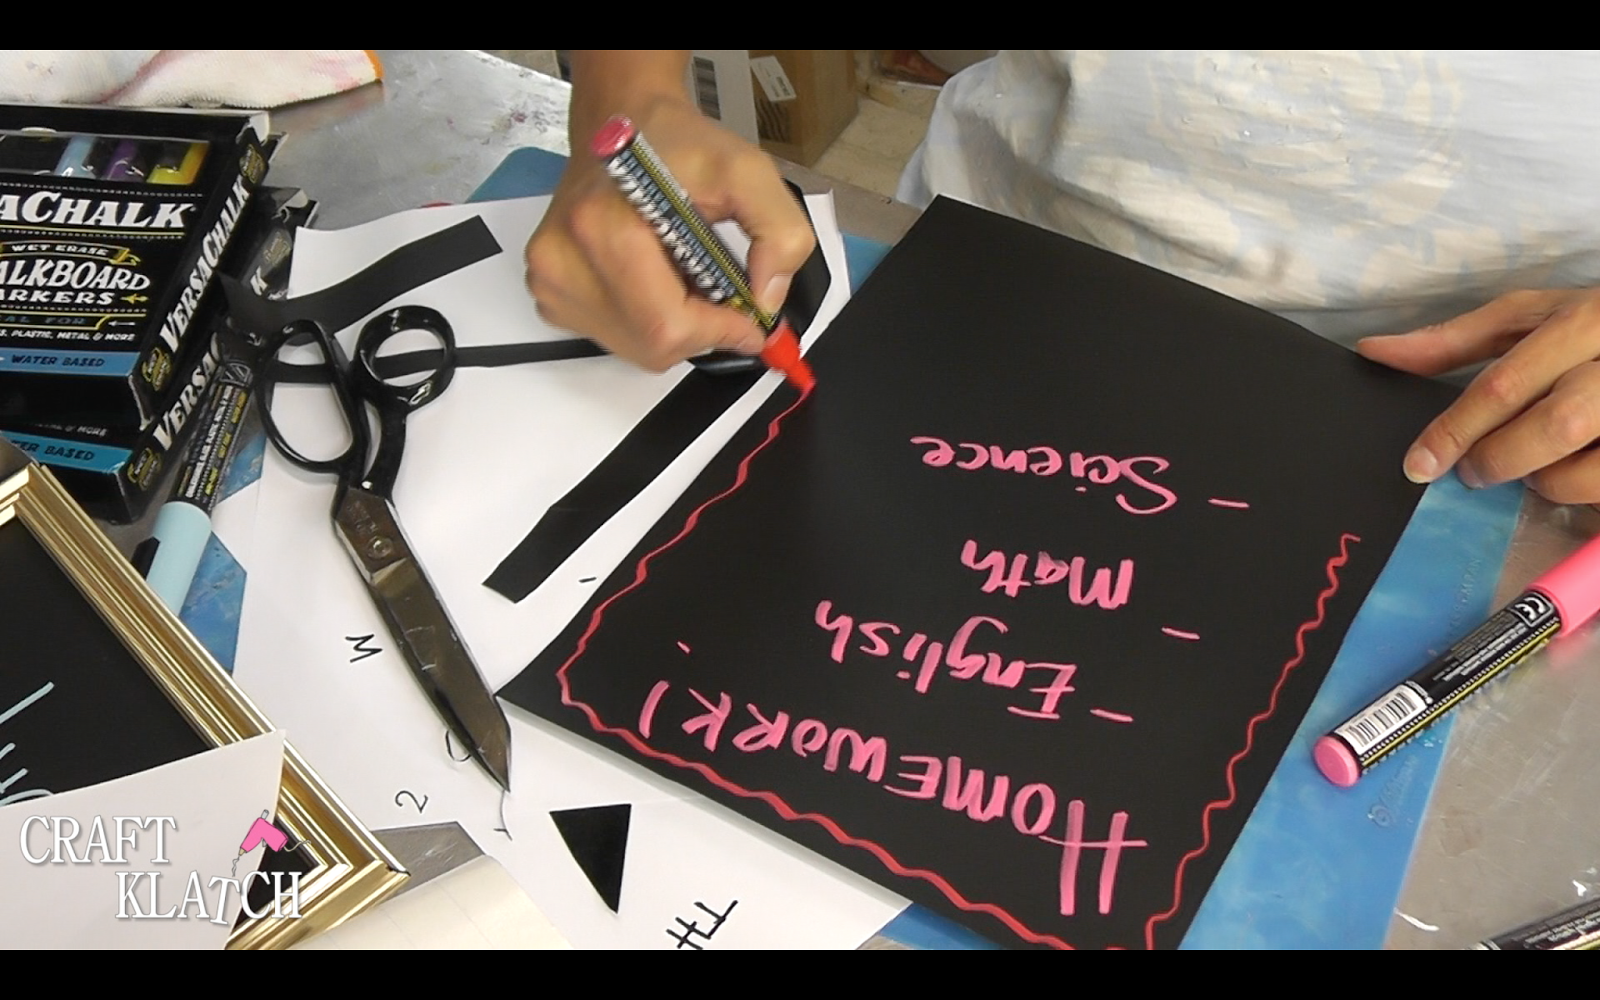
5. Break out your chalk markers and you can write down your homework. When you complete your homework, you can take a damp rag and clean it right off and it’s ready for tomorrow’s homework!
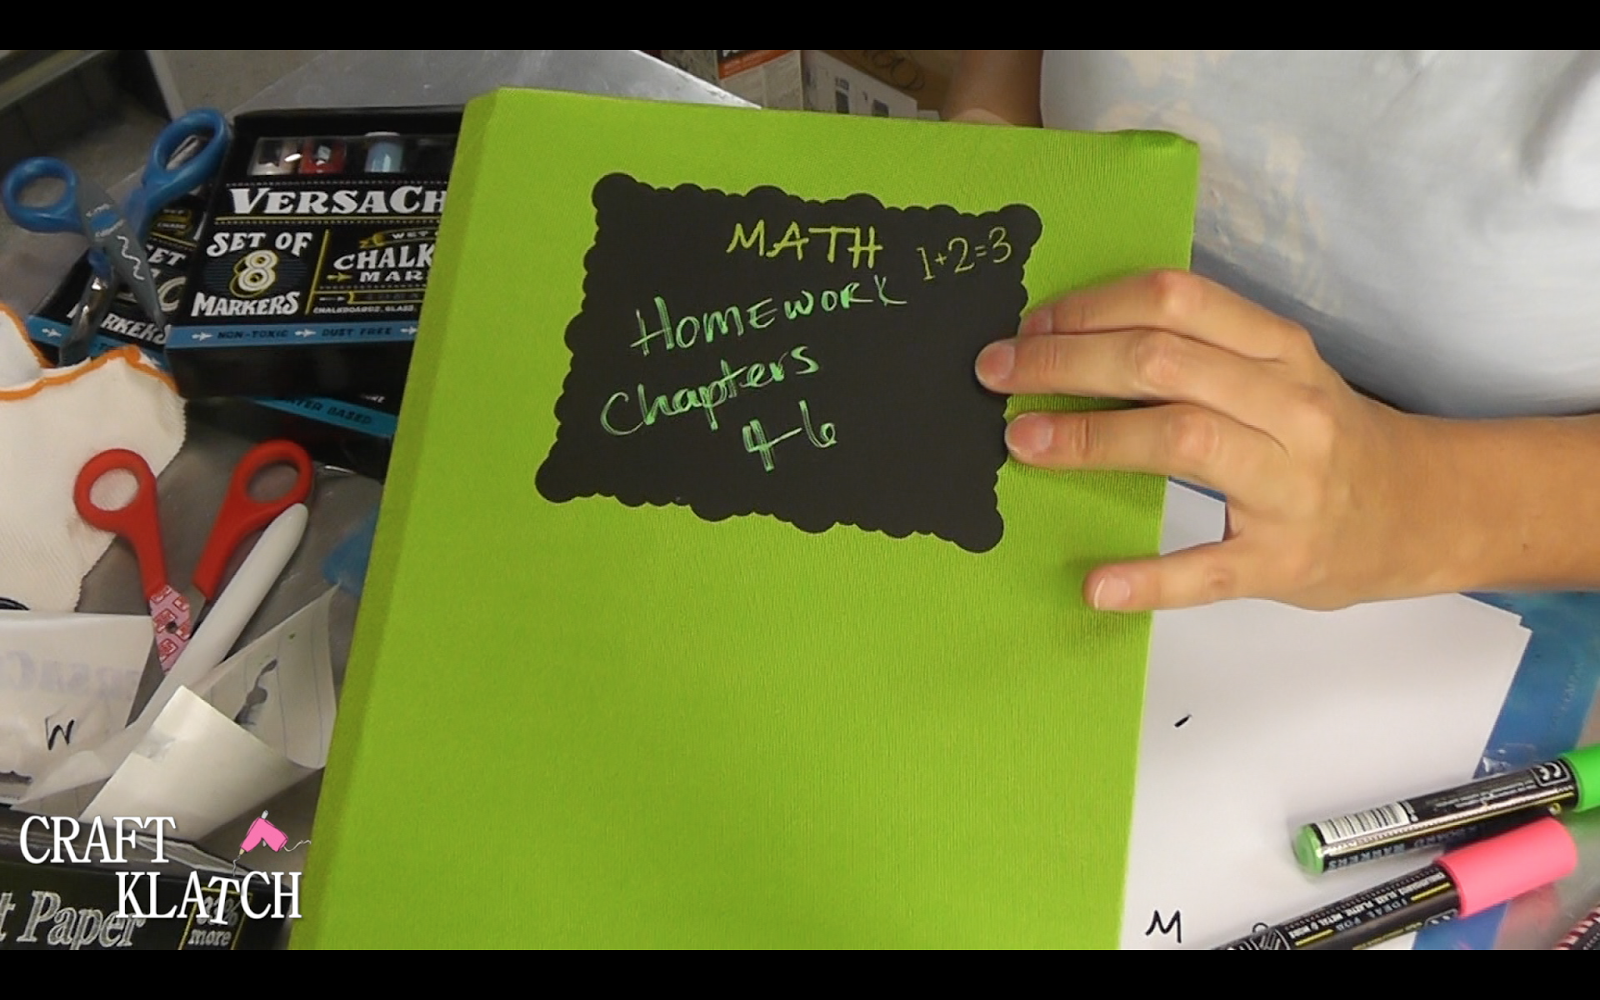
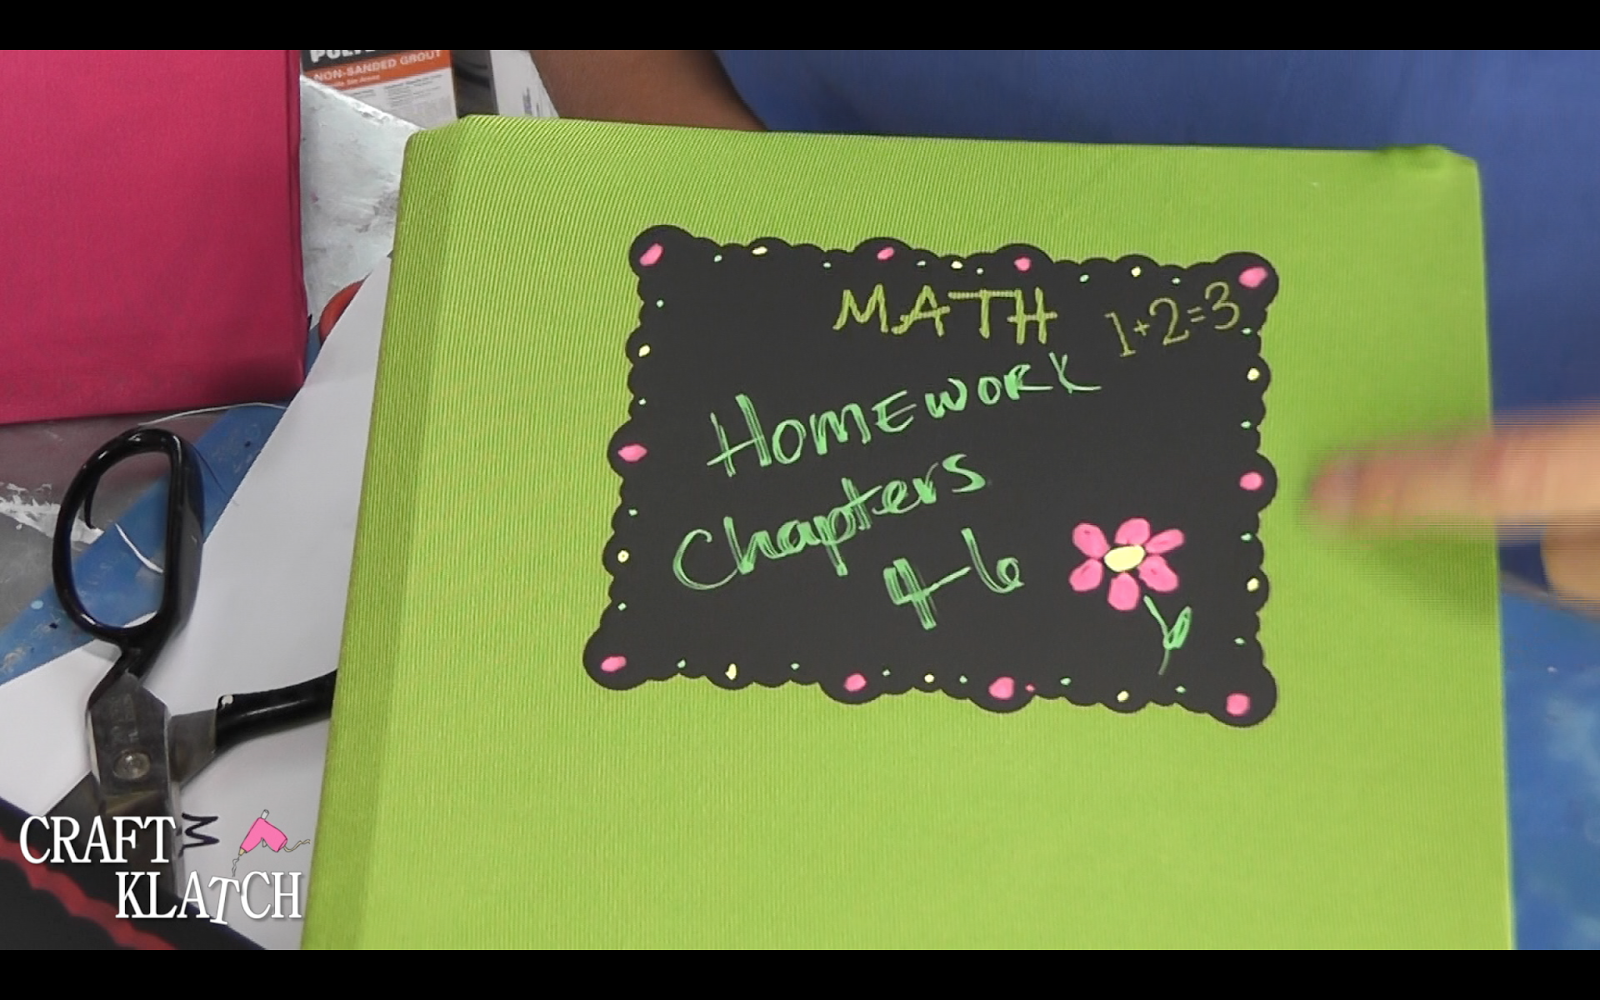
If you want to get a little fancy and have a cutting machine, you can design your own!
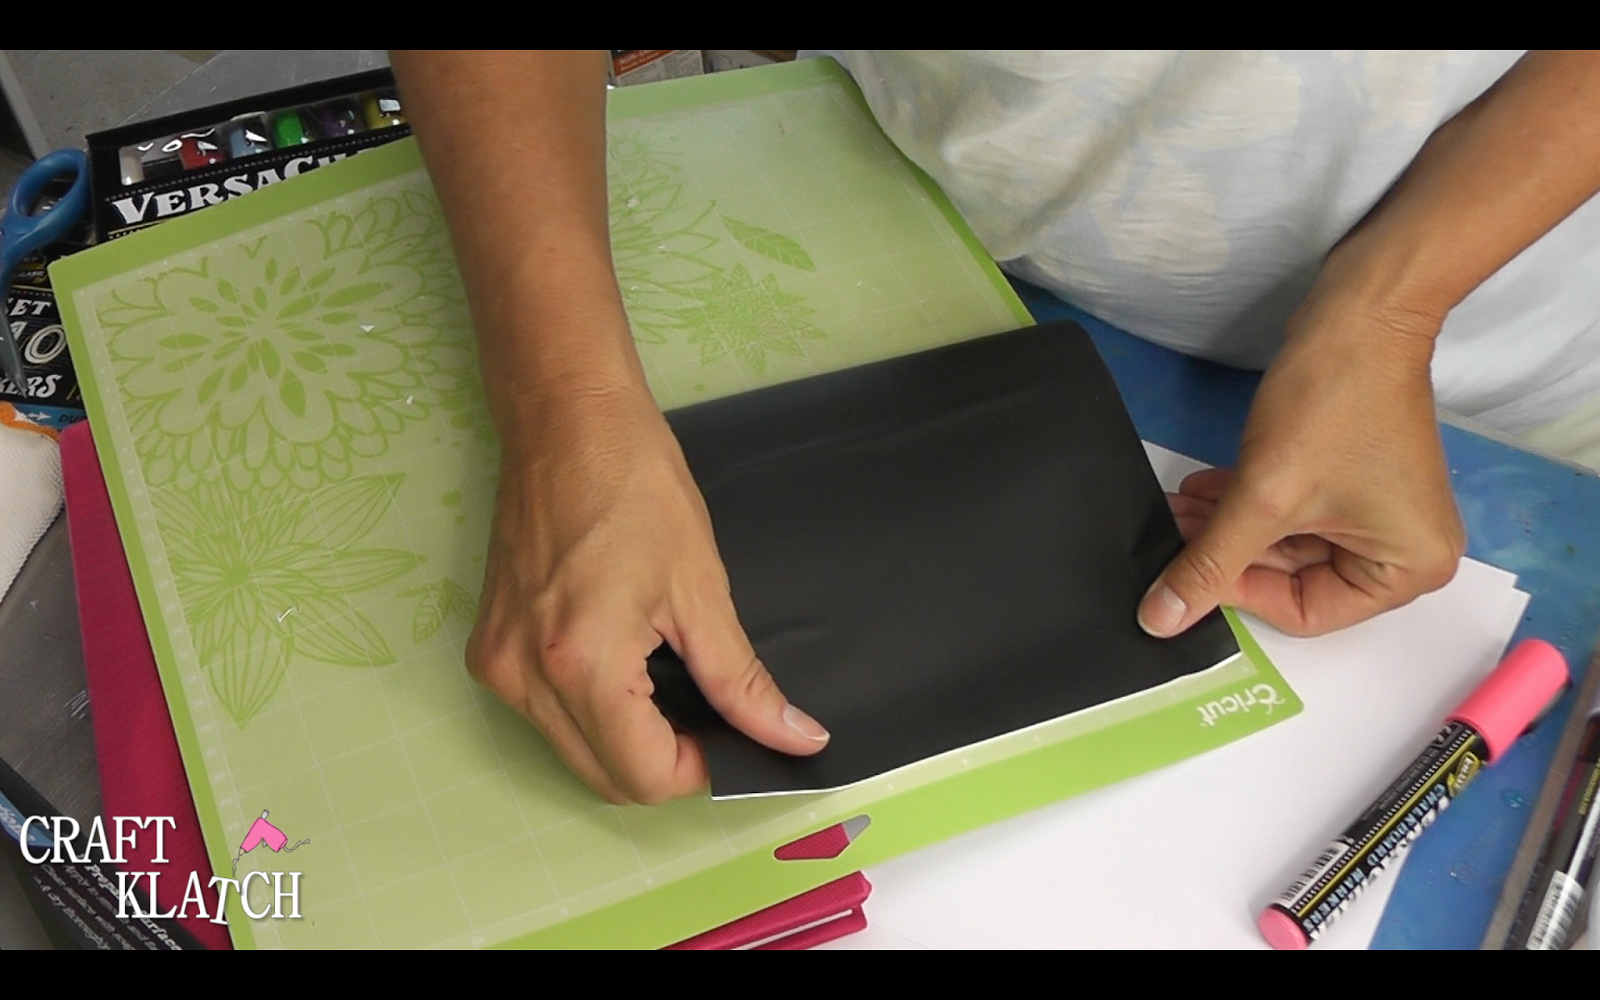
1. Design your label. Cut our a piece of the chalkboard contact paper and stick it to your cutting mat.
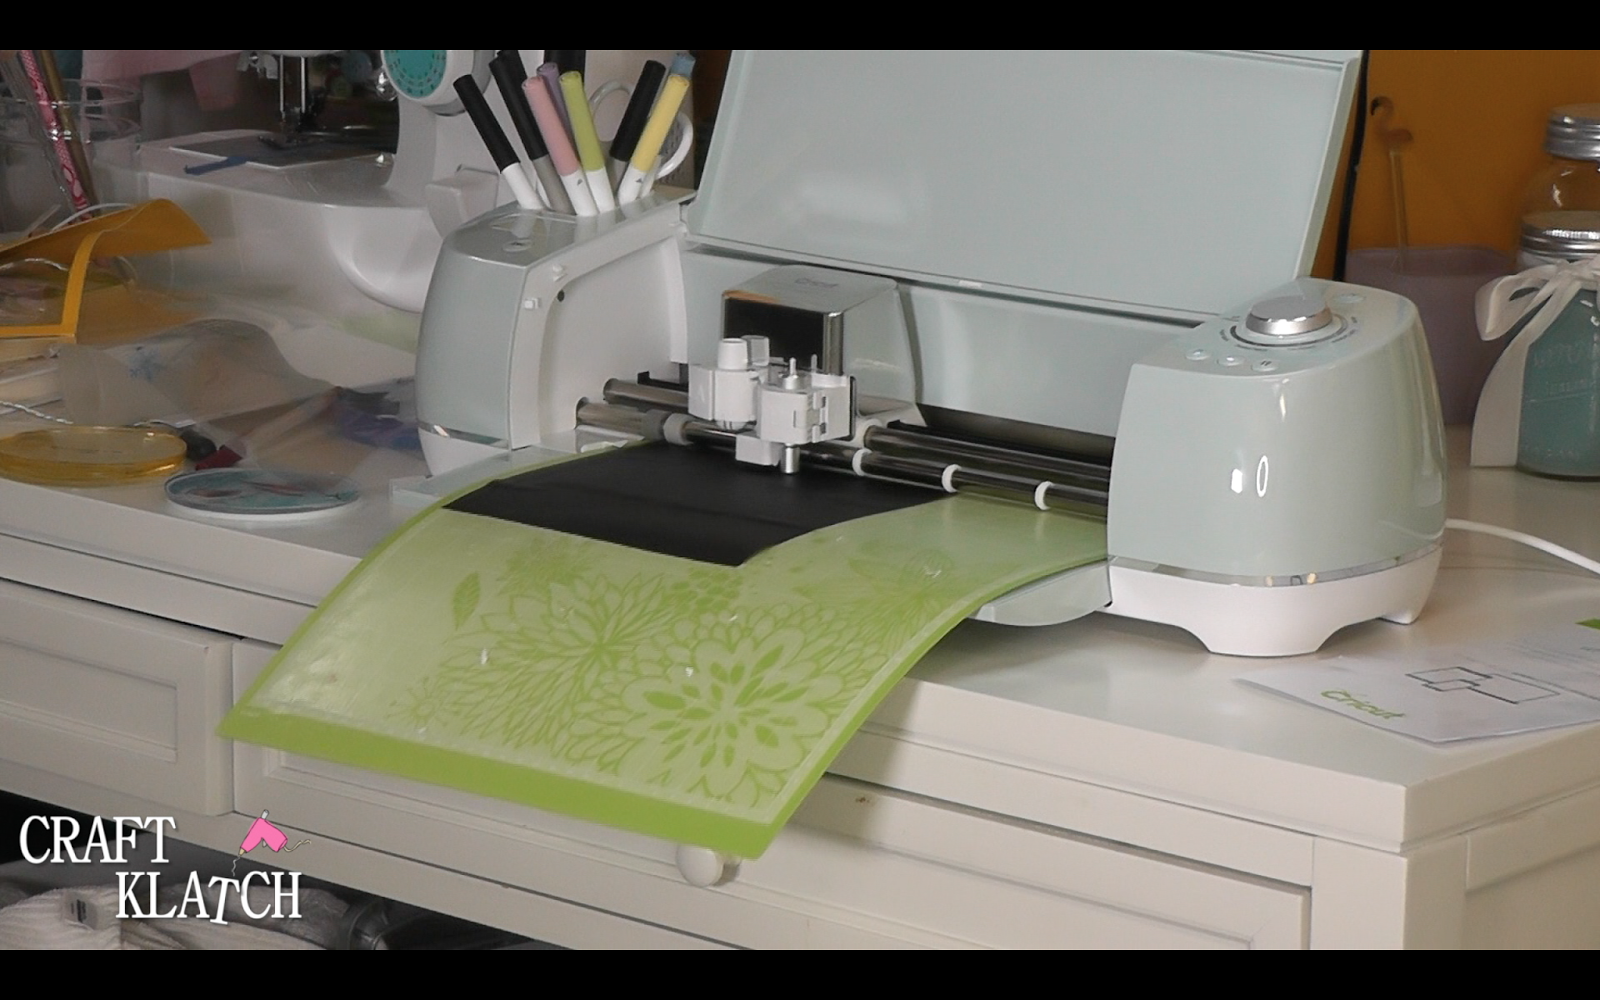
2. Run the mat and contact paper through the machine, on the vinyl setting. Always exciting!
3. Then peel off the backing and stick it to the book cover.
4. With the cutting machine, I was able to cut out the word math and the math problem, 1+2=3. The color of the book cover shows through the cut outs!
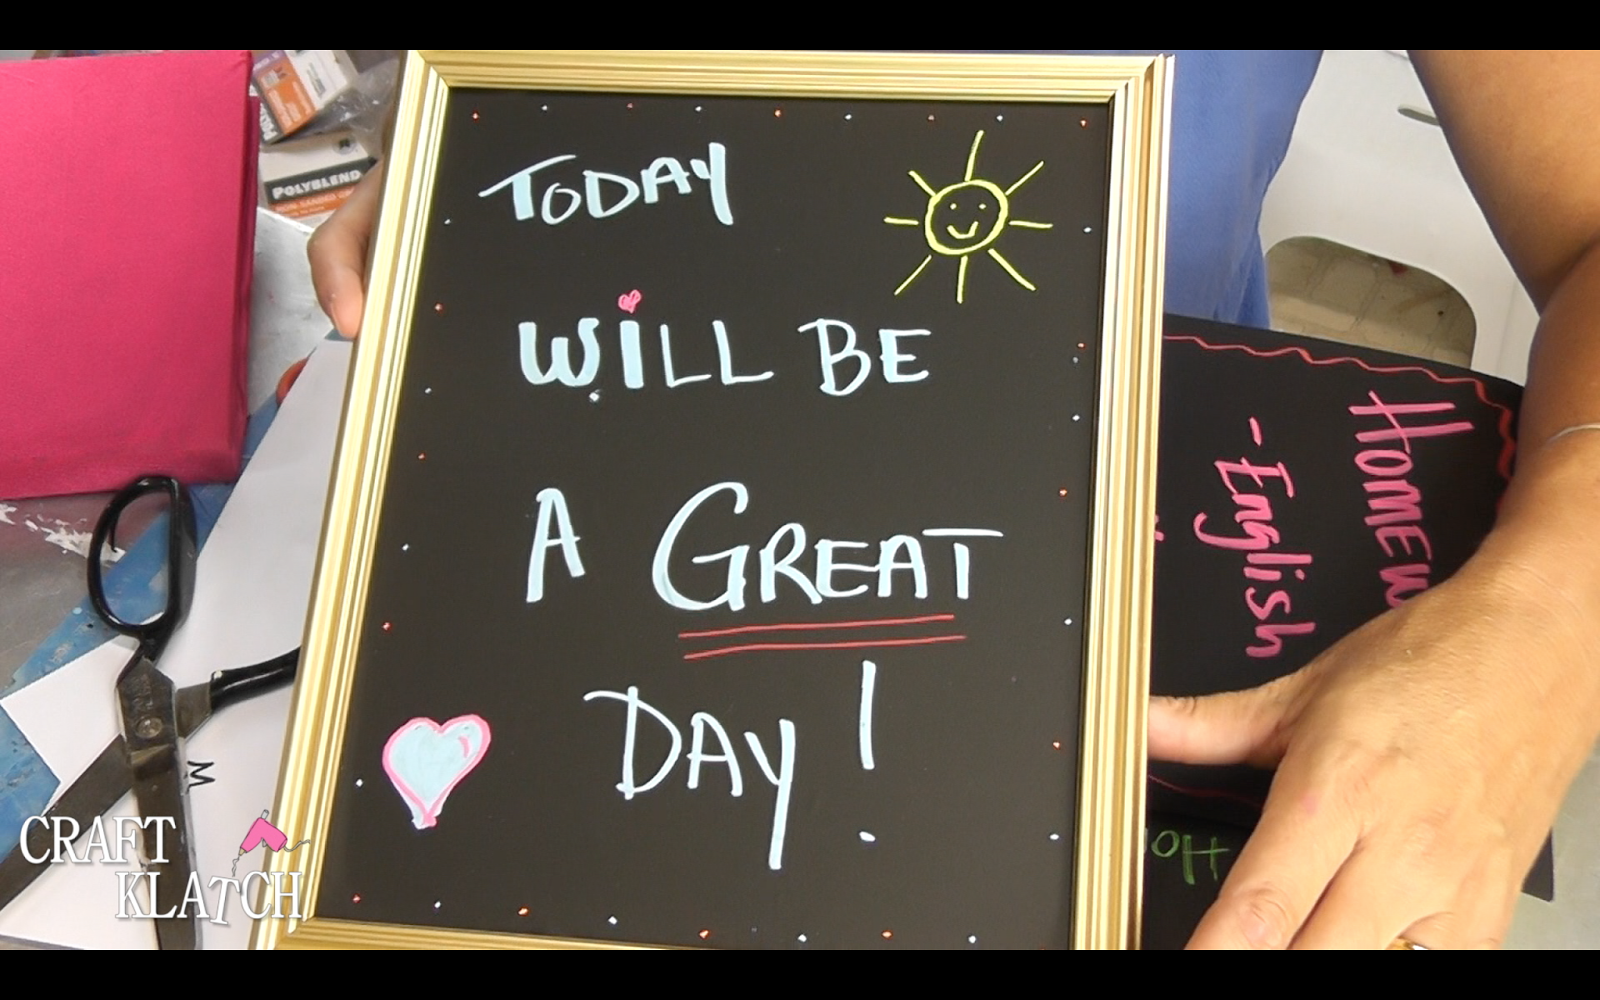
2. Take it apart.
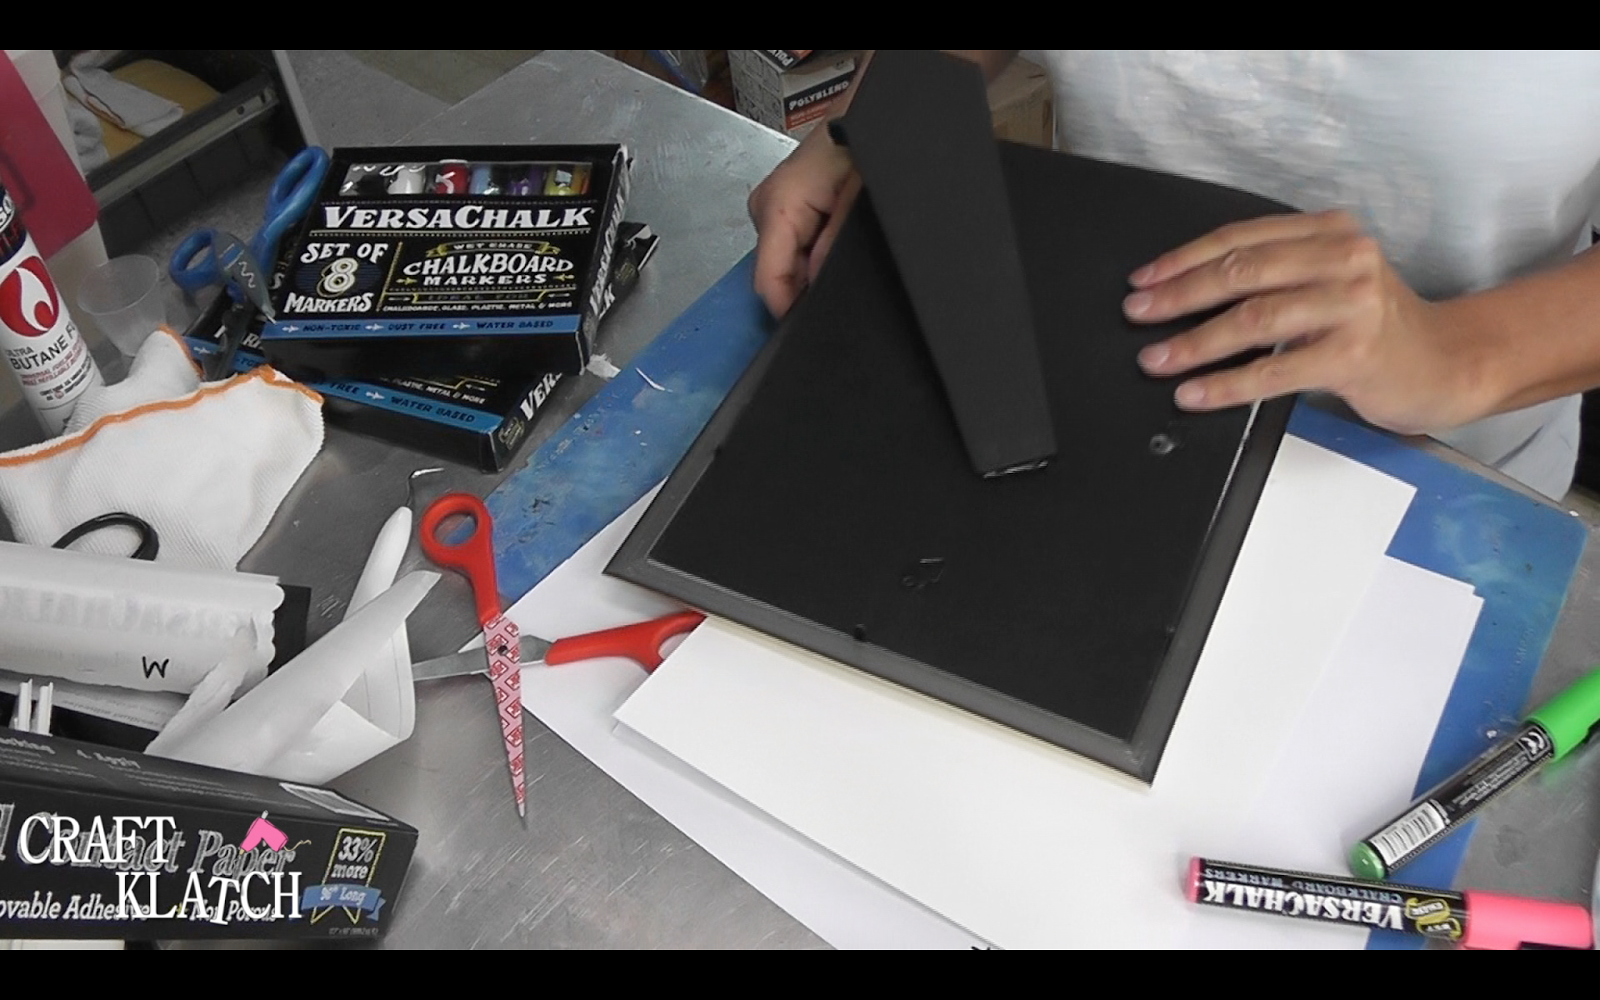
3. Cut a piece of contact paper a little larger than the glass piece.
4. Remember you are working with the glass piece.
5. Peel the backing off the contact paper.
6. Smooth it onto the glass.
7. Put it back together.
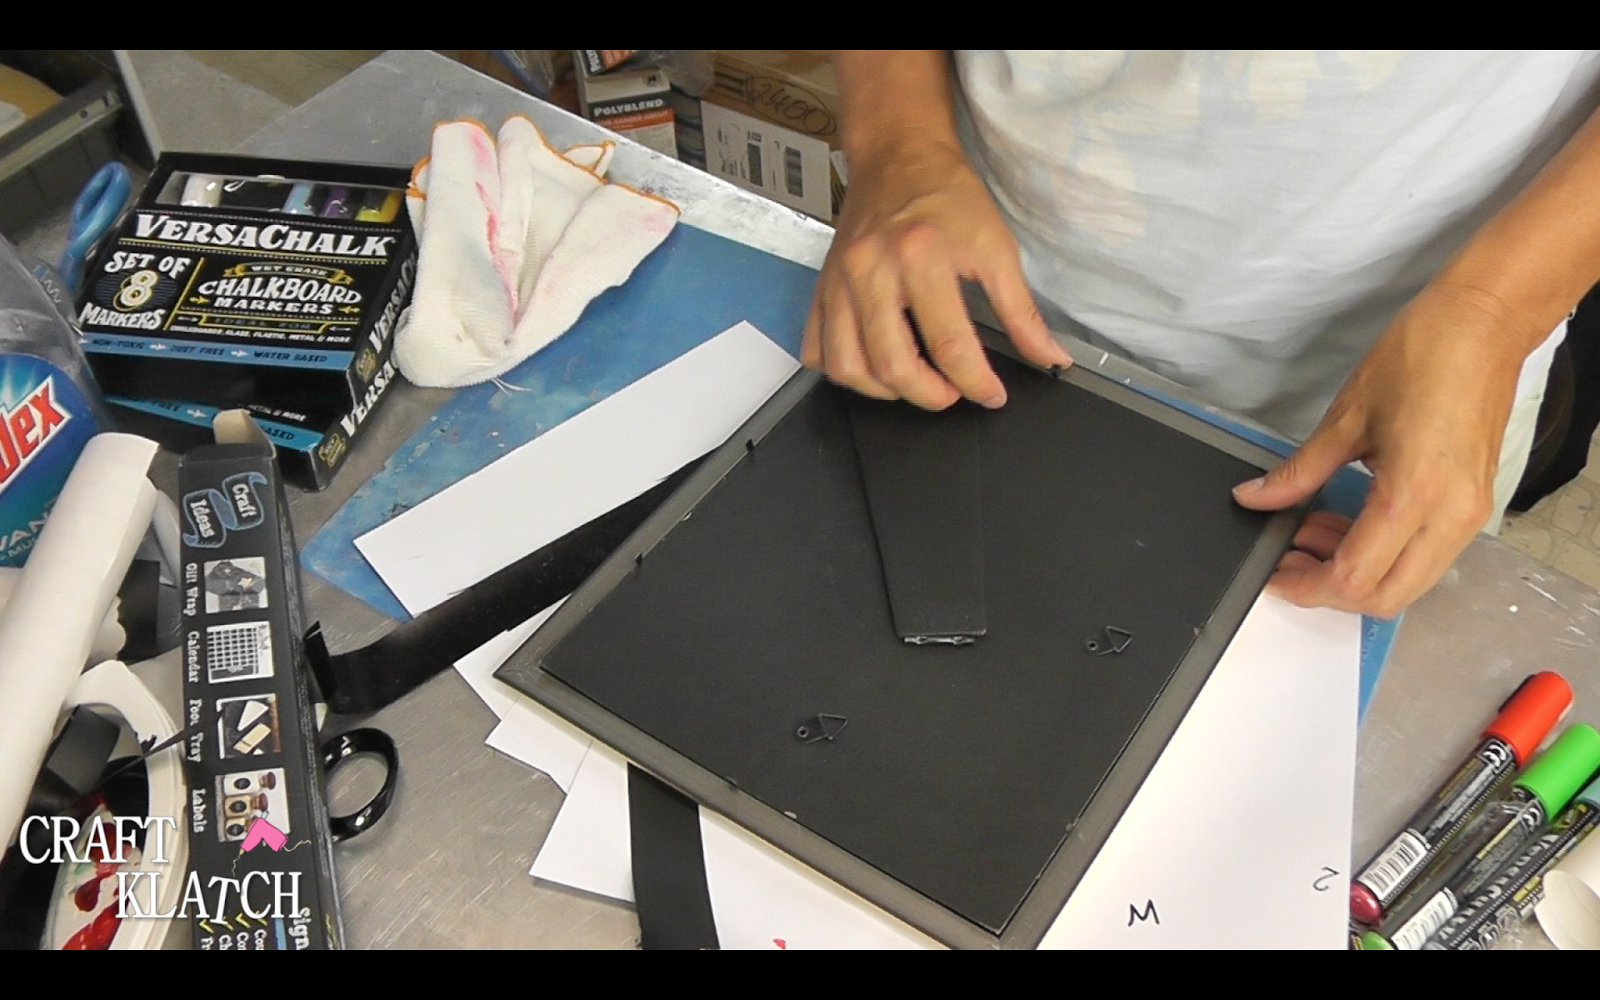
8. Now you have a chalkboard!
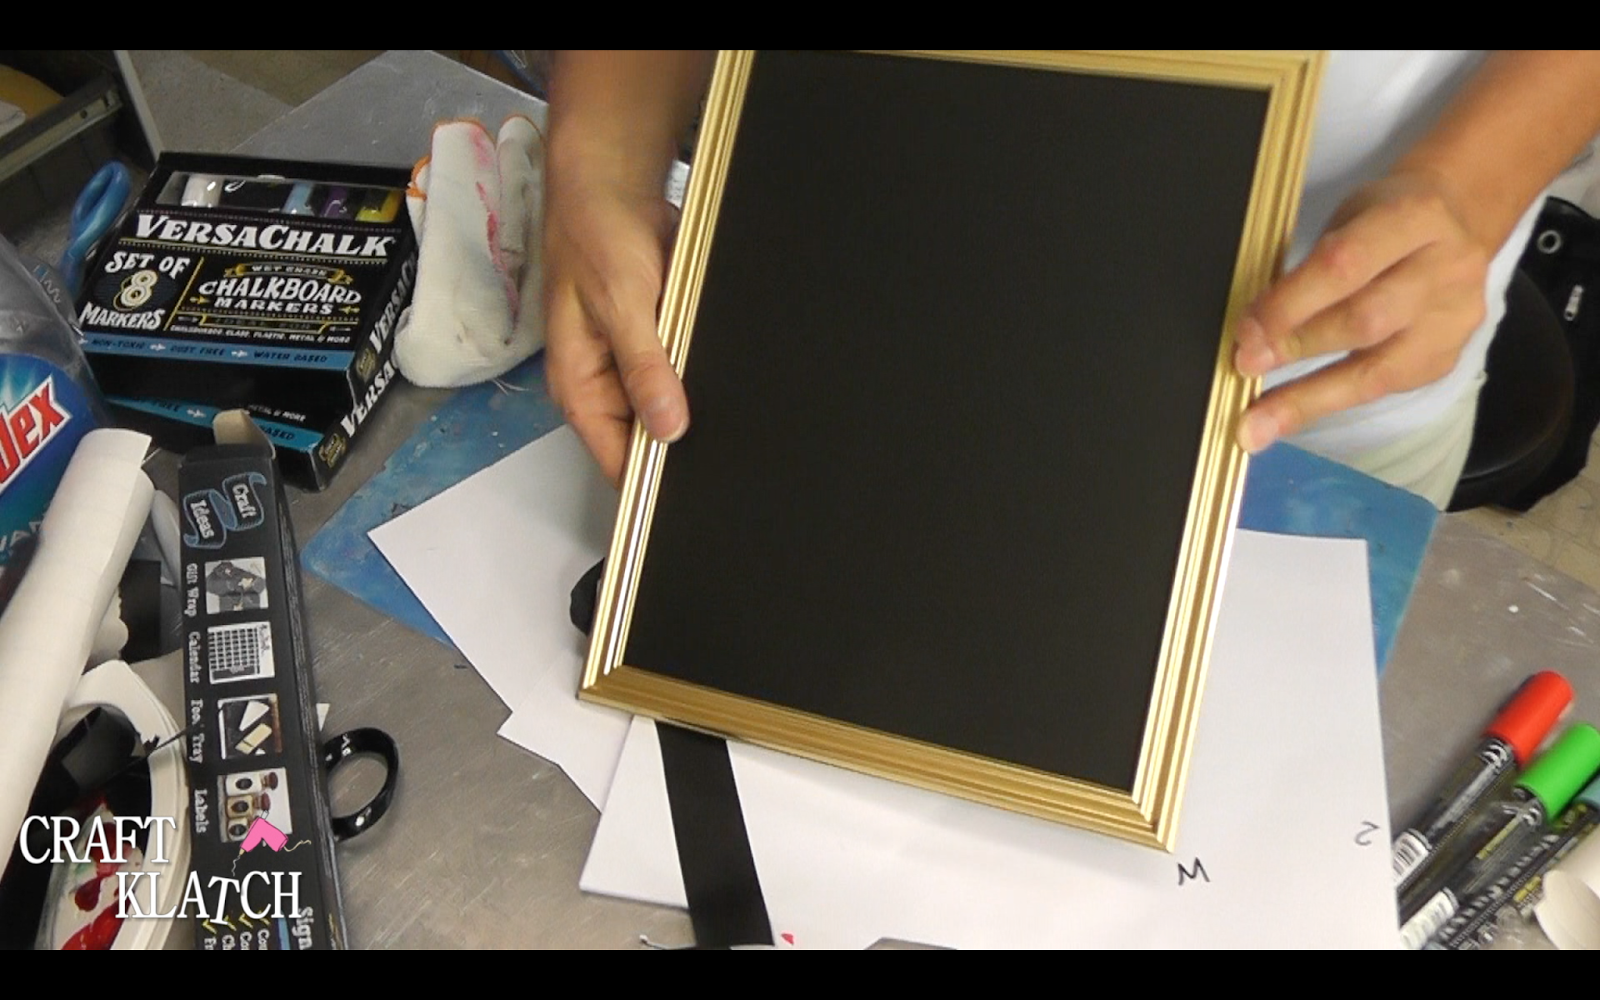
That works beautifully with the markers!
1. I used magnet sheets.
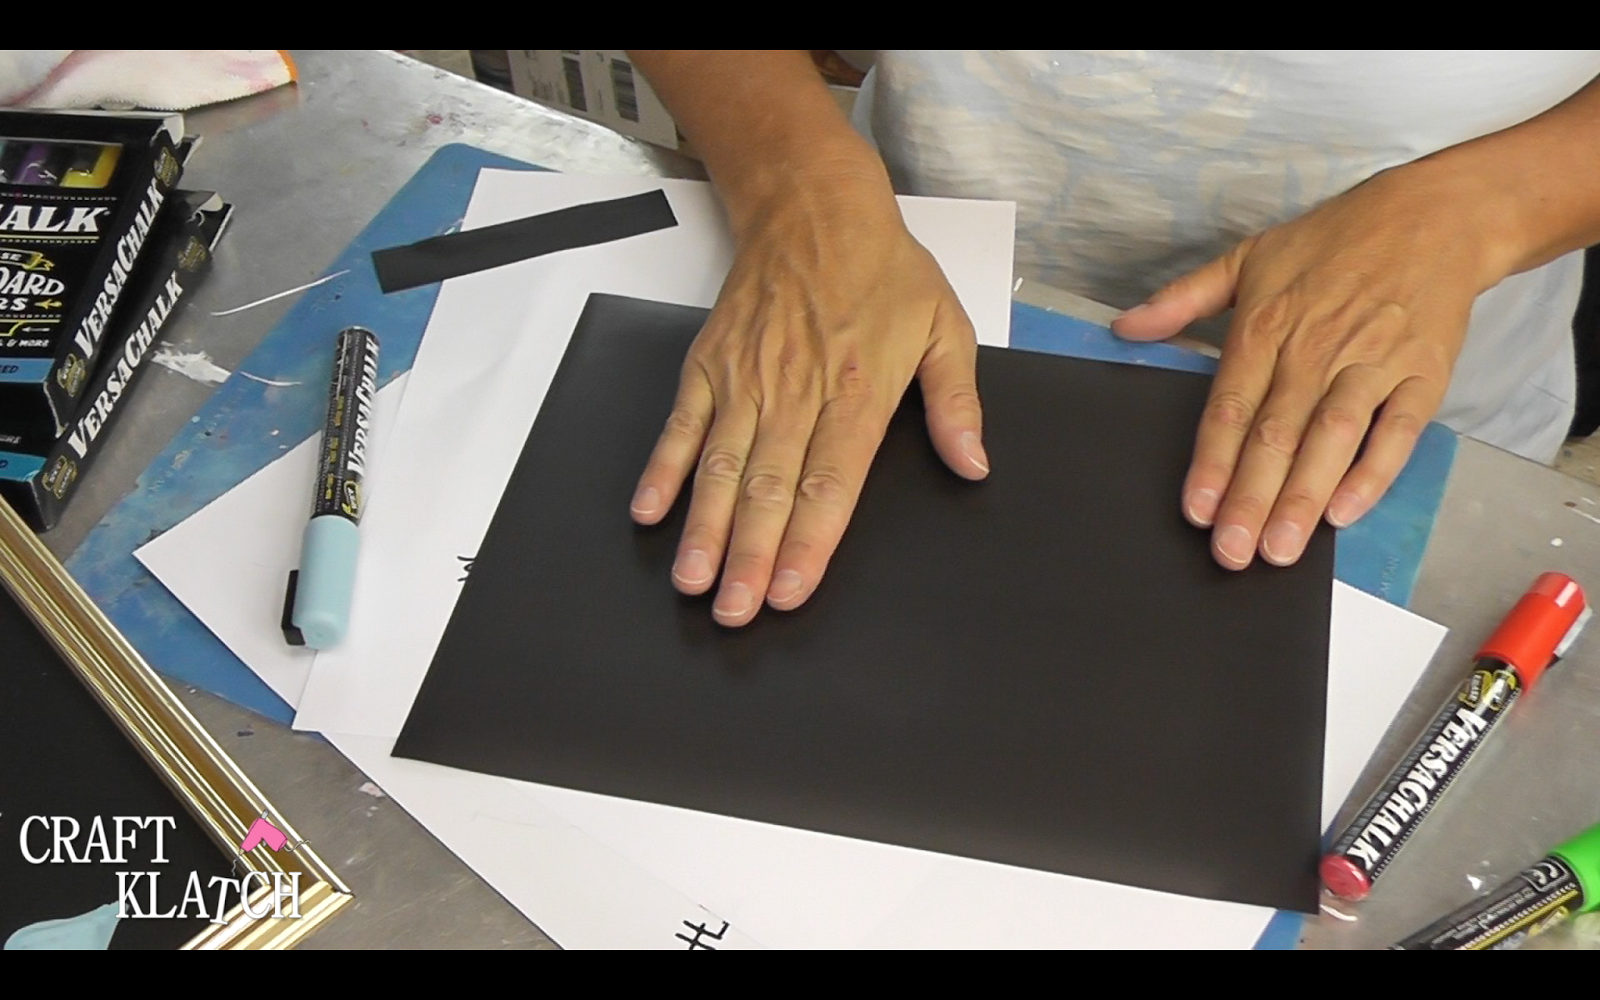
Mine had a white background, but you might find some with sticky backs. Either will work fine.
2. Using the contact paper, cut a piece that is a little larger than your magnet sheet.

3. Stick it to the back of the magnet sheet.
4. Trim off the excess.
5. Then use it to keep notes or lists. It can stick in your locker, or on a fridge!
Here’s a closer look, after I did a little additional designing with the markers:
Thanks for stopping by! Good luck and remember: Life’s too short not to shimmer, so grab your glue gun and your glitter!™ Stay safe!!
Mona