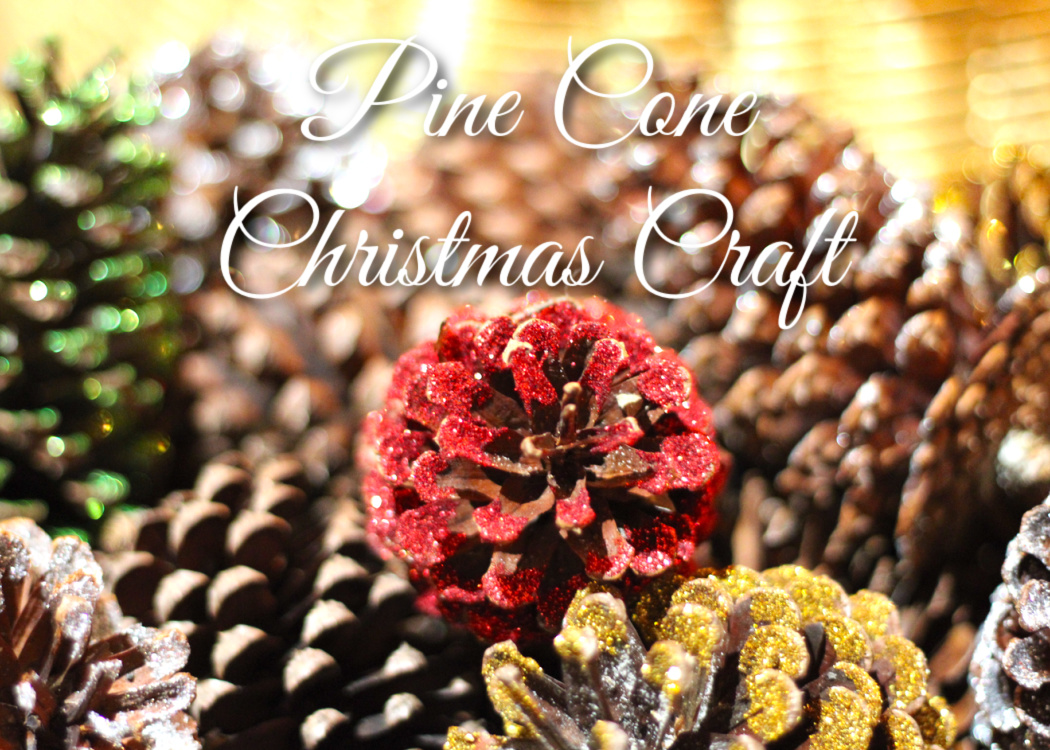
These beautiful glittered pine cone craft Christmas decorations are perfect for decorating your tree, using them as a centerpiece, or decorating your porch.
Pine cones are an easy way to add natural beauty to your home during the holiday season. This simple craft project will show you how to create these beautiful decorations with a little extra sparkle!
Video Tutorial for Glittered Pine Cone Christmas Decorations
Start With A Fresh Pine Cone
To start, all you need are pine cones. Greg and I found them lying on the side of the road during our morning walk. I made him go back with me and we filled two shopping bags.
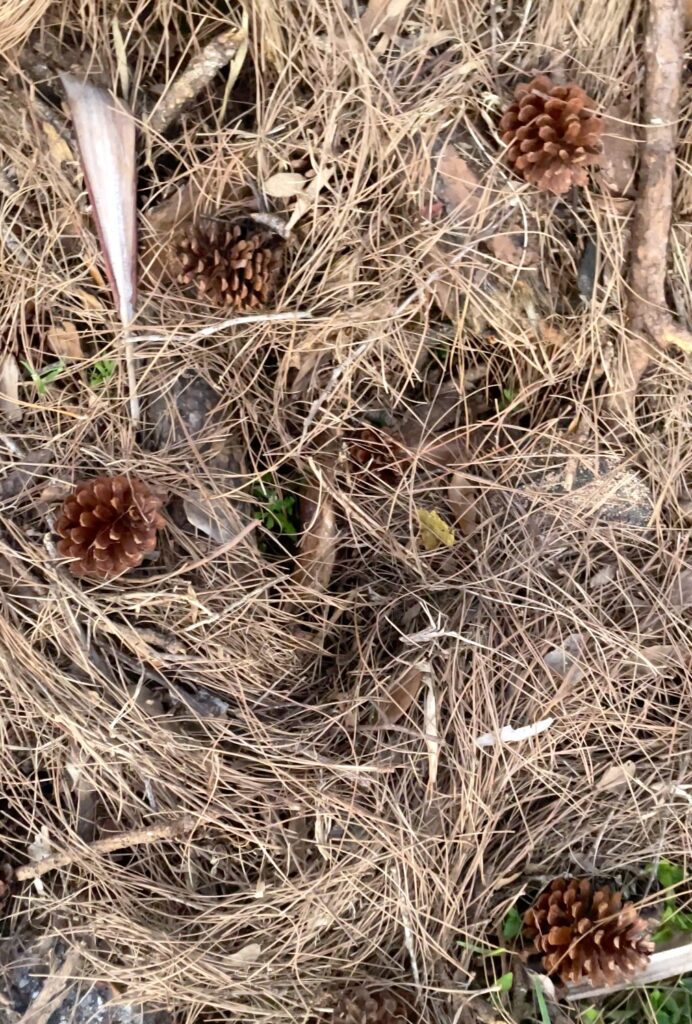
Super score!
The ones we found were already open. If yours have not opened yet, cover a baking sheet with aluminum foil. Place the pine cones on the baking sheet and put them in the oven on low heat. They should open right up.
Be sure to FOLLOW me on Instagram HERE!
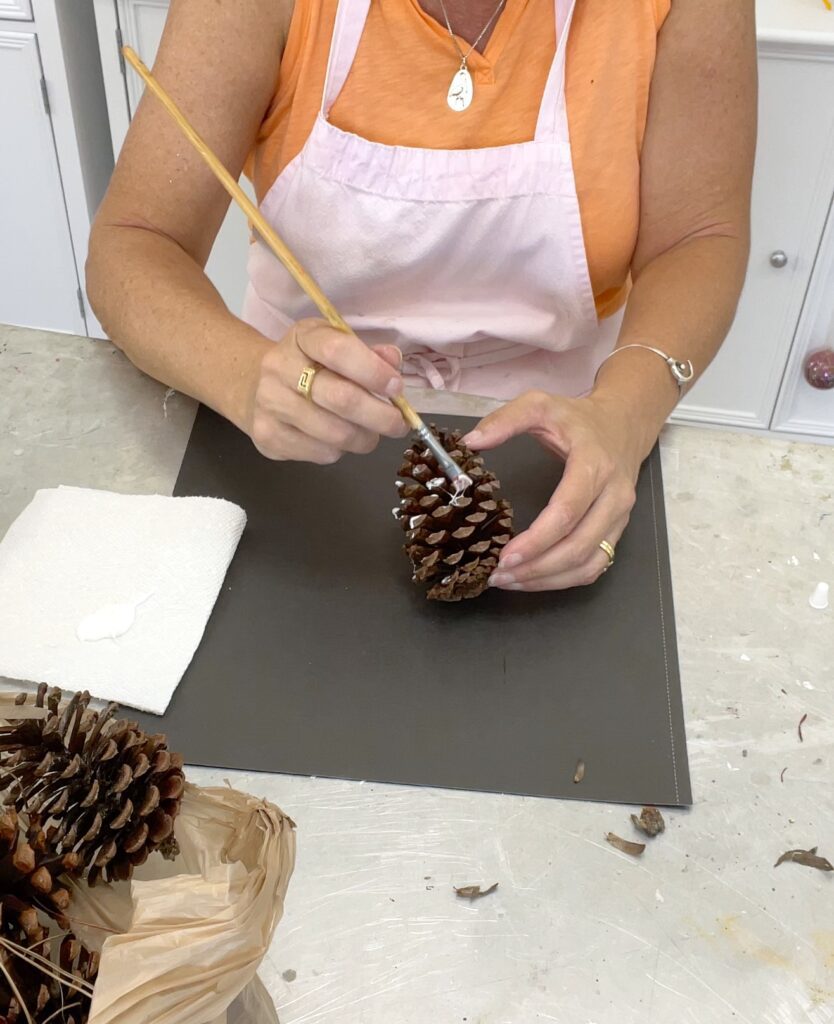
Pine Cones and Glue
Dip your paintbrush in some clear drying glue and brush it onto the ends of the pine cones.
Glitter
When working on a pine cone craft for Christmas, glitter seems like a natural.
C’mon! Christmas deserves a little extra sparkle!
Sprinkle fine glitter onto the glue and set them aside to dry. I used red, green, gold and silver.
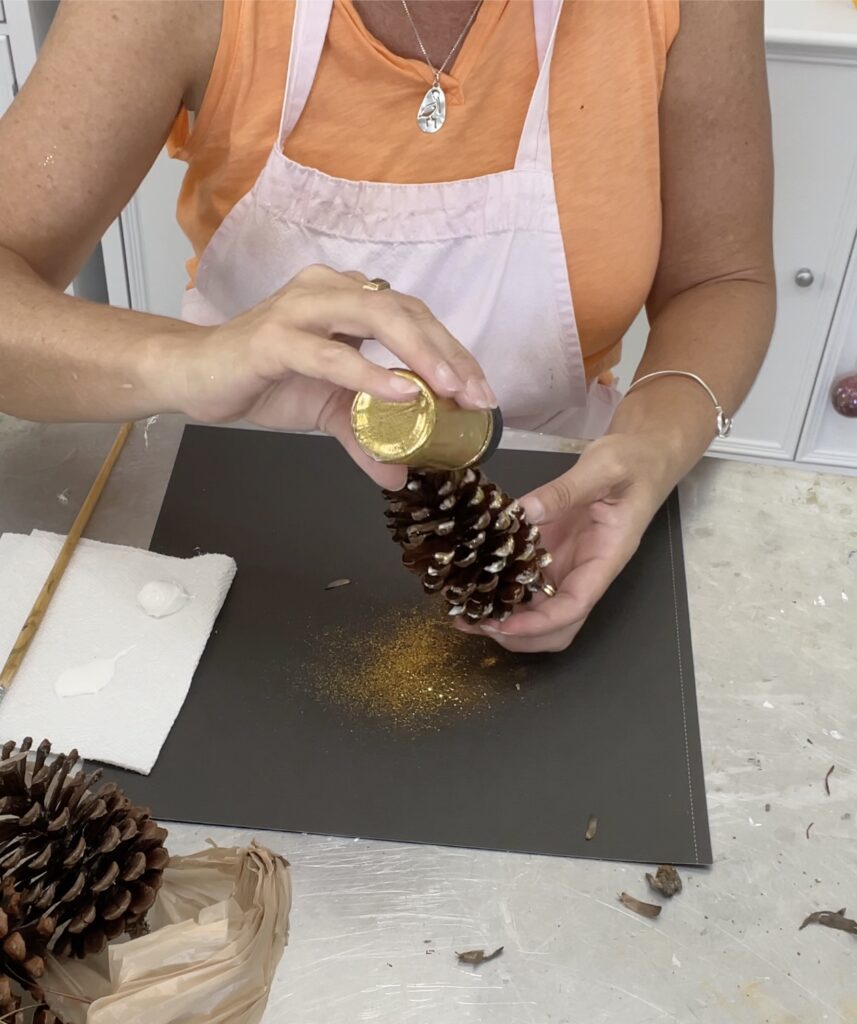
You could also do a combo of blue, silver, and clear if you want more of a neutral frosty feel.
Find an Old Basket That Needs a Makeover
*This blog uses affiliate links. As an Amazon Associate I earn from qualifying purchases, at no additional cost to you.
You can find baskets at thrift stores, garage sales, and flea markets. Look for ones that need a little TLC. I found ours on the side of the road. Actually, my brother-in-law spotted it and grabbed it.
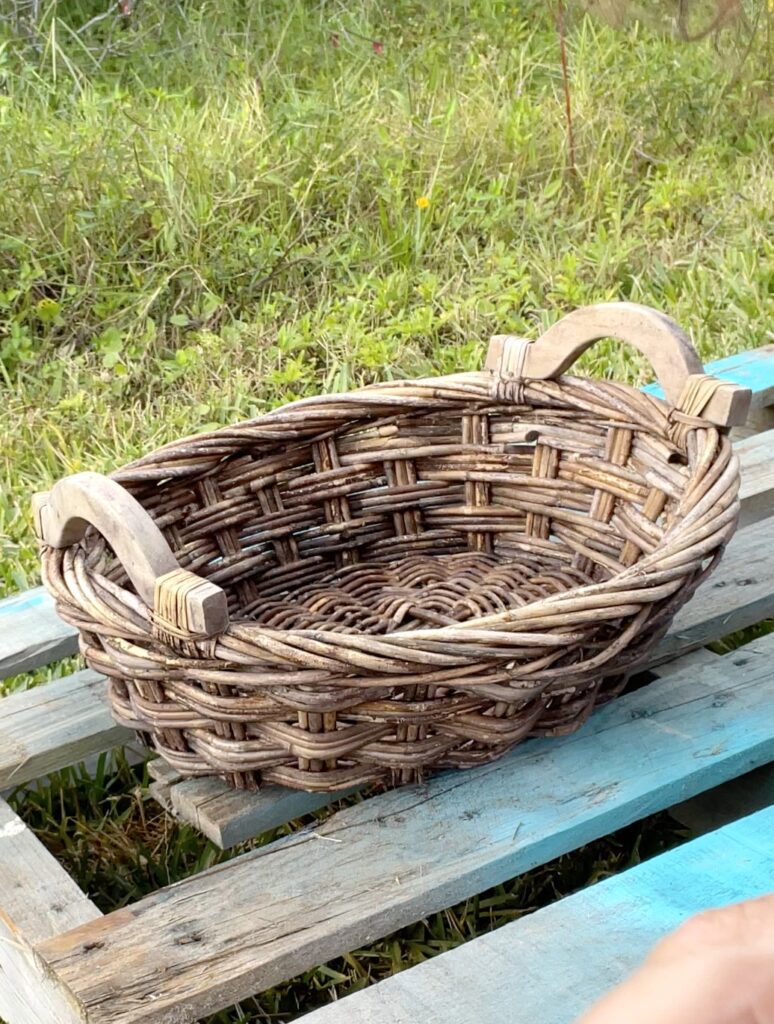
At the time, I had no idea what I would use it for. Luckily, it didn’t take much time to figure it out!
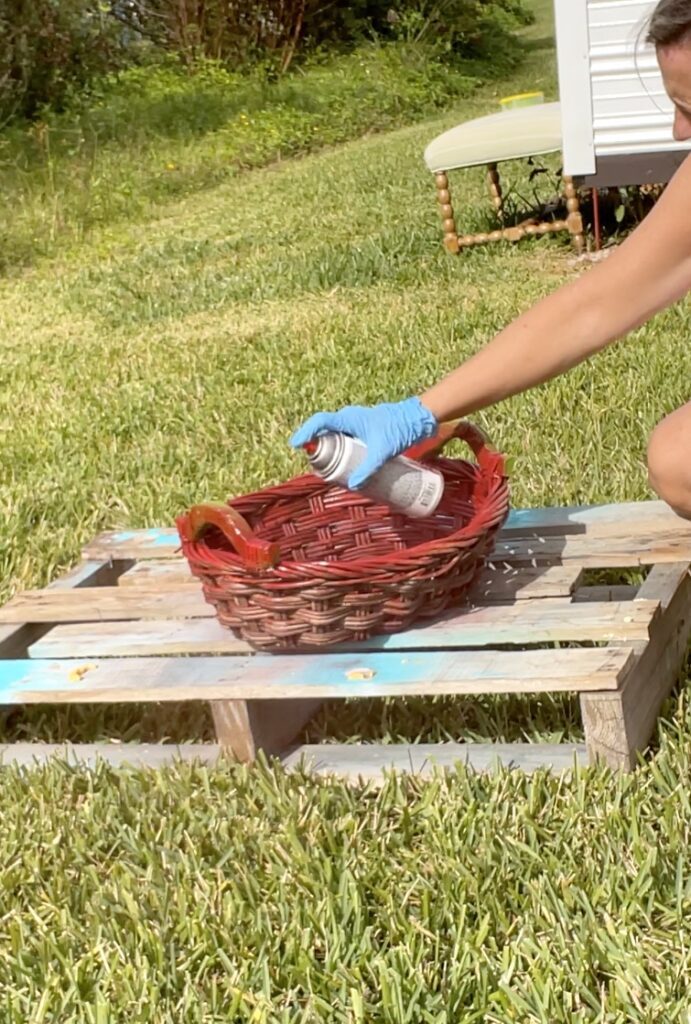
I gave it a good cleaning and sprayed it with THIS, to kill any potential mold. I also followed up by spraying it with hydrogen peroxide and then washing it with dish soap.
It should be clean enough to eat off of.
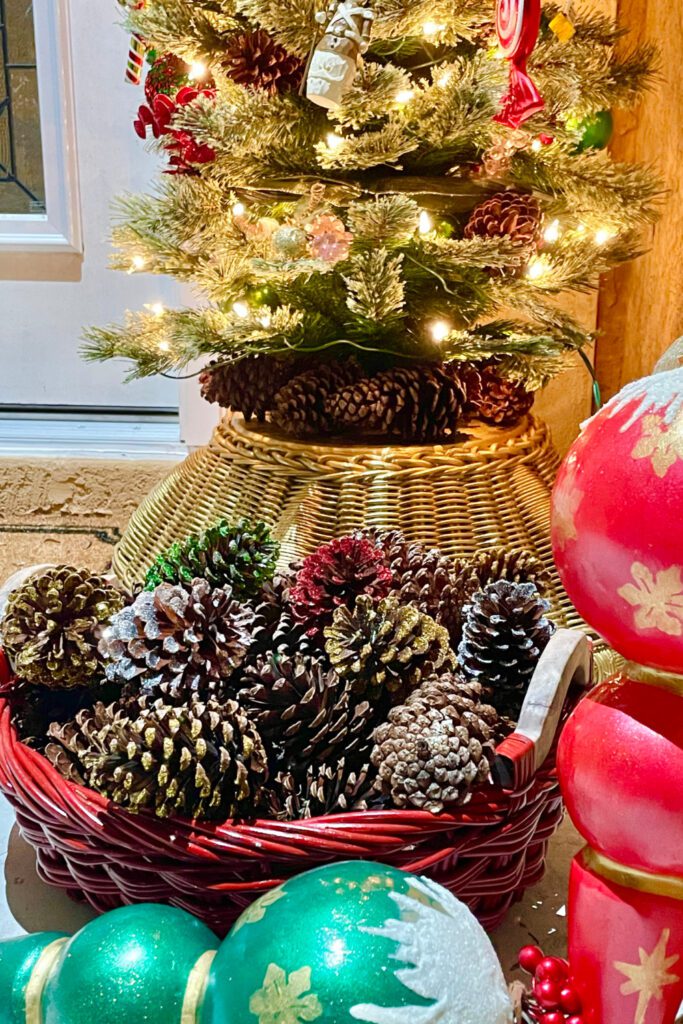
Spraypaint the basket a bright red
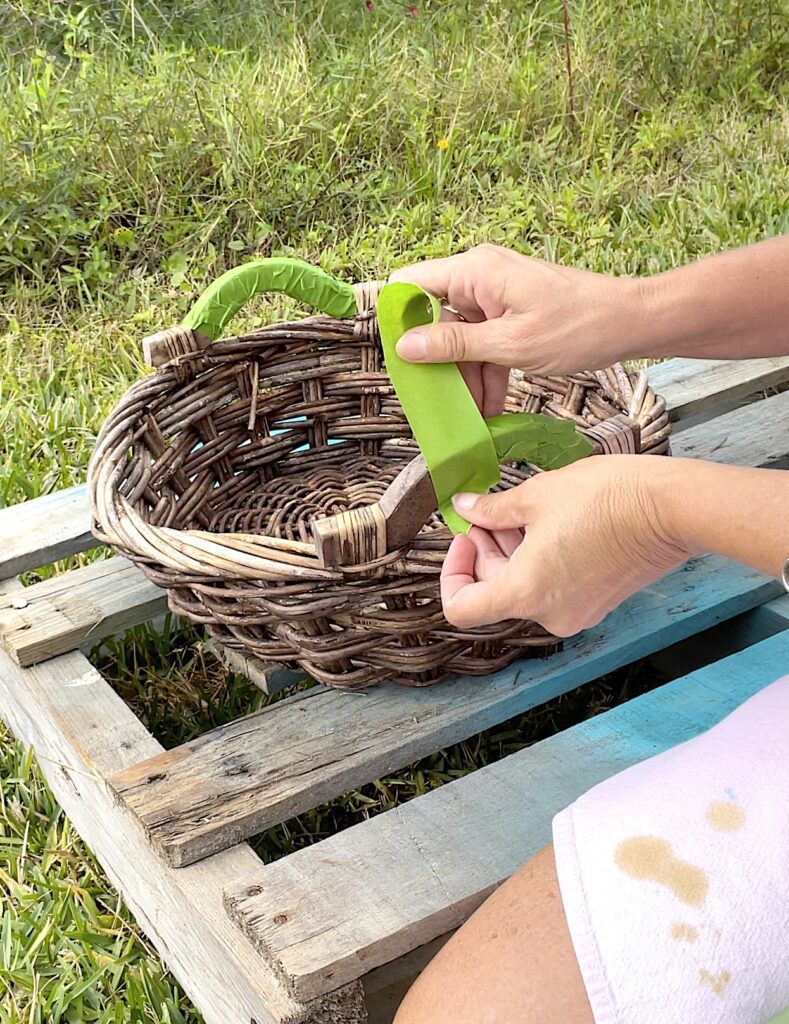
I used painter’s tape to tape off the basket handles because I wanted them to stay a natural wood color.
I wanted to really give the basket a traditional Christmas color, so I went with bold red spray paint in a gloss finish.
Then, I filled it up with my glittered pine cones.
It looks great on my front porch!
Remember when I garbaged picked the chair base and turned it into a high end Christmas tree base for FREE?
Well, this was the same! I cleaned the basket with stuff I had on hand and I had a can of leftover red gloss spraypaint. Of course, I had plenty of glue and glitter in the craft shed to make them sparkle!
It looks great as is or you can add a bow if you like.
I still need to figure out how to hide that plug! Any ideas?
More Christmas!
If you enjoyed this easy Christmas decoration craft, you will love these:
- 5 Easy Christmas Ornaments You Can Make Today
- How to Make a Christmas Tree Out of Pine Cones
- Dollar Tree Ornament Makeover – Glam Merry & Bright
- How to Make a Cone From Paper
Pine Cone Decor
If you are looking for pine cone decor, check out these great buys!

Thanks for stopping by!
Remember: Life’s too short not to shimmer, so grab your glue gun and your glitter!™ Stay safe!
Mona
Be sure to PIN IT for later!