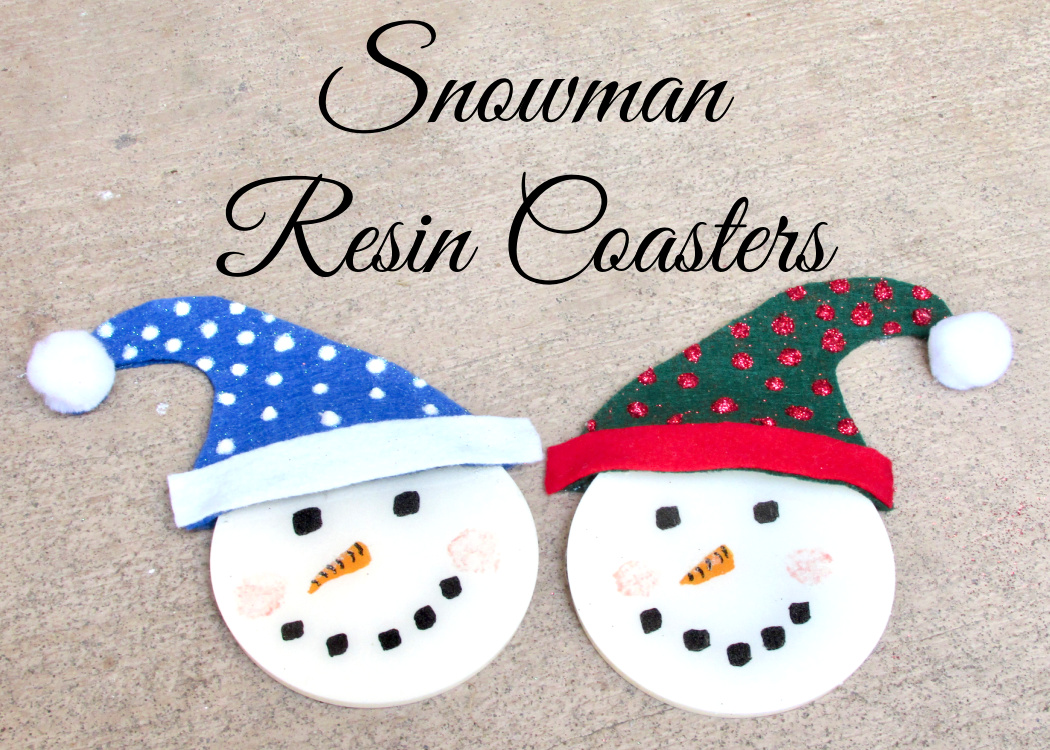
Are you ready for a snowman craft? They are the best! I’ll show you how to make these easy snowman resin coasters, using resin, felt, and glitter!
Snowman Craft Resin Coasters Video Tutorial
Here is a quickie tutorial so you can see exactly how I made them! I have the full tutorial at the end of this post.
Did you know that Craft Klatch is on Instagram?
Be sure to follow me there for stories and updates!
Materials You Will Need
The links below are Amazon and other affiliate links. I earn from qualifying purchases at no additional cost to you.
- Coaster mold
- Felt
- Multi-surface paint
- Hot glue
- Clear glue
- Fine glitter
- Chunky glitter
- Fast Cast (optional for white background)
- Resin
- When deciding on which resin to use for your coasters, you need to keep in mind whether you want it just for cold cups or for hot ones as well.
- If only for cold drinks, you can be flexible and use whatever brand you like:
- If you want it to work for both hot and cold drinks, you need to look for a heat-resistant resin, like these:
- Stone Coat (Quick coat)
- Stone Coat (Heat resistant)
- FX Poxy ~ According to the manufacturer, this one is heat resistant to 500° F.
Snowman Craft Directions
Step 1
Mix two ounces of resin, pour it into the coaster mold, and let it cure. The Fast Cast cures fast and white. If you want to use regular resin, you will want to add a white pigment to the resin before pouring it.

Step 2
When cured, remove the coasters from the mold. And now it’s time to take the white discs and turn them into a fun snowman craft.
To do that, paint a snowman face onto the resin coasters.
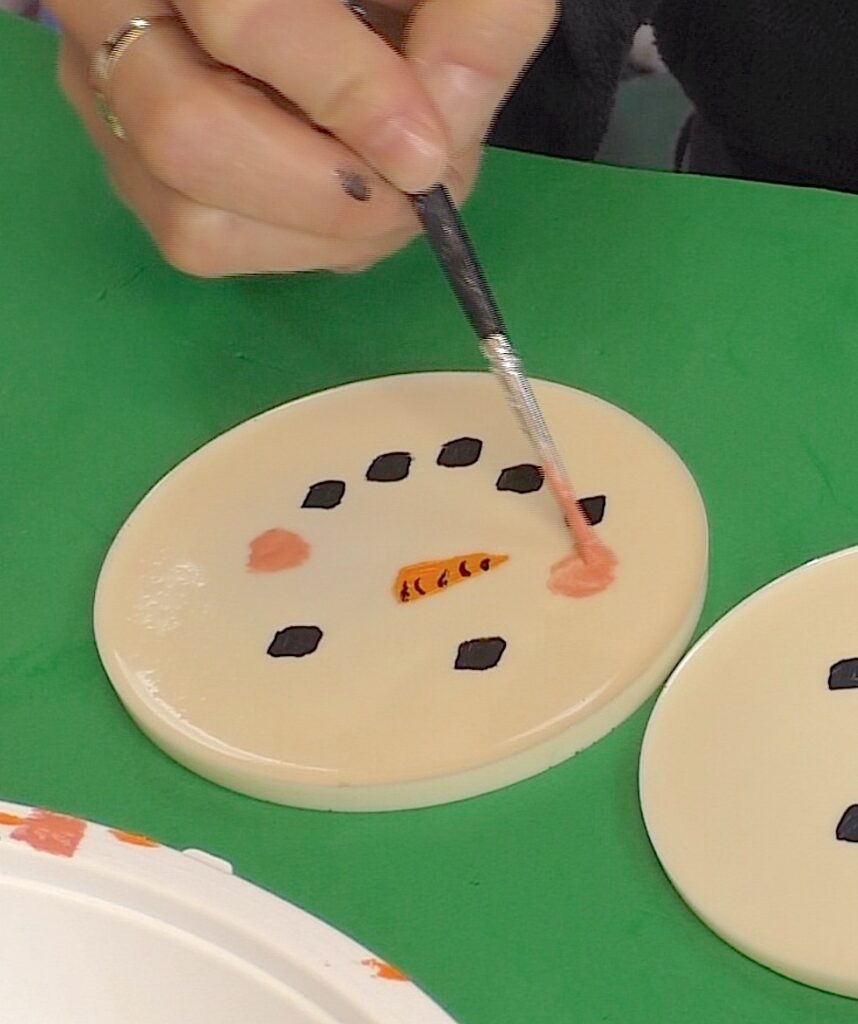
*I added some rosy cheeks and dabbed the paint with a paper towel to lighten it up.
Step 3
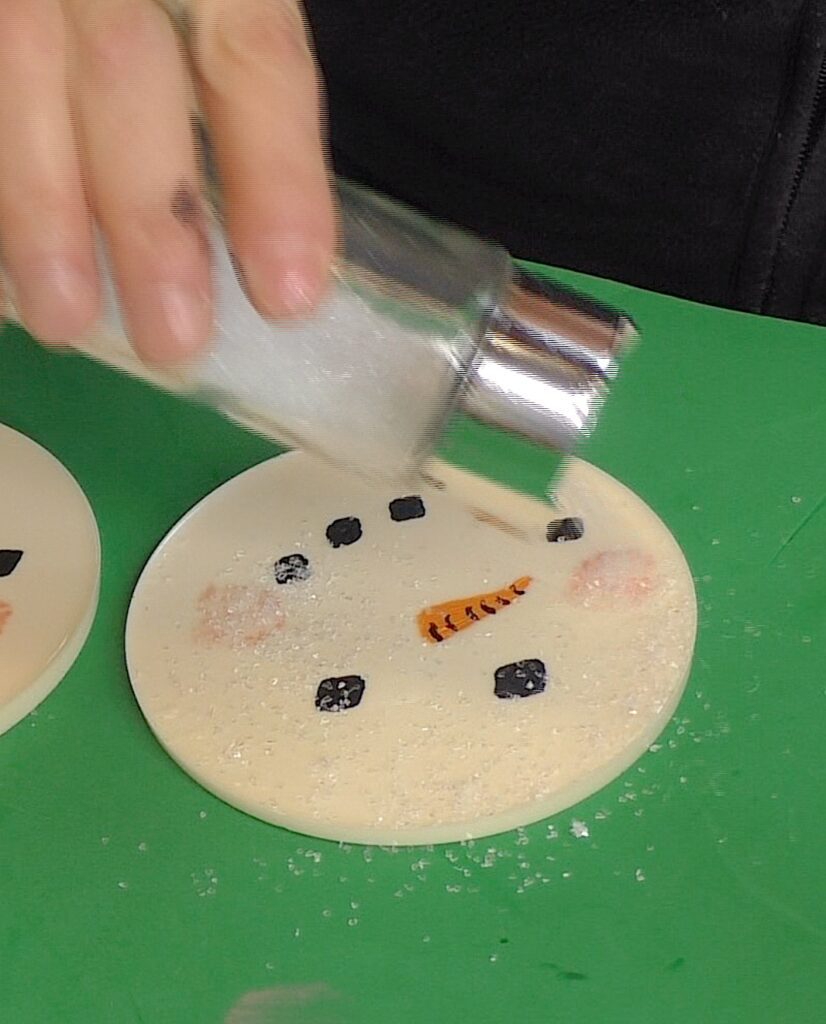
Paint clear drying glue onto the features and around the outer edge of the snowman craft and pour on chunky white glitter.
Step 4
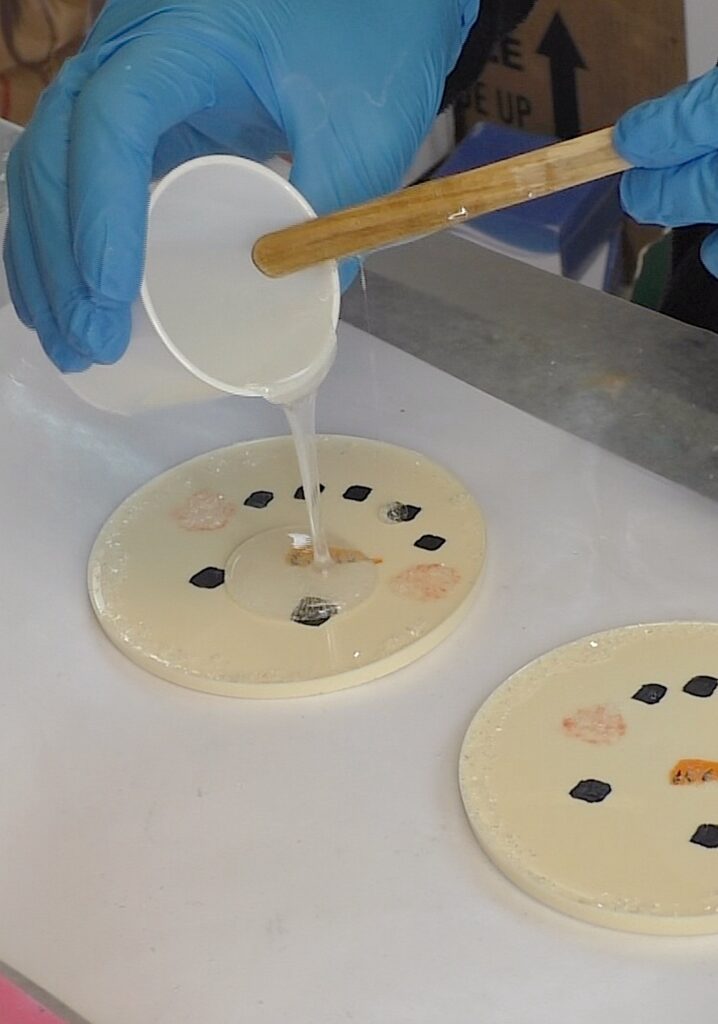
Once everything has dried, pour one ounce of clear resin over each of the coasters. This will seal in the paint and the glitter.
Step 5
Spread the resin to the edges and pop the bubbles with a lighter.
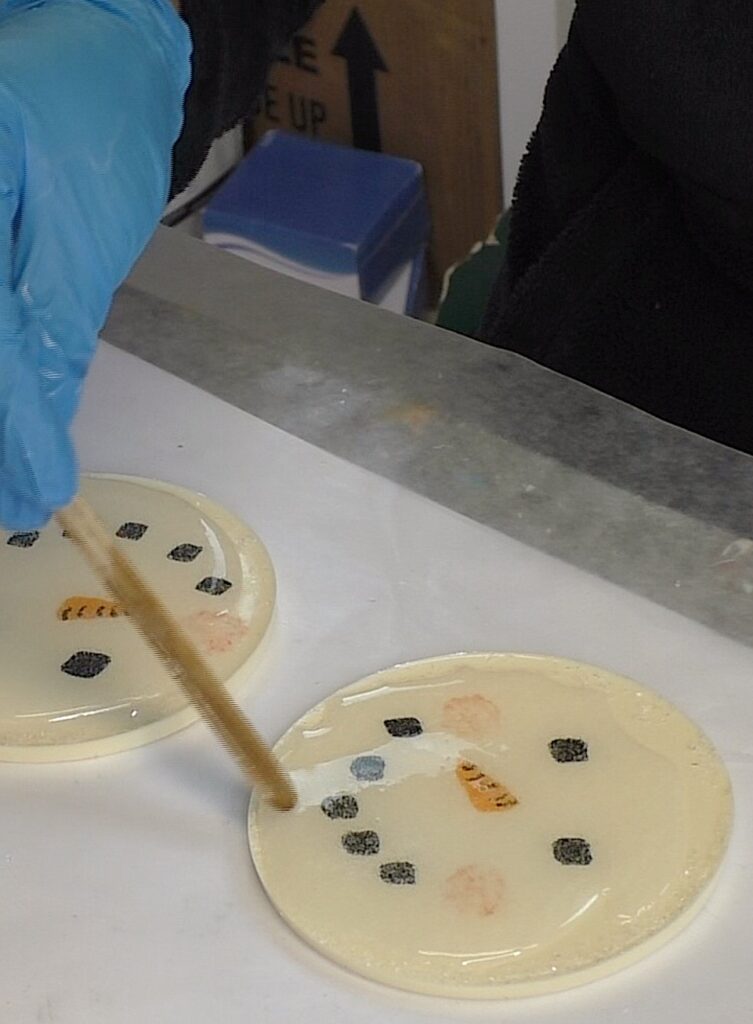
Step 6
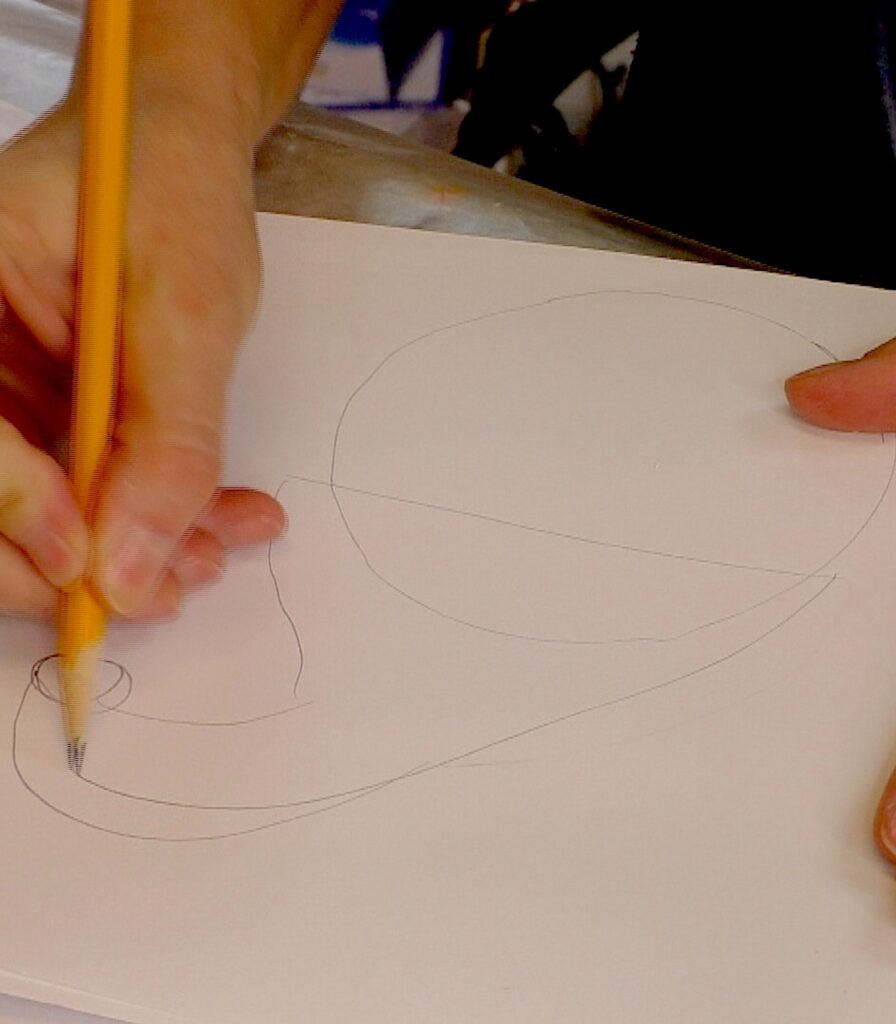
Once cured, trace around the coaster and use it as a template to draw the cap.
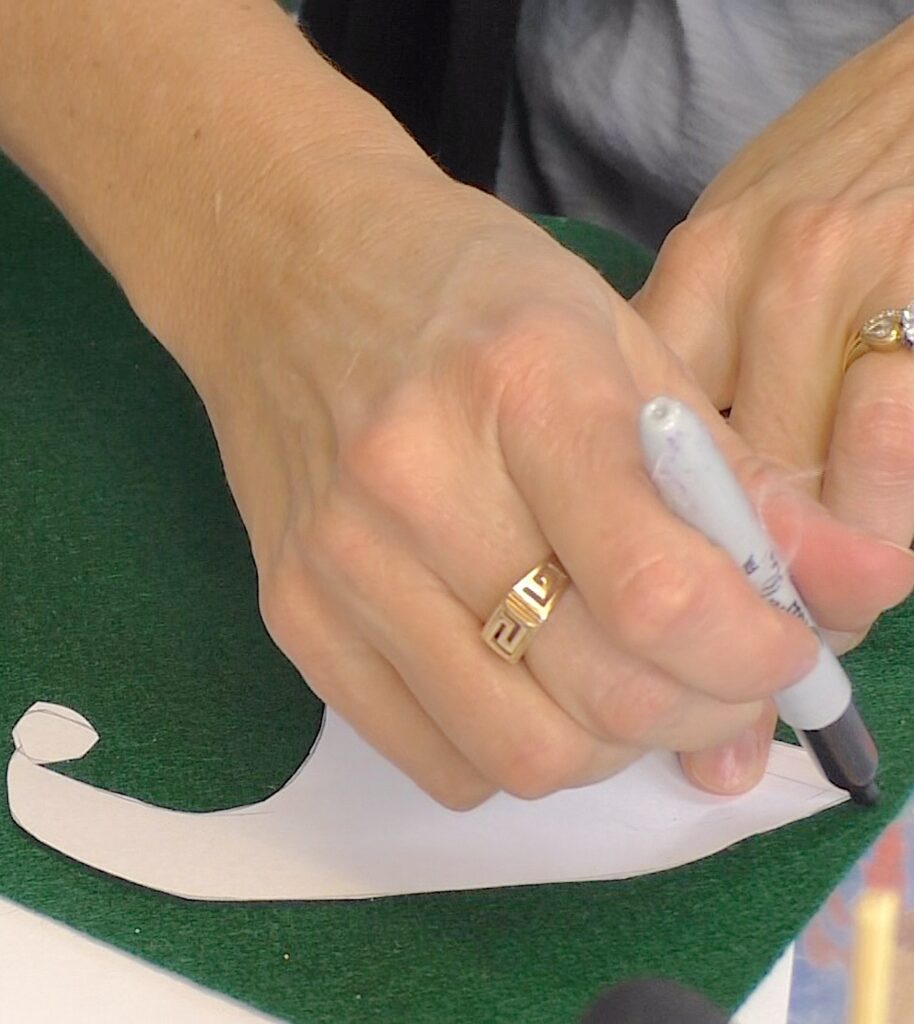
Step 7
Cut out the cap template and then trace around it onto felt and cut it out. You want to do that twice.
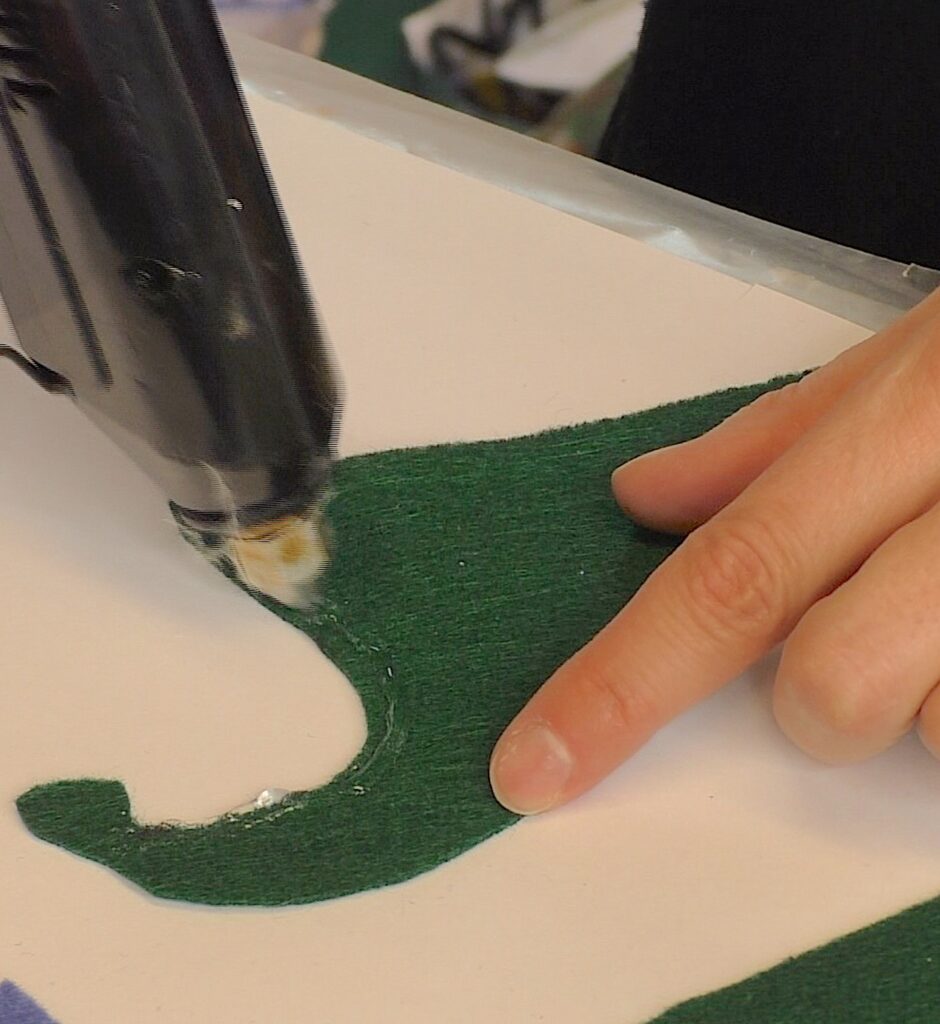
Step 8
I glued the two pieces together, so there is a front and back to the cap.
Step 9
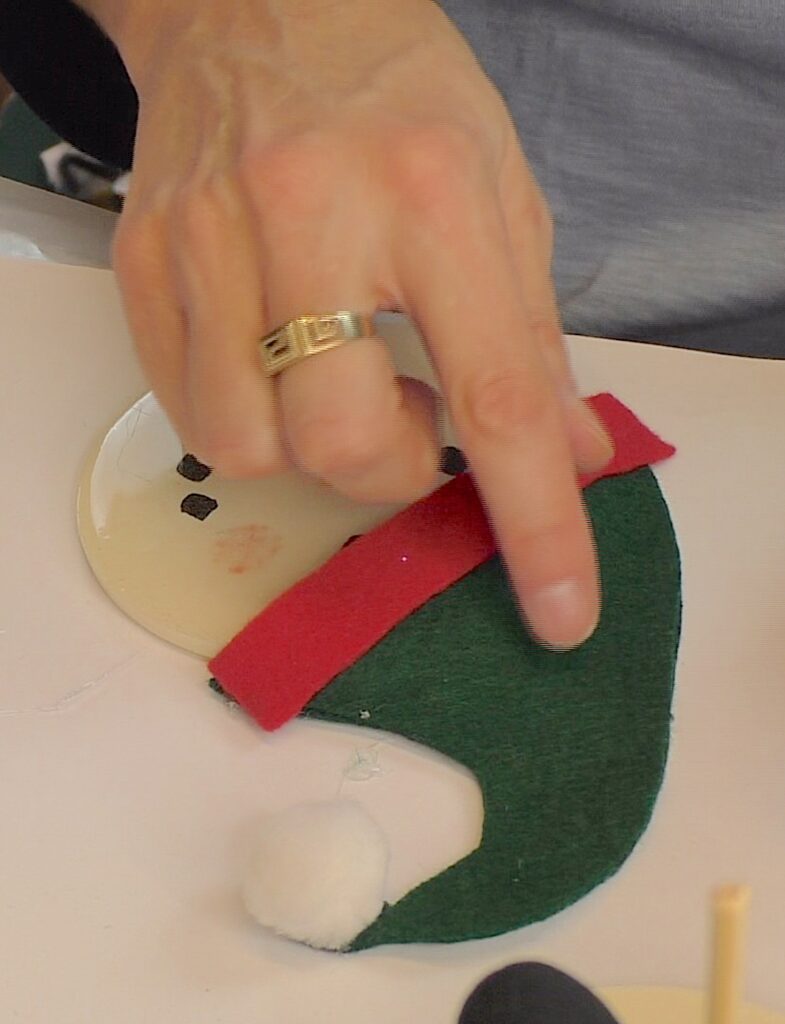
Cut a strip of red and glue it on as trim on the snowman cap. Also, glue on a pom pom on the end of the cap.
Step 10
Add clear drying glue dots on the snowman craft caps.
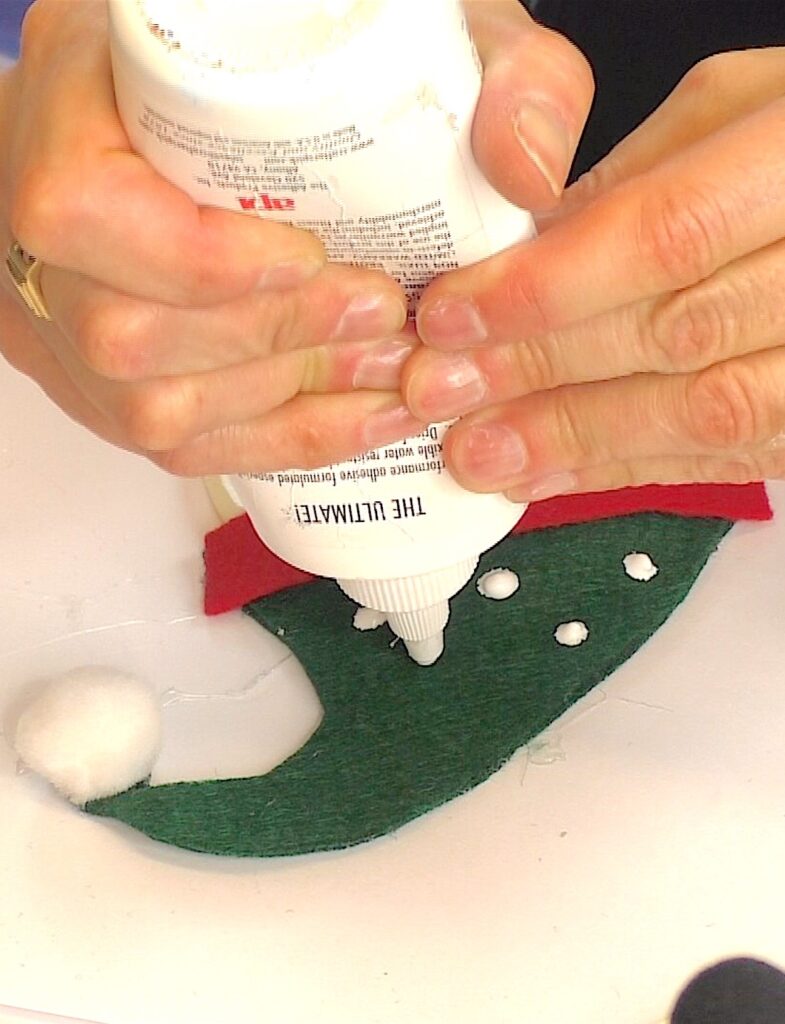
…and sprinkle on fine glitter.

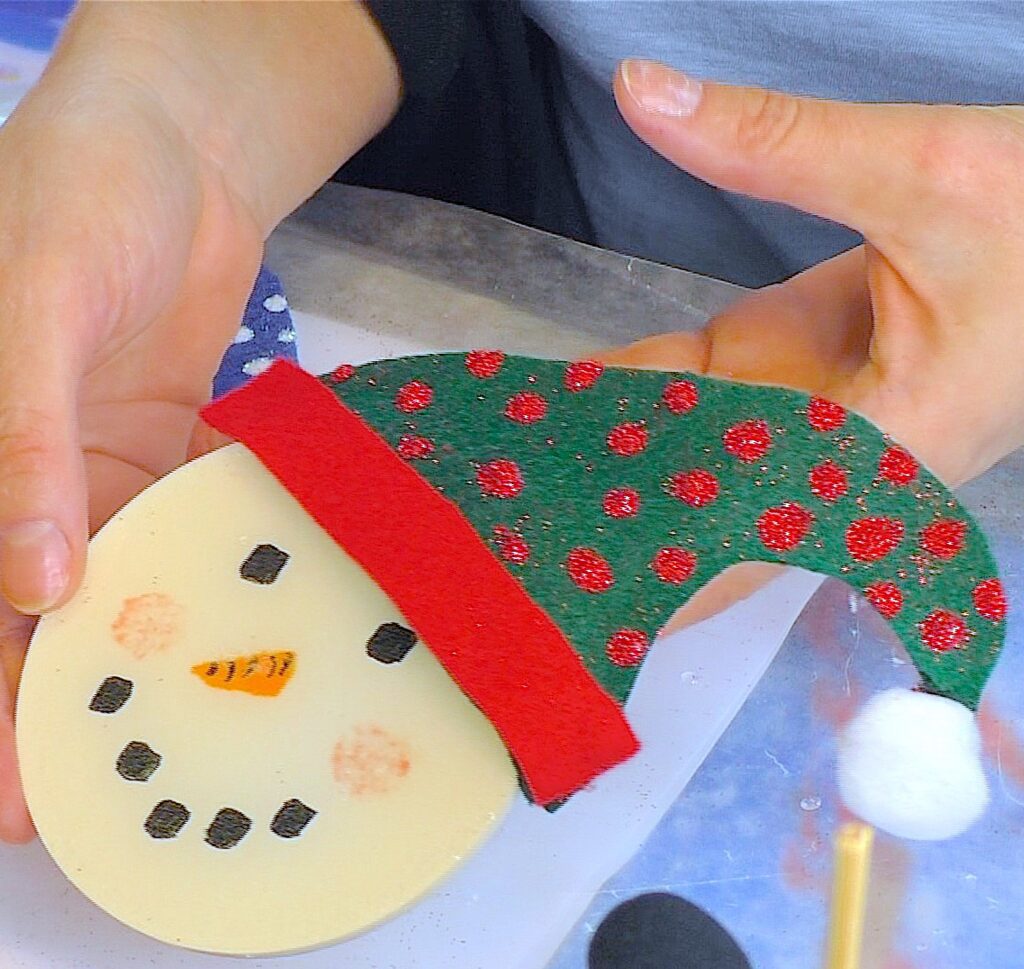
Step 11
Shake off the excess glitter and you have an adorable snowman craft with a cute cap! And it functions as a coaster!
I also did one in blue and white!
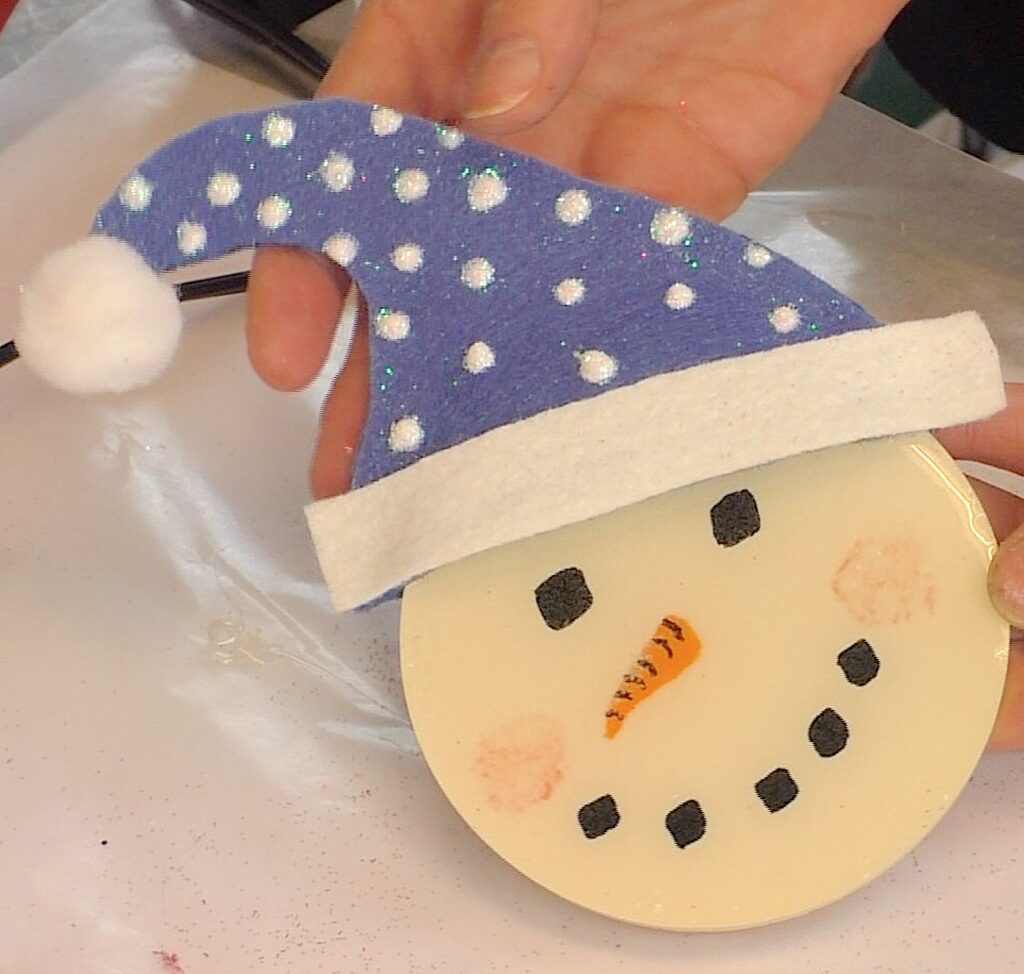
I hope you like them!
Other Snowman Craft Ideas
If you enjoy snowman crafts, check out these!
- Snowman Terrarium
- Rustic Snowman Dollar Tree Ornament
- Snowman Sign
- Votive Snowman
- Easy Wood Snowman Plaque
Snowman Decorations
If you don’t have time for a snowman craft, check out these fun snowman decorations!

Full Snowman Craft Video Tutorial
Here is the full video tutorial.
Thanks for stopping by! Remember: Life’s too short not to shimmer, so grab your glue gun and your glitter!™ Stay safe!
Mona