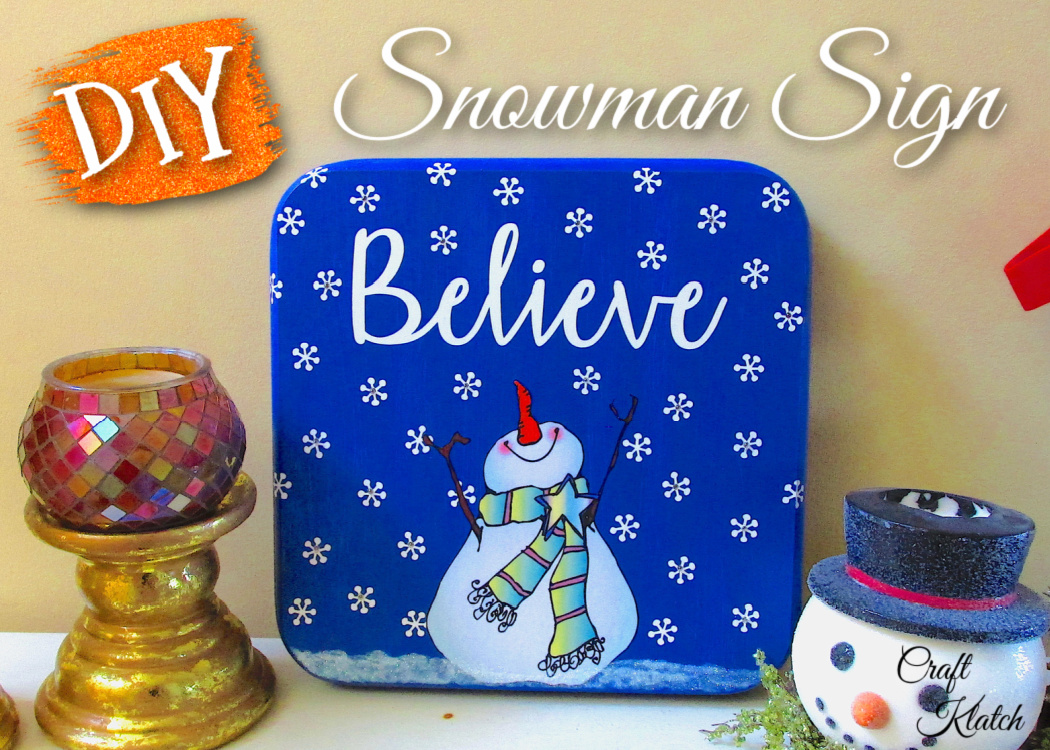
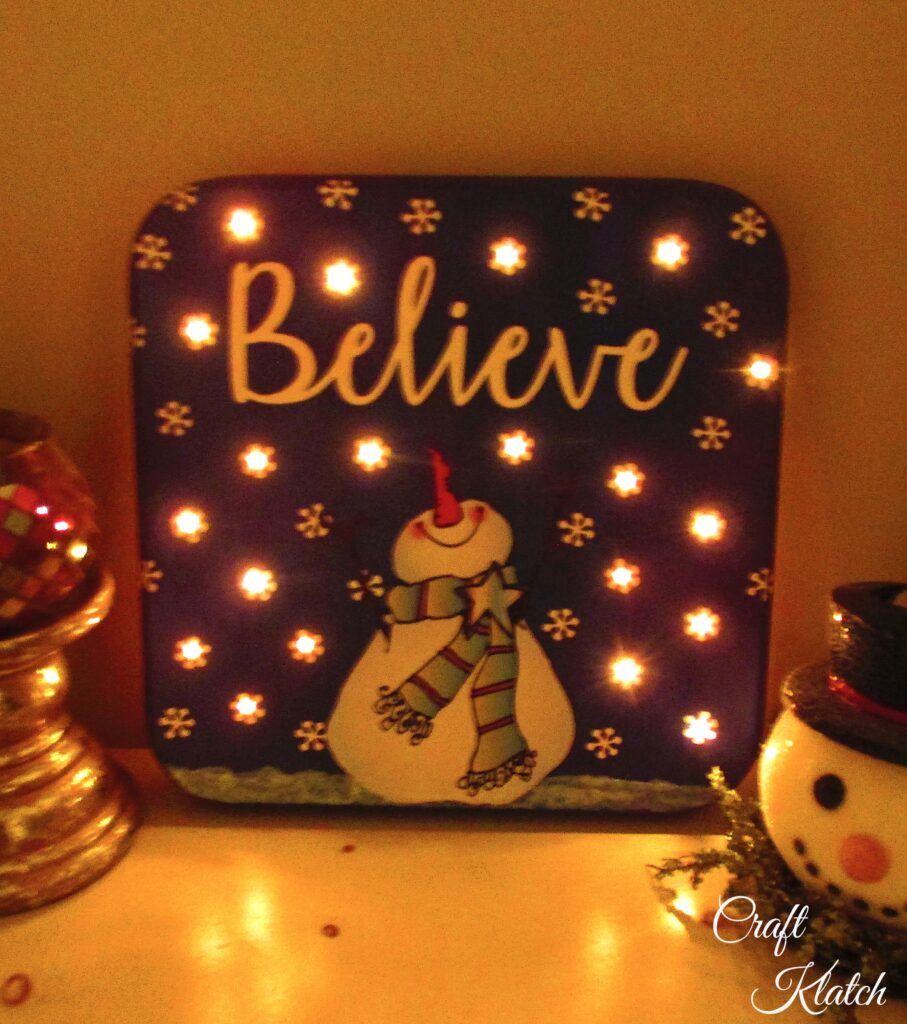
I believe, do you believe? Learn how to make a Christmas decor snowman believe sign that lights up! It’s easy and a great home decor project for the holidays!
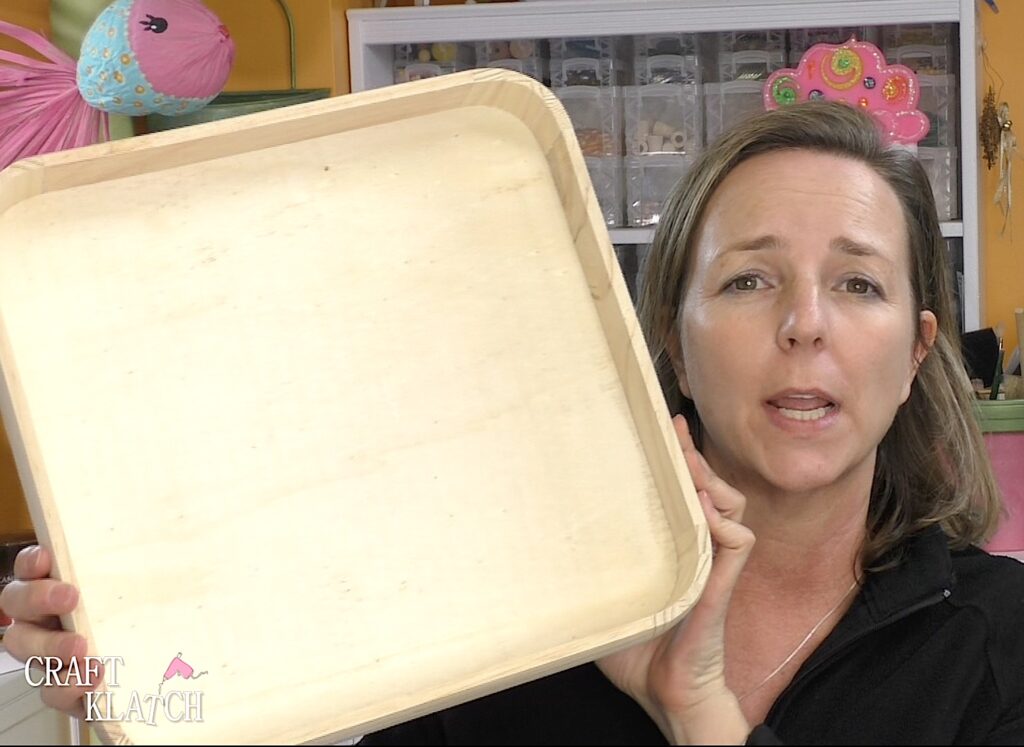
I found a wood tray at Hobby Lobby and thought it was PERFECT for a sign I have been wanting to make! With it being a tray, it made it perfect to hide the batteries for the lights!
![Mona holding unfinished wood tray](https://www.craftklatch.com/wp-content/uploads/2018/01/1-Snowman-sign-Mona-holding-unfinished-wood-tray-1024x747.jpg)
Be sure to Follow Me on Instagram!
Supplies for the Christmas Decor Snowman Believe Sign
- Tray from Hobby Lobby, but HERE is an alternative
- Gesso
- Acrylic paint (white and two different blues)
- Mod Podge
- Glitter
- Lights
- Cricut
- Cricut vinyl
- Drill
- Snowman image
Christmas Decor Snowman Believe Sign Directions
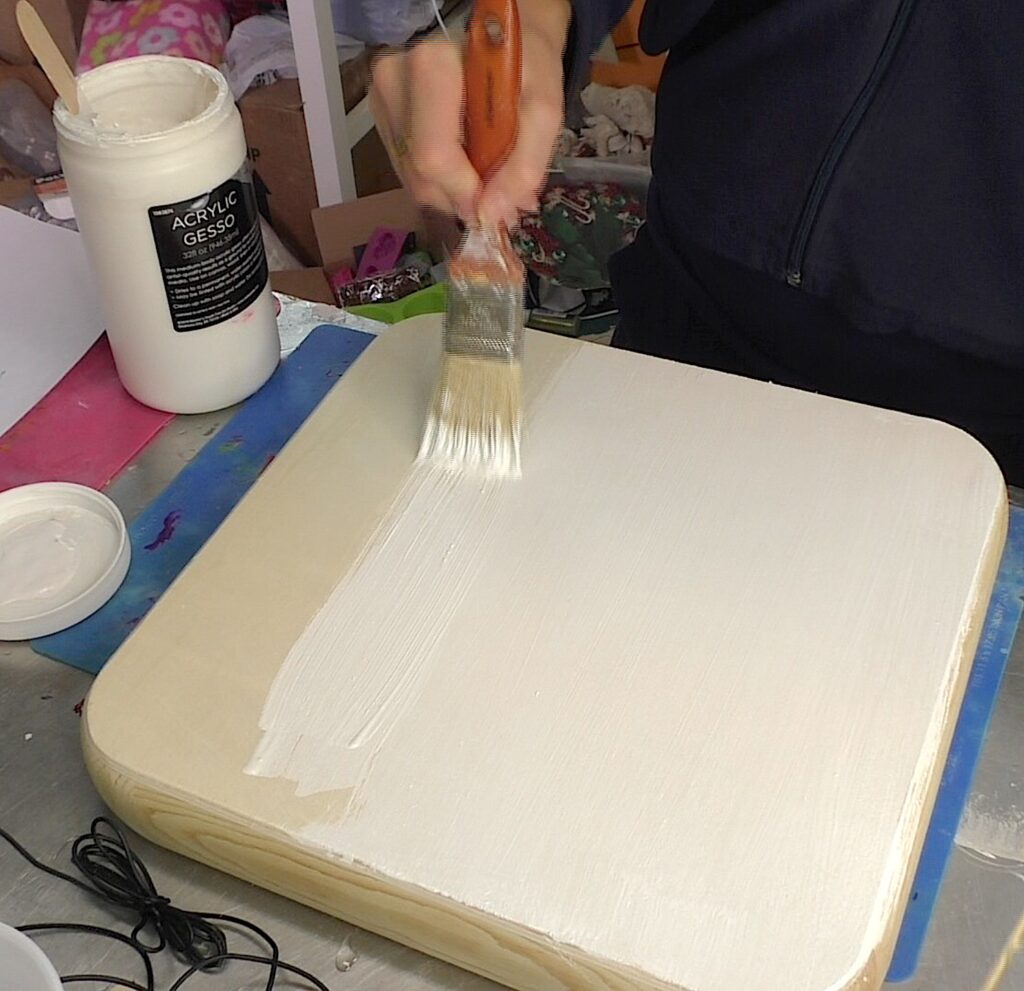
Step 1
I used gesso to seal the wood. Once dry, I followed up with white paint.
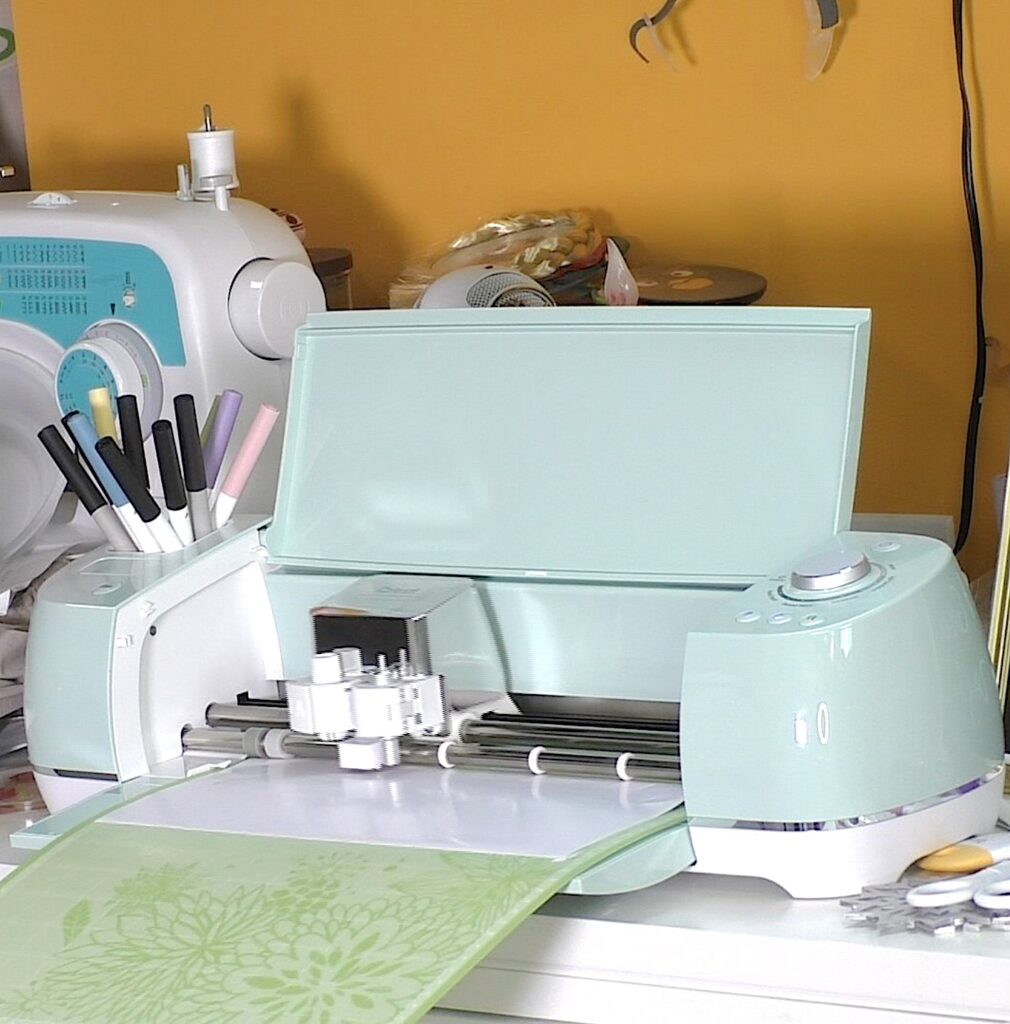
![Paint Gesso on the unfinished wood tray](https://www.craftklatch.com/wp-content/uploads/2018/01/2-Snowman-sign-Paint-Gesso-on-the-unfinished-wood-tray-1024x991.jpg)
Step 2
I used my Cricut cutting machine to cut the word Believe and a bunch of snowflakes out of vinyl.
![Use Cricut to cut out white vinyl](https://www.craftklatch.com/wp-content/uploads/2018/01/3-Snowman-sign-Use-Cricut-to-cut-out-white-vinyl--1010x1024.jpg)
Step 3
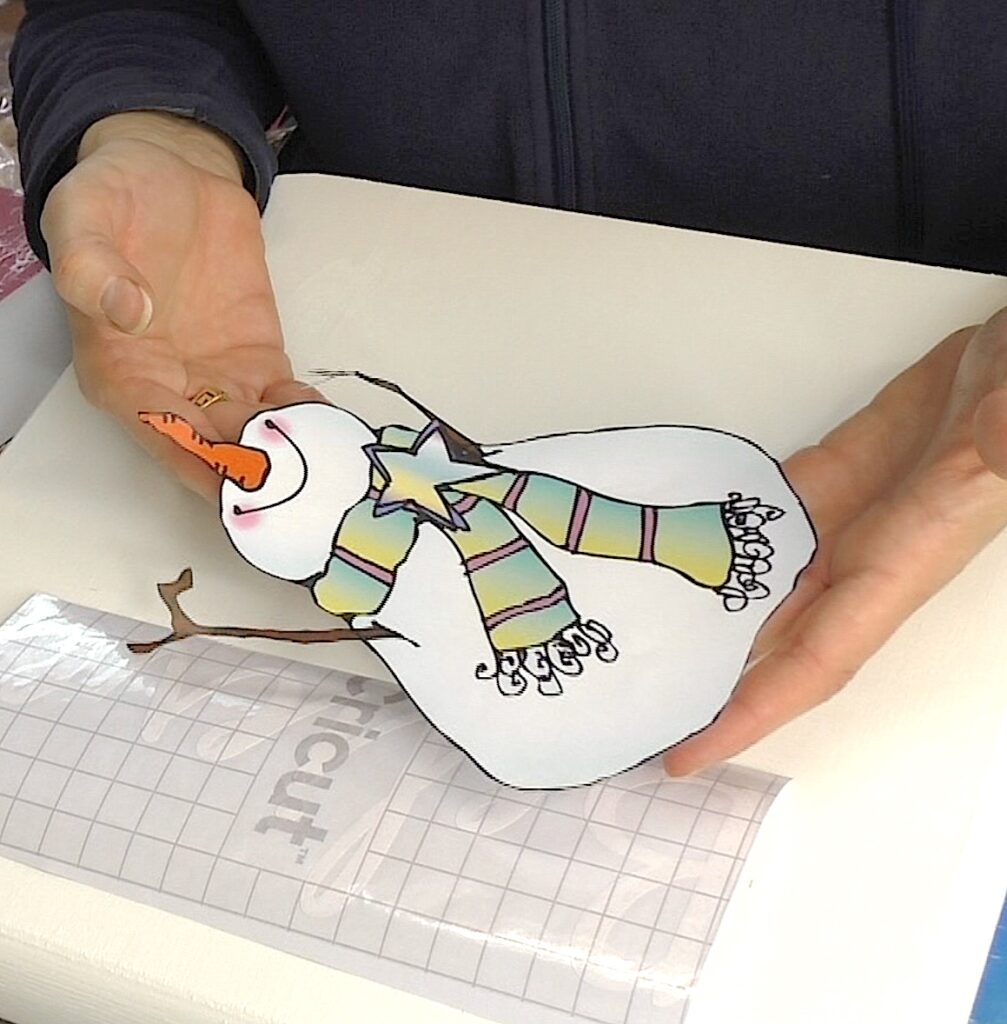
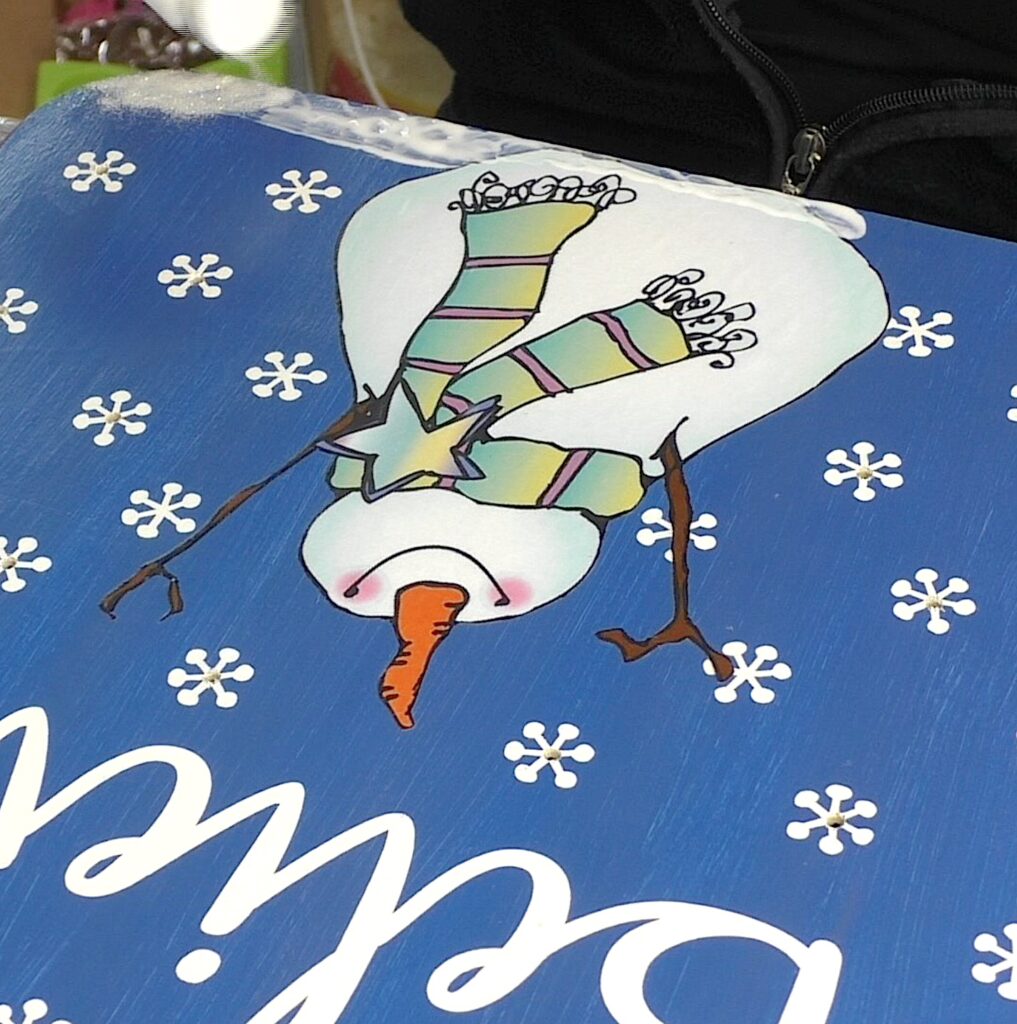
I also printed out a snowman, using a laser printer.
![A snowman cut out for the Christmas decor snowman believe sign](https://www.craftklatch.com/wp-content/uploads/2018/01/5-snowman-sign-A-snowman-cut-out-for-the-Christmas-decor-snowman-believe-sign-1007x1024.jpg)
Step 4
I put transfer tape on the word Believe.
![Burnishing down vinyl believe](https://www.craftklatch.com/wp-content/uploads/2018/01/6-Snowman-sign-Burnishing-down-vinyl-believe-1010x1024.jpg)
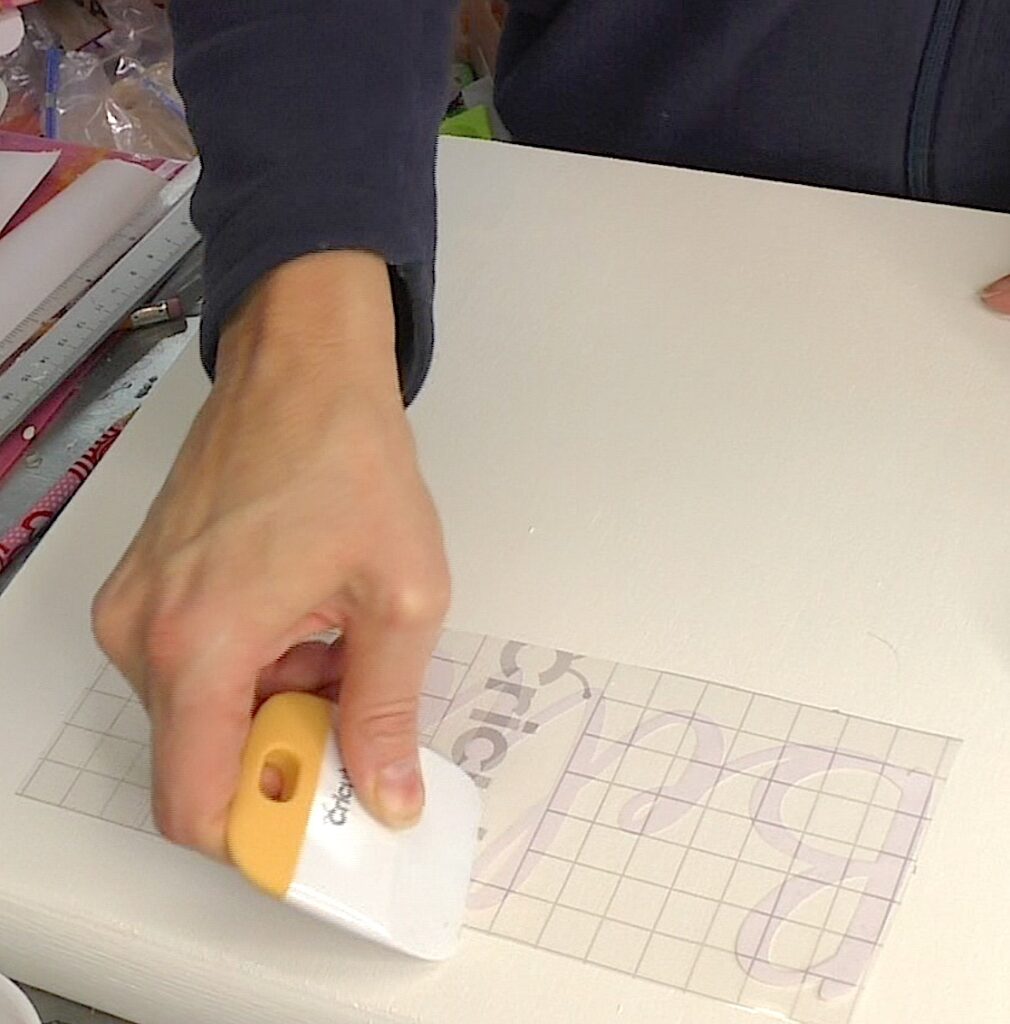
After putting it on the painted tray, I added the vinyl onto the sign and burnished it down. I then removed the transfer tape.
Step 5
I laid the snowman on the sign, just so I could figure out the spacing of the snowflakes. I then addend the vinyl snowflakes and burnished everything down.
![Putting vinyl snowflakes one the sign](https://www.craftklatch.com/wp-content/uploads/2018/01/7-snowman-sign-Putting-vinyl-snowflakes-one-the-sign-1024x1021.jpg)
Step 6
I then used the same white paint as before and painted over all the vinyl, in all directions, and let it dry.
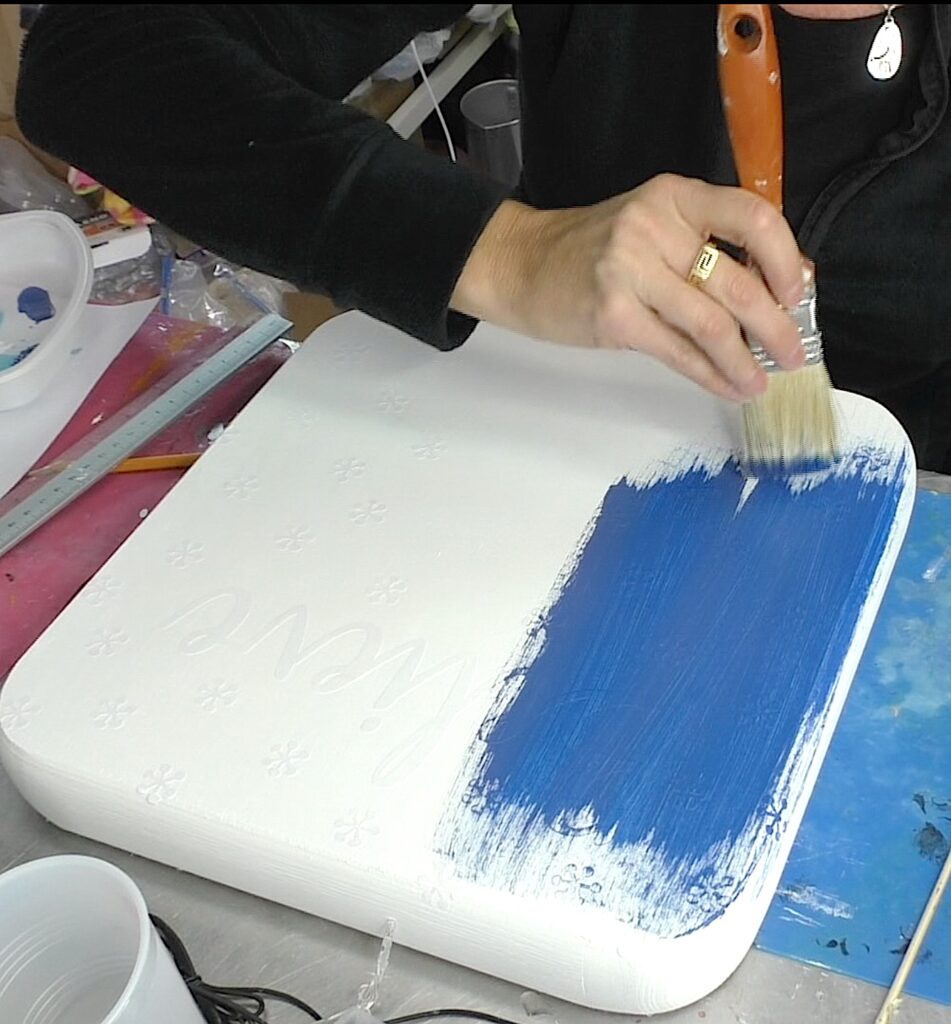
![Paint white paint over the vinyl on the snowman sign](https://www.craftklatch.com/wp-content/uploads/2018/01/8-snowman-sign-Paint-white-paint-over-the-vinyl-on-the-snowman-sign-1024x1002.jpg)
Step 7
Once dry, I painted blue over everything.
![Paint blue over the entire Chrsitmas decor snowman sign](https://www.craftklatch.com/wp-content/uploads/2018/01/9-Snowman-sign-Paint-blue-over-the-entire-Chrsitmas-decor-snowman-sign-951x1024.jpg)
Step 8
Once dry, I pulled up all the vinyl, which exposed the white beneath.
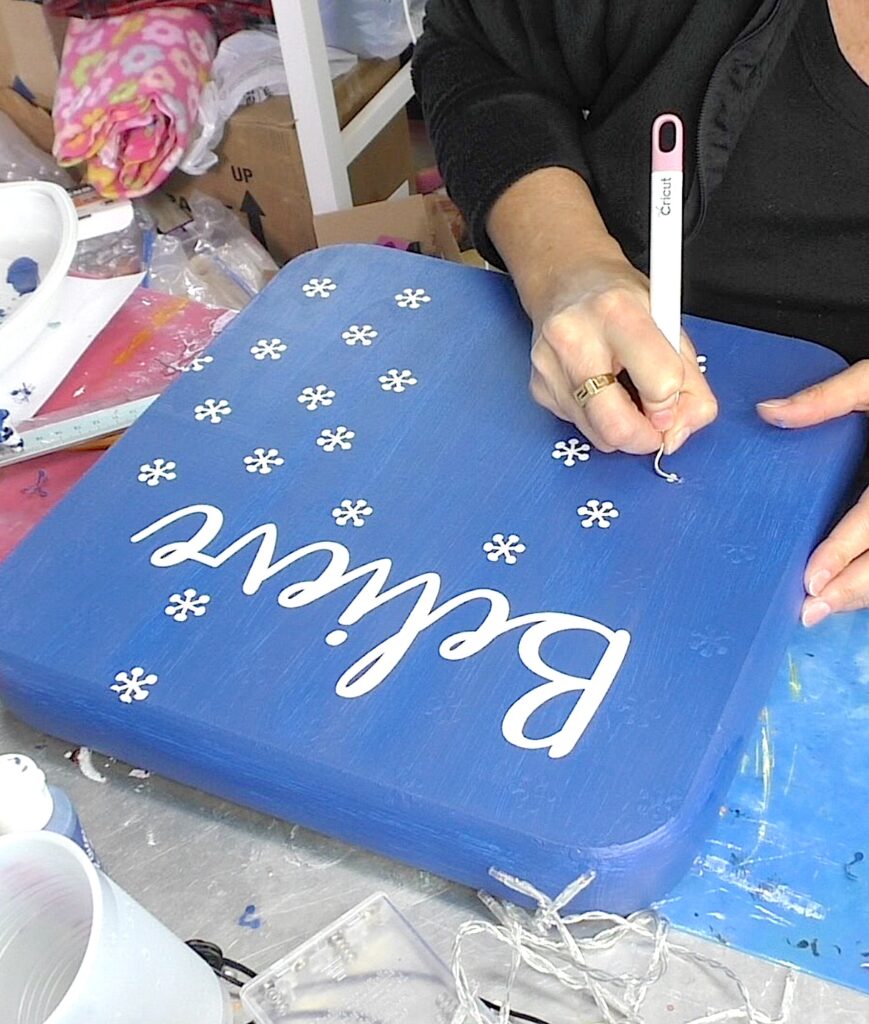
![Snowman sign | Remove the vinyl from the Christmas decor snowman believe sign](https://www.craftklatch.com/wp-content/uploads/2018/01/10-Snowman-sign-Remove-the-vinyl-from-the-Christmas-decor-snowman-believe-sign-869x1024.jpg)
Step 9
I then drilled holes into 20 of the snowflakes.
![Drill holes into the middle of the snowflakes](https://www.craftklatch.com/wp-content/uploads/2018/01/11-Snowman-sign-Drill-holes-into-the-middle-of-the-snowflakes-935x1024.jpg)
Step 10
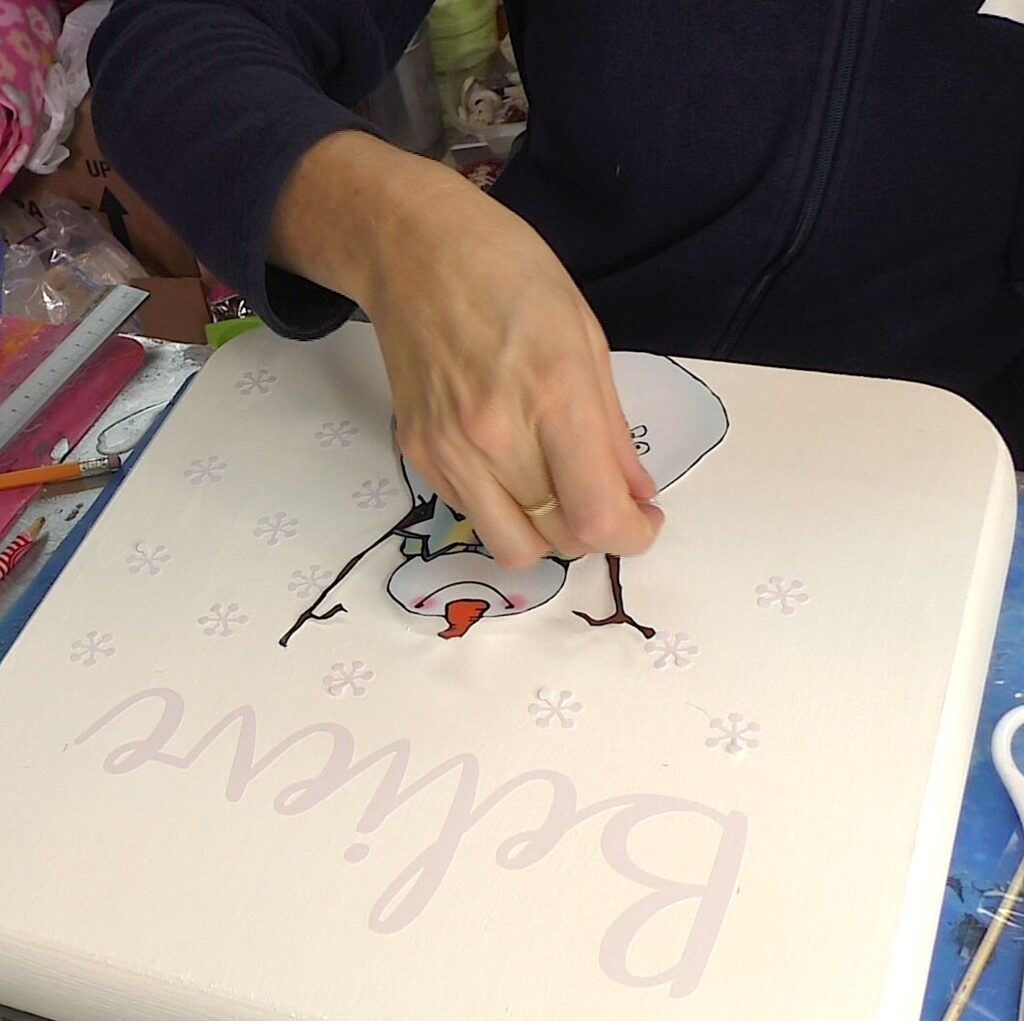
I used Mod Podge to decoupage the snowman in place on the tray.
I rubbed down the image, so no bubbles would get trapped under.
![Decoupage over the snowman sign](https://www.craftklatch.com/wp-content/uploads/2018/01/12-Snowman-sign-Decoupage-over-the-snowman-sign-963x1024.jpg)
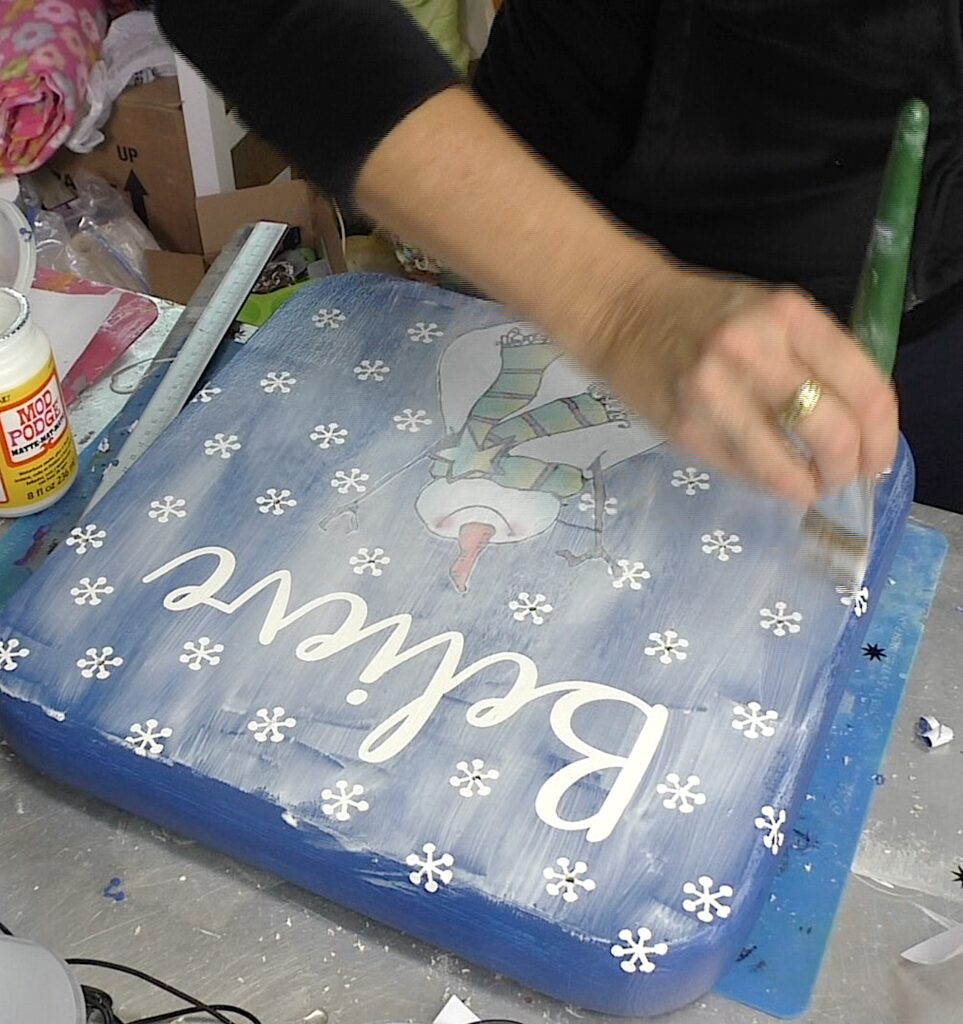
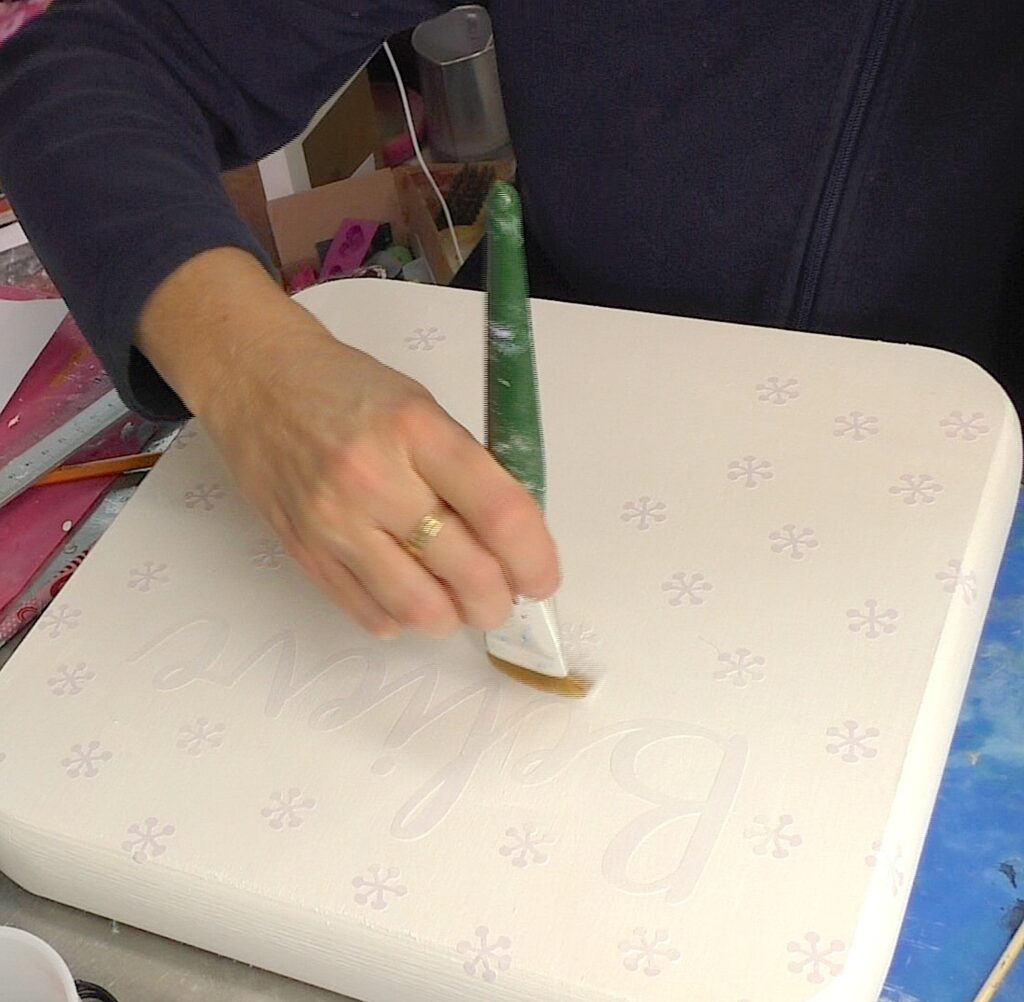
It is wise to add Mod Podge over the entire sign.
Then I used water (on the brush) to go over the wet Mod Podge, so it gave it a nice smooth finish.
I wiped the edges clean, with a damp paper towel and let it dry.
Step 11
Once dry, I added Mod Podge along the bottom edge and sprinkled on fine glitter.
![Add mod podge and fine glitter to the bottom edge of the Christmas decor snowman believe sign](https://www.craftklatch.com/wp-content/uploads/2018/01/13-Add-mod-podge-and-fine-glitter-to-the-bottom-edge-of-the-Christmas-decor-snowman-believe-sign-1017x1024.jpg)
I tapped off the excess glitter and let it dry.
Step 12
I then added the lights to the sign. It was a strand with 20 lights, which is why I drilled the 20 holes. You can also tape or velcro the battery box to the back, to keep it in place.
![Add lights to the back of the snowman sign](https://www.craftklatch.com/wp-content/uploads/2018/01/14-Snowman-sign-Add-lights-to-the-back-of-the-snowman-sign-1024x824.jpg)
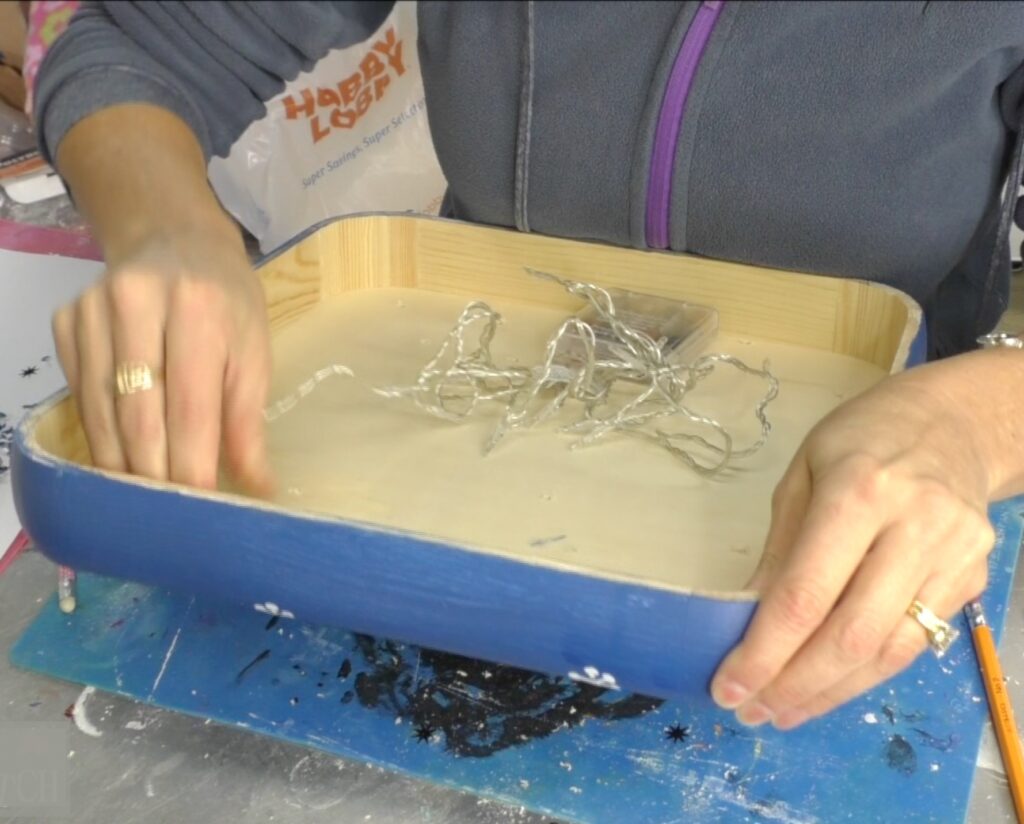
That’s it but let’s see how it lights up!
Be sure to PIN IT for later!
![Christmas decor snowman believe sign](https://www.craftklatch.com/wp-content/uploads/2018/01/Winter-Snowman-Sign-night-1-copy-907x1024.jpg)
Snowmen!
If you love a good snowman craft, I have a few great ones!
Christmas Decor Snowman Stuff!
Remember: Life’s too short not to shimmer, so grab your glue gun and your glitter!™ Stay safe!
Mona