I have a friend, who is moving to Florida, and he stopped by with a bunch of odds and ends and asked if I could use them for crafts.
I looked at the stuff… clueless…wondering what I would do with it all, but I said yes. That was about two months ago and until now, I hadn’t really done anything with any of it.
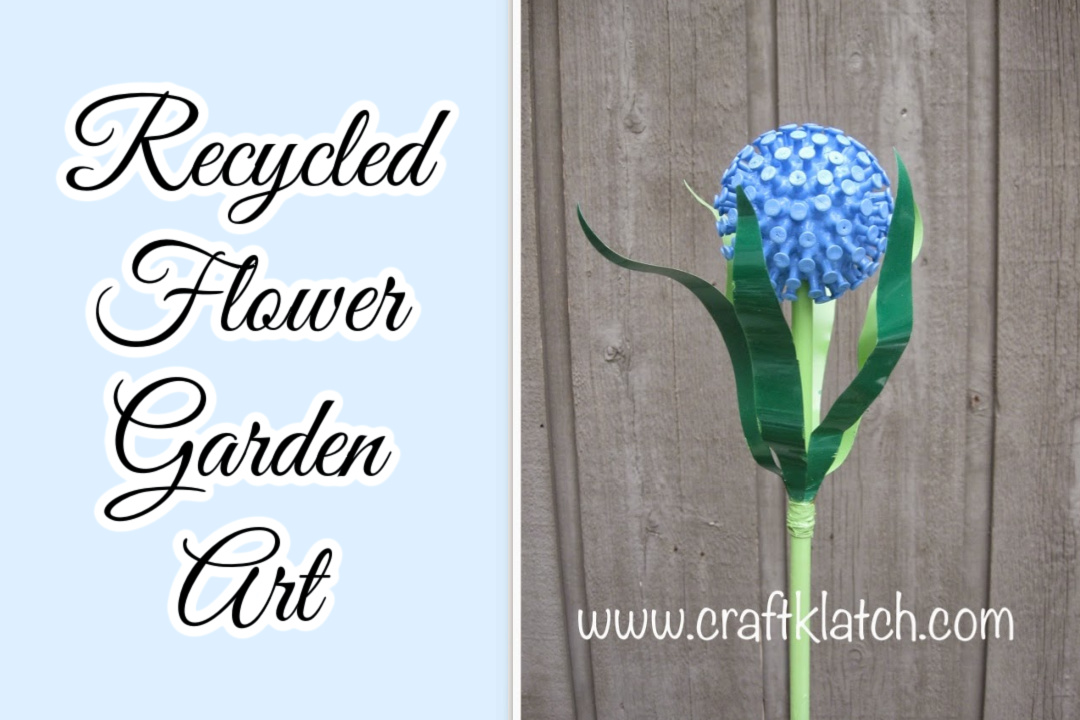
Last week, an idea came to me for some garden art inspired by some of the stuff he dropped off…specifically the pushpins!
A little time, paint, and other odds and ends, and Viola!
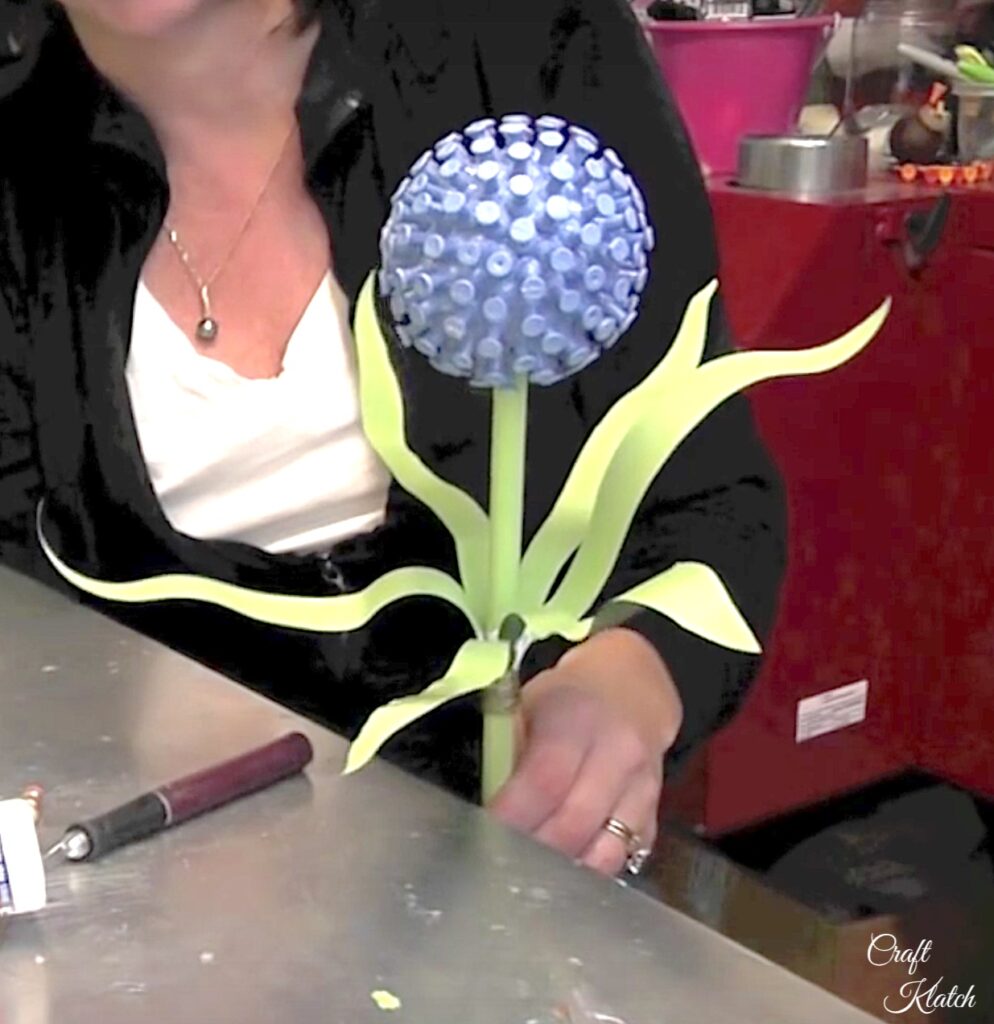
Here is my recycled flower.
Be sure to Pin It for later!

*This blog uses affiliate links. As an Amazon Associate I earn from qualifying purchases.
Supplies You Will Need
- Empty and clean pop cans
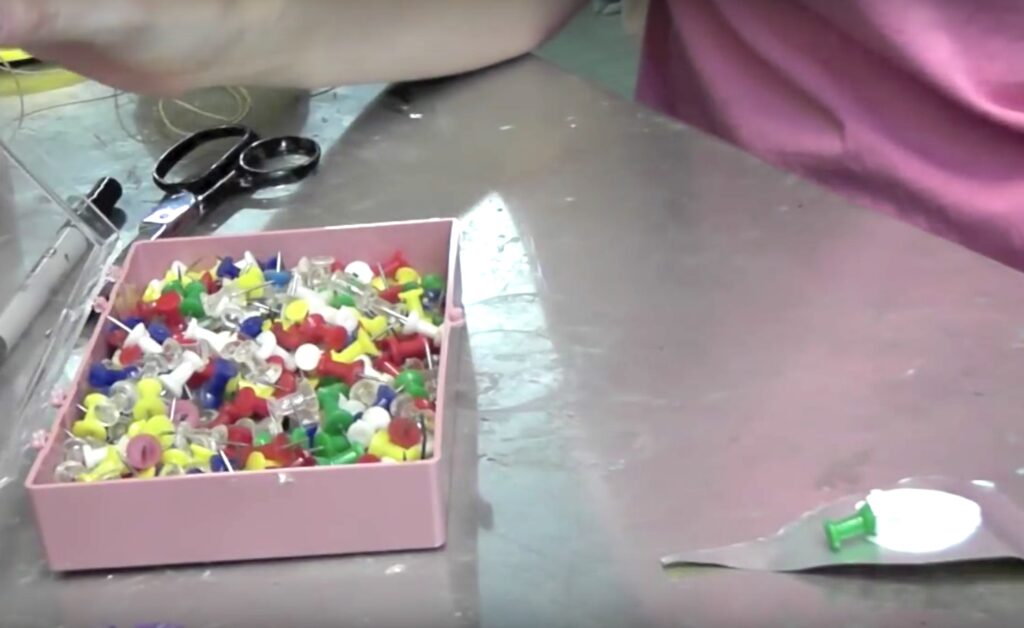
- A lot of pushpins (color does not matter): https://amzn.to/3dkZ0TS
- A styrofoam ball: https://amzn.to/2Rscftw
- Dowel: https://rstyle.me/+uoR__UX0SKvrfpPPOrxKoQ
- Ultimate Glue for pushpins: https://amzn.to/2ONnKLa
- E6000 to glue the cans together: https://amzn.to/3djaZkX
- Spray paint in light blue, light green, and darker green:
- Thin wire: https://amzn.to/3dftgzD
Here is the Video Tutorial
Directions
1. Gather your supplies, including pushpins and a styrofoam ball.
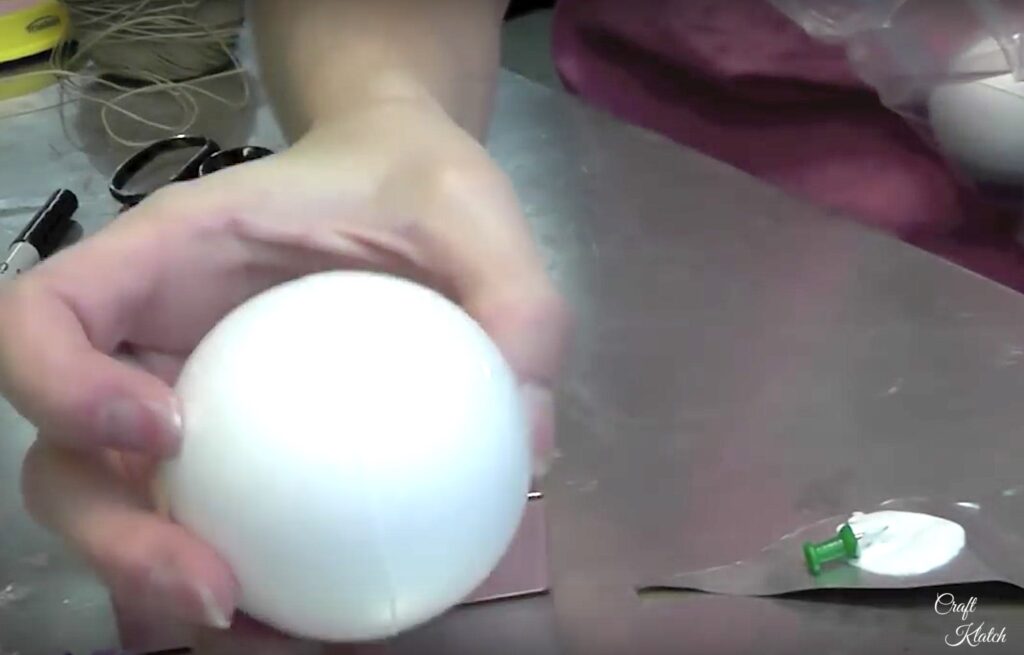
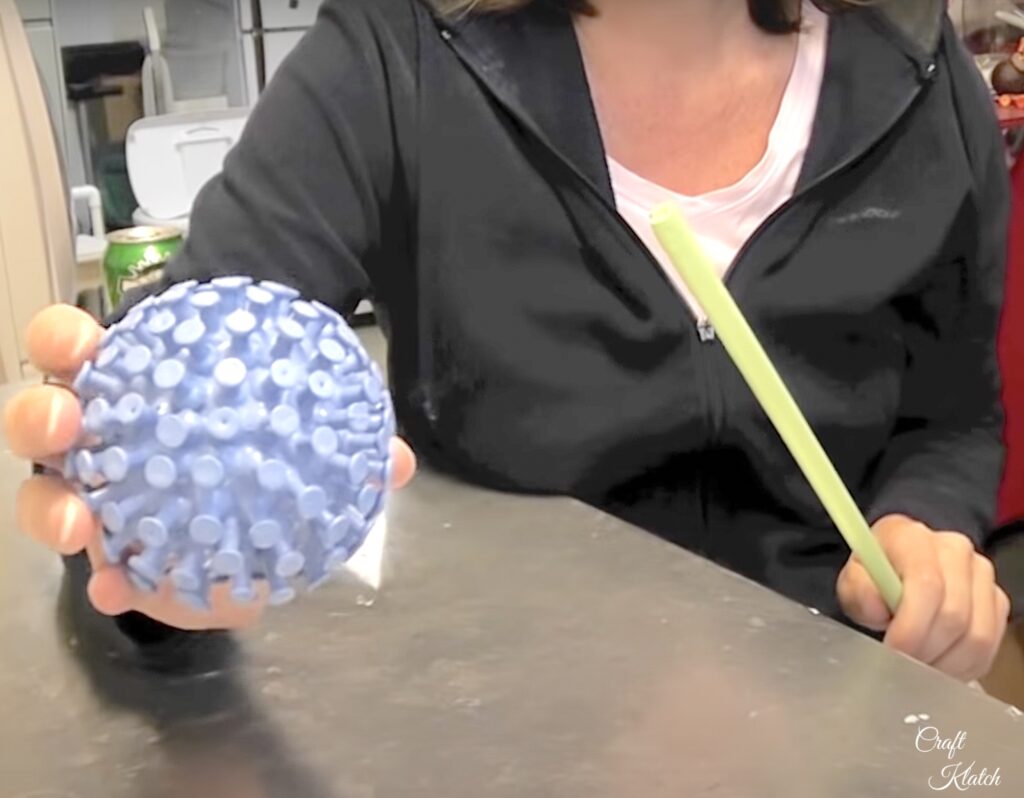
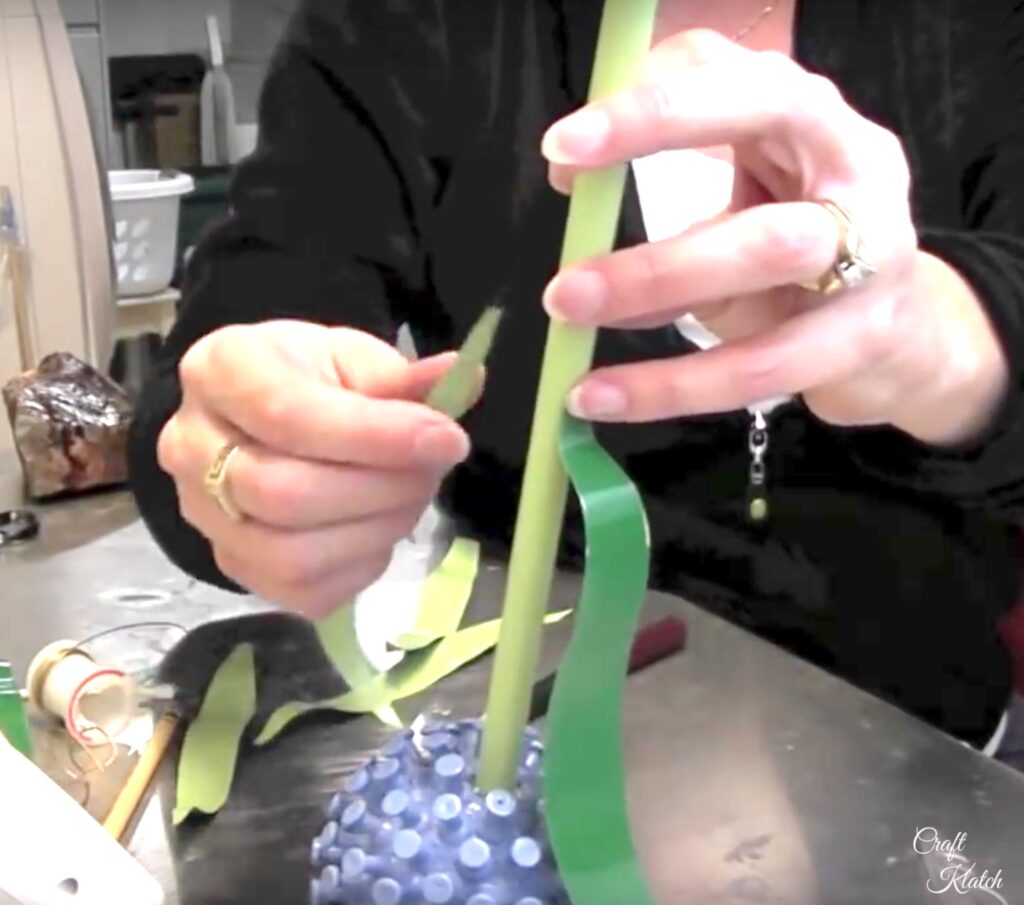
2. Insert the dowel into the bottom of the styrofoam ball. Remove, add glue and re-insert. You can paint the dowel light green before you insert it, or after.
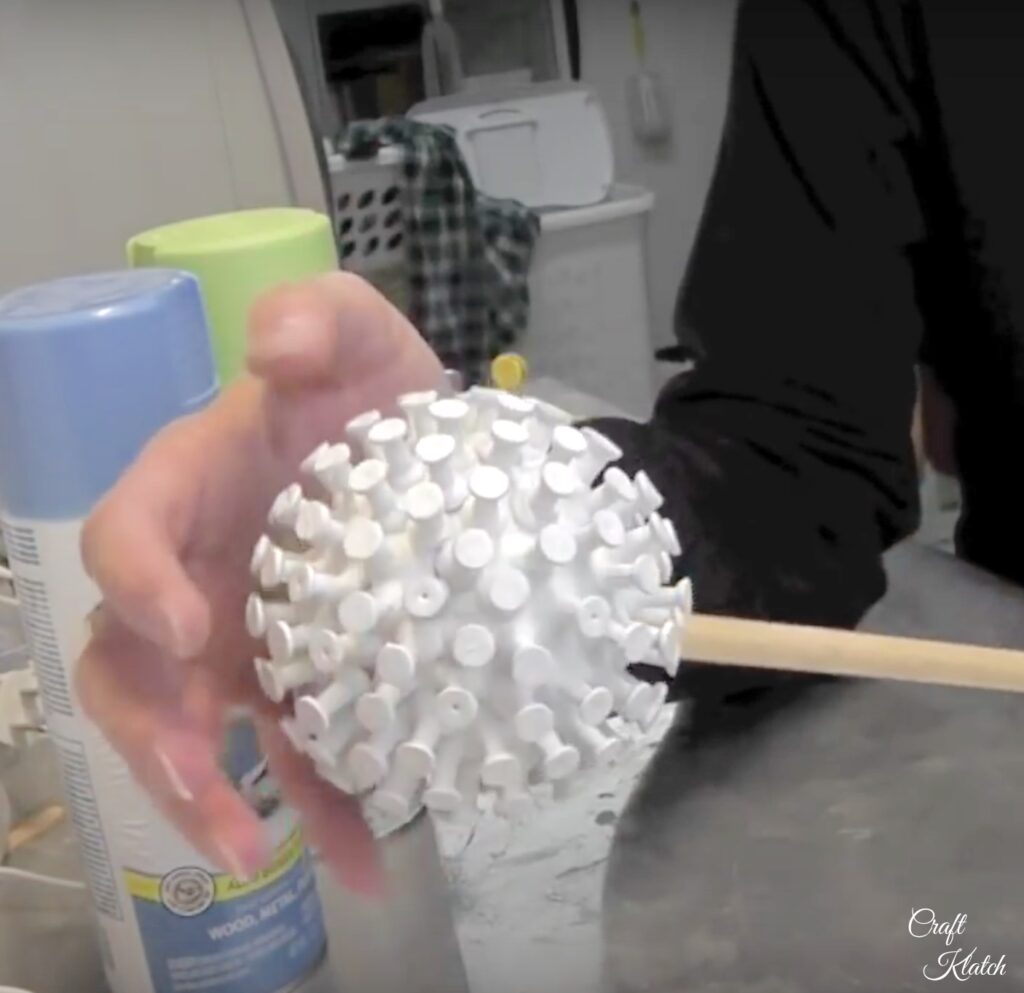
Put some glue on a paper plate or something you can throw away. Dip each pushpin into the glue and insert it into the styrofoam ball. Your goal is to have the styrofoam ball completely covered with pushpins and glue.
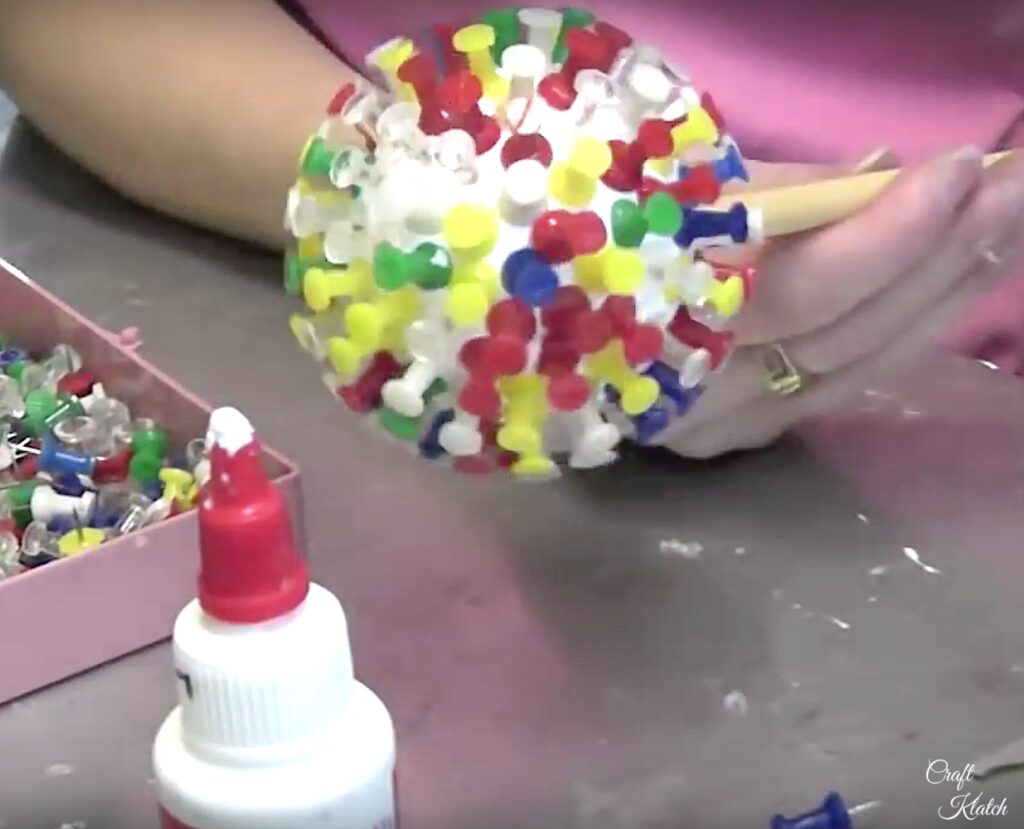
3. The glue covering the styrofoam ball allows you to spray paint it without having it eat away and dissolve the styrofoam. Allow to completely dry.
4. Cover the stem (dowel) with tape or cling wrap. Paint the pushpins blue (or whatever color you want!).
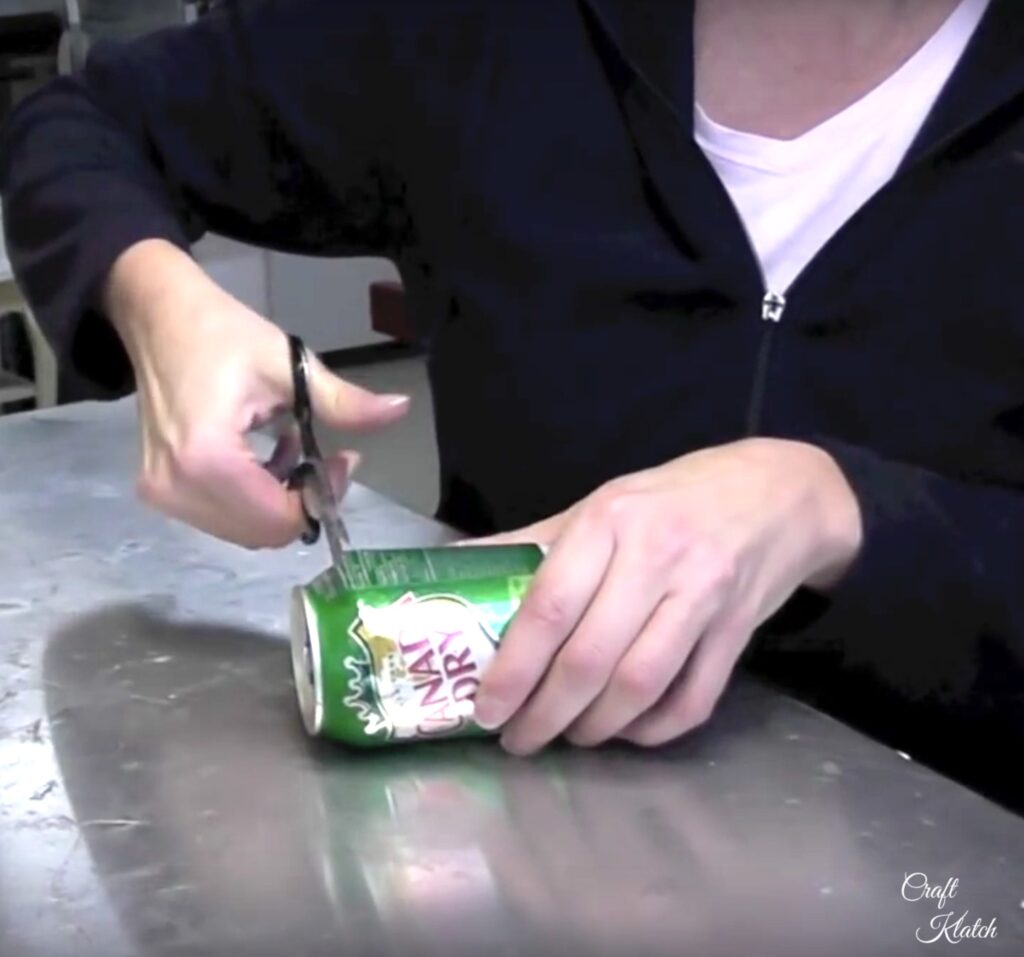
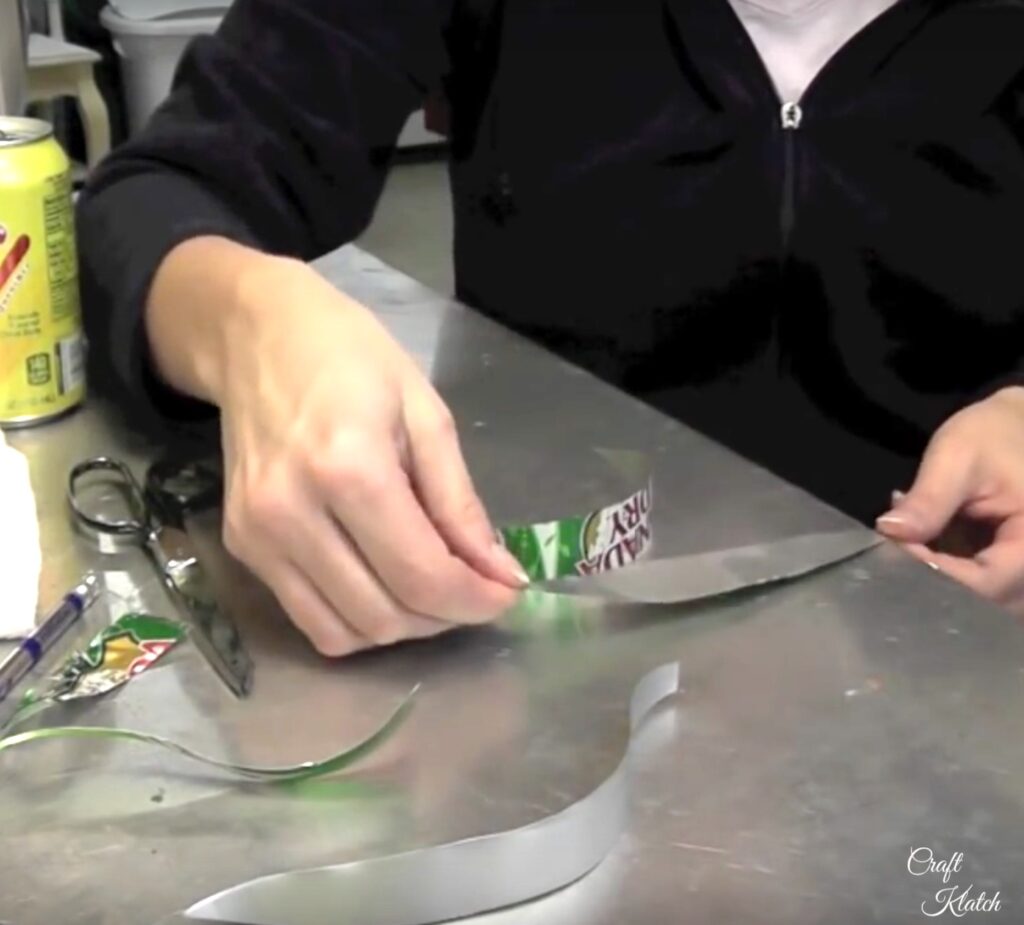
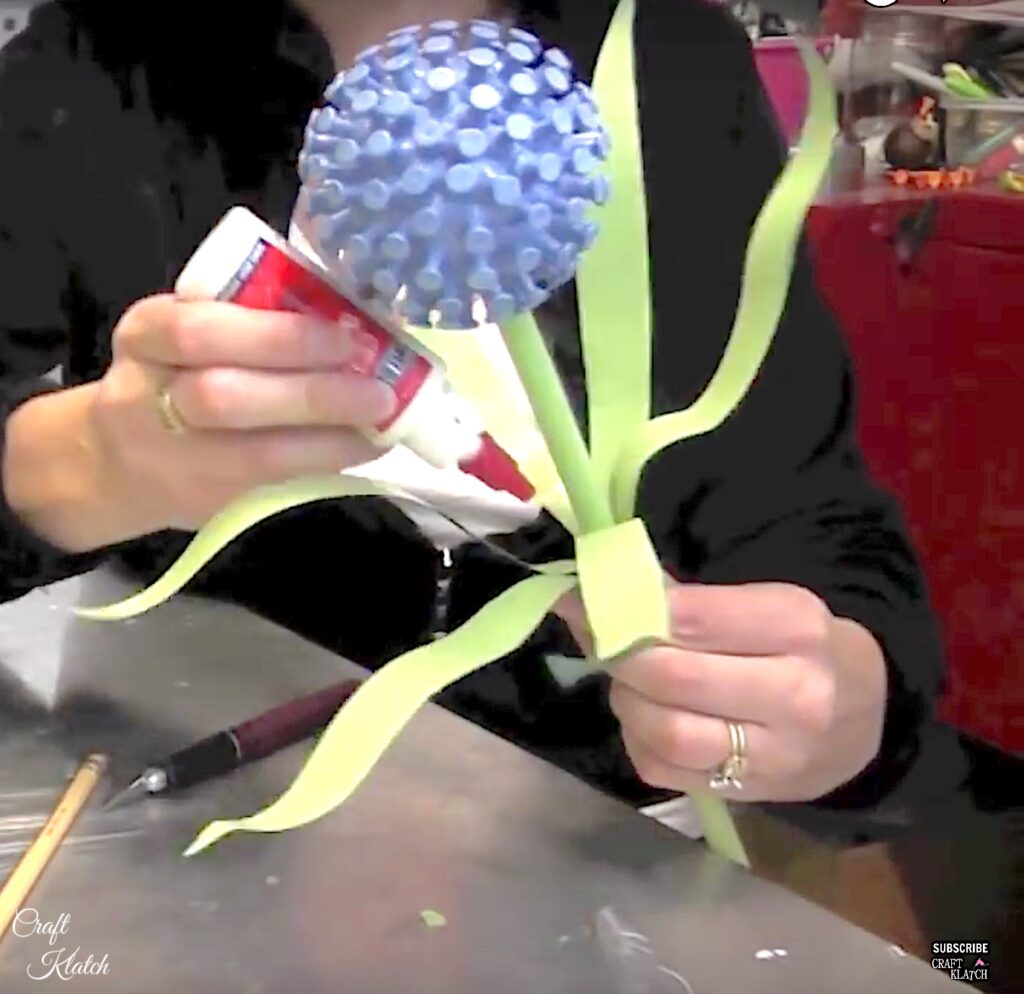
7. Cut your cans into long leaves. Leave a tab at the bottom to be able to attach it to the stem later.
8. Take tape and tape one side of the leaf (this will protect it from the other color). Spray the light green. It may take a few coats and allow it to dry completely. Remove tape and now put new tape on the painted side. Paint the dark green and allow it to dry completely. Remove tape.
9. Using a combination of glue and wire, attach the leaves to the dowel. You can leave the wire color, or after the glue is dry, you can place tape around the leaves and carefully spray paint the wire.
9. Allow to dry and remove any tape.
That’s it! Your first Spring Flower!
More Flowers and Garden Art
Don’t let that one be your last! I have a few other garden art projects that I think you will love!!!
- Recycled Artichoke Garden Art
- Recycled Sunflower Garden Art
- Dandelion Inspired Garden Art
- Giant Ants Recycled Garden Art
- Sunflower Garden Art Wall Hanging
Great Garden Art Alternatives
If you aren’t up to make your own garden art, here are some great alternatives to brighten up your garden!

Thanks for stopping by! Remember: Life’s too short not to shimmer, so grab your glue gun and your glitter!™ Stay safe!
Mona
I too am ready for spring. Very creative!
Thanks Diana!
Golf tees? Whatever it is, it's super cute!
Thanks so much! The answer is right at the beginning of the video!
Thanks for stopping by!
Mona
This is really cute. It would be great on my Repurposed Ideas Weekly Blog hop.
repurposemylife.com/repurposed-ideas-weekly-20-sawdust-sculptures/?preview=true&preview_id=3550&preview_nonce=dccb56a74c
Thanks Marlo – Let me know when it is, I have a few I could share!
Mona
Love this so much! Going to make a bunch of these with my grandchildren!
Just wonderful, love the video, Than you so much