
I am pretty fanatical about making resin crafts (if you haven’t noticed) and I love showing you how to make resin coasters. Because resin is an amazing medium and geodes are naturally beautiful, it would seem reasonable that those two worlds would collide.
Since I’ve been doing resin crafts for years, I thought it was time to try my hand at a resin geode coaster…again. I’ve tried it once before. This is my second attempt and I love how they turned out, but I think I might try one more version yet! Let’s get started and I’ll show you how to make these resin geode coasters!
I went with a more traditional purple color for these geodes, but you can easily go with untraditional colors and use whatever goes with your home decor. Feel free to get funky with it!
*This blog uses affiliate links. As an Amazon Associate I earn from qualifying purchases.
Supplies you’ll need to make resin geode coasters:
- Plywood: https://amzn.to/33TlKGl
- Wood pieces (if you don’t want to cut our own): https://amzn.to/2qJK7Ab
- White pigment: https://amzn.to/2qASOQd
- Purple pigment: https://amzn.to/2pPdbbM
- India ink: https://amzn.to/2pOYuVZ
- Pigment powder: https://amzn.to/2pP88Iq
- White acrylic paint: https://amzn.to/3iyaPpG
- Black acrylic paint: https://amzn.to/30O9jtA
- Gold nail polish: https://amzn.to/2piw4k9
- Confetti: https://amzn.to/2qJKkn2
- Resin
- When deciding on which resin to use for your coasters, you need to keep in mind whether you want it just for cold cups or for hot ones as well.
- If only for cold drinks, you can be flexible and use whatever brand you like:
- If you want it to work for both hot and cold drinks, you need to look for a heat-resistant resin, like these:
- Stone Coat (Quick coat)
- Stone Coat (Heat resistant)
- FX Poxy ~ According to the manufacturer, this one is heat resistant to 500° F.
Since I made these, there are SO MANY amazing geode silicone molds available, like these:

Here is the video tutorial, so you can see exactly how I made these resin geode coasters:
Directions:
Step 1
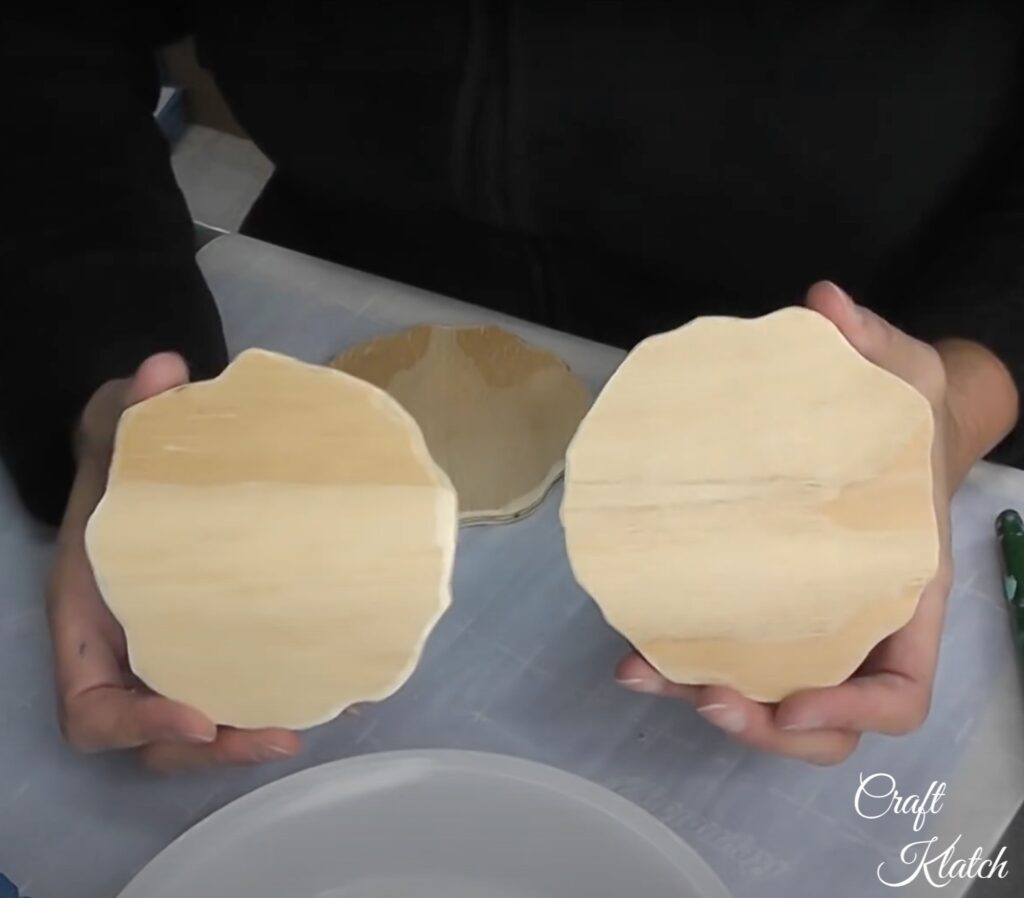
I cut the wood pieces, out of plywood, using this saw.
I wanted to give the geode coasters a more organic, freeform look and I’m using wood for the base that the resin will sit on. If you don’t have a saw or don’t want to cut them out, you can get precut wood rounds and those would work great too!
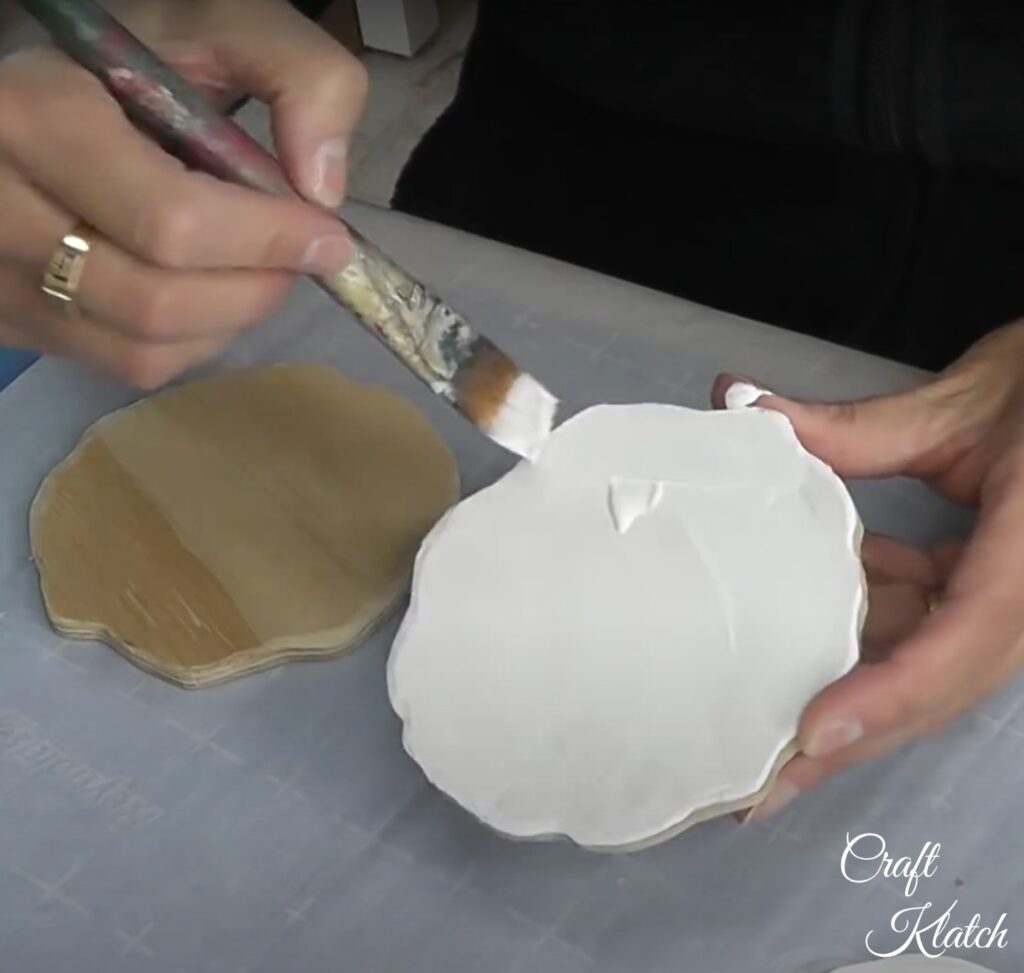
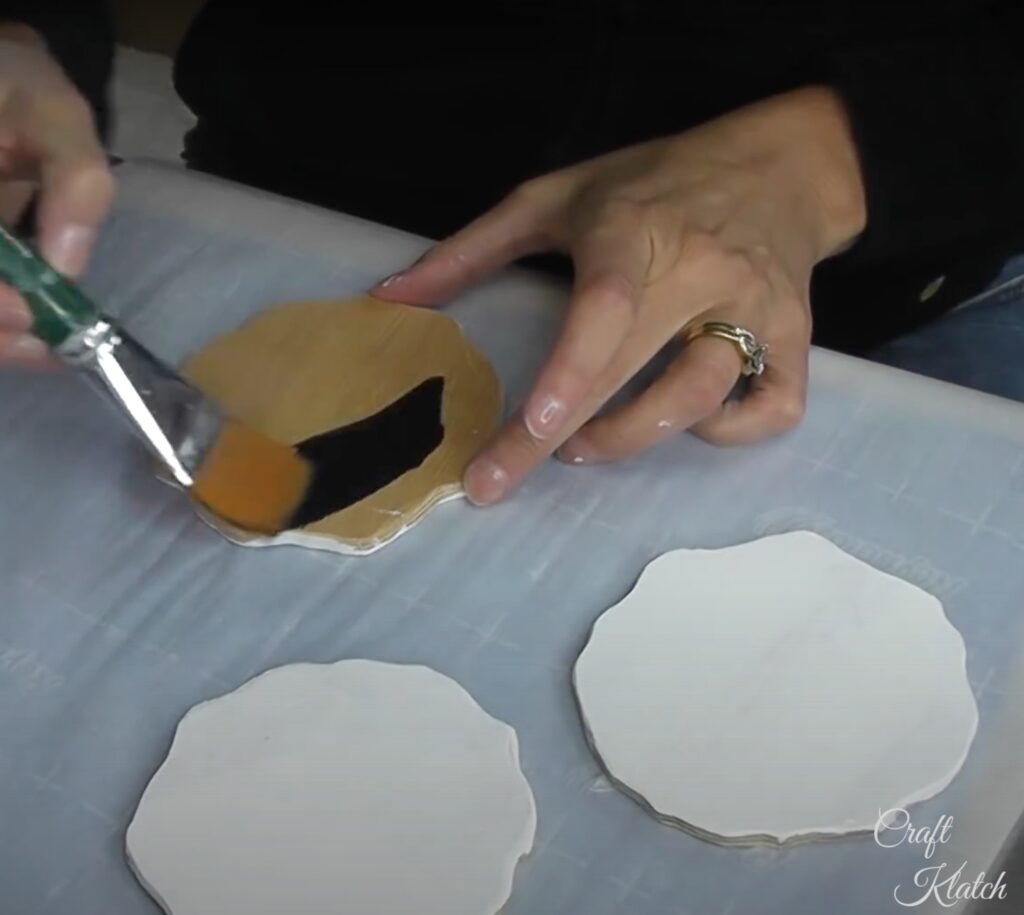
Step 2
I painted the top white and the bottom and sides black. I used regular acrylic paint and did two coats each.
Step 3 ~ Let’s make them start to look like resin geode coasters!
Once the paint dried, I mixed two ounces of resin. Then, I separated the resin into smaller cups and mixed different colors into it. I used a combination of pigment powder, resin pigment, India ink and a little confetti to get the colors I wanted.
I poured the resin on the rounds, but I made sure I had the rounds elevated on a cup.
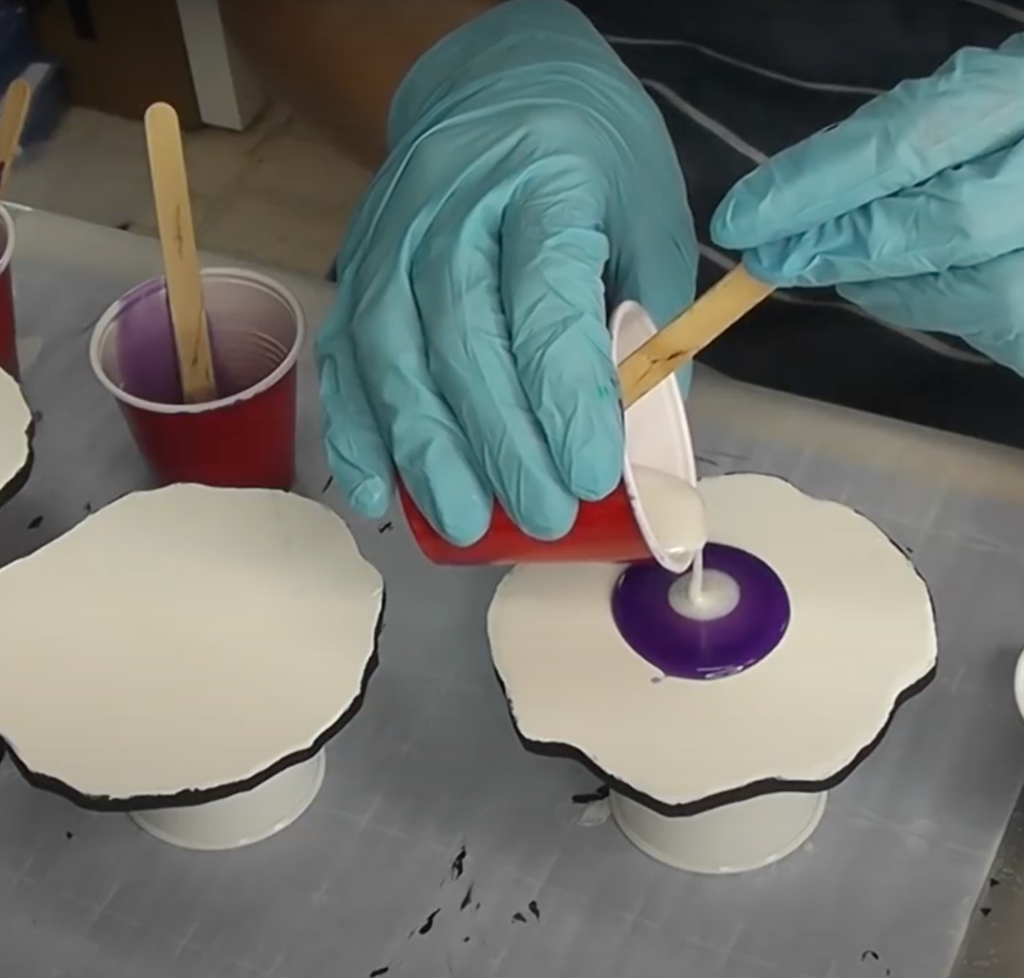
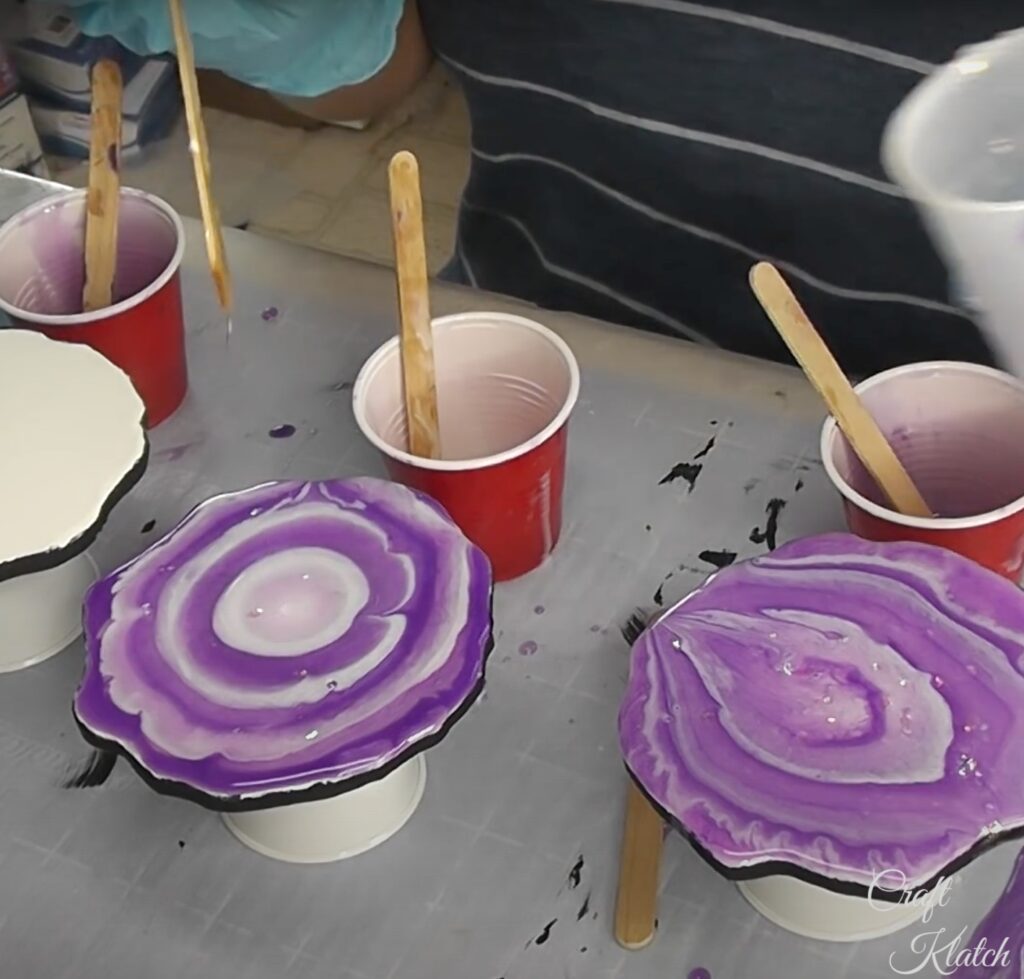
Pouring resin right in the middle and alternating the colors forced the resin to move out toward the edges, in a ring pattern.
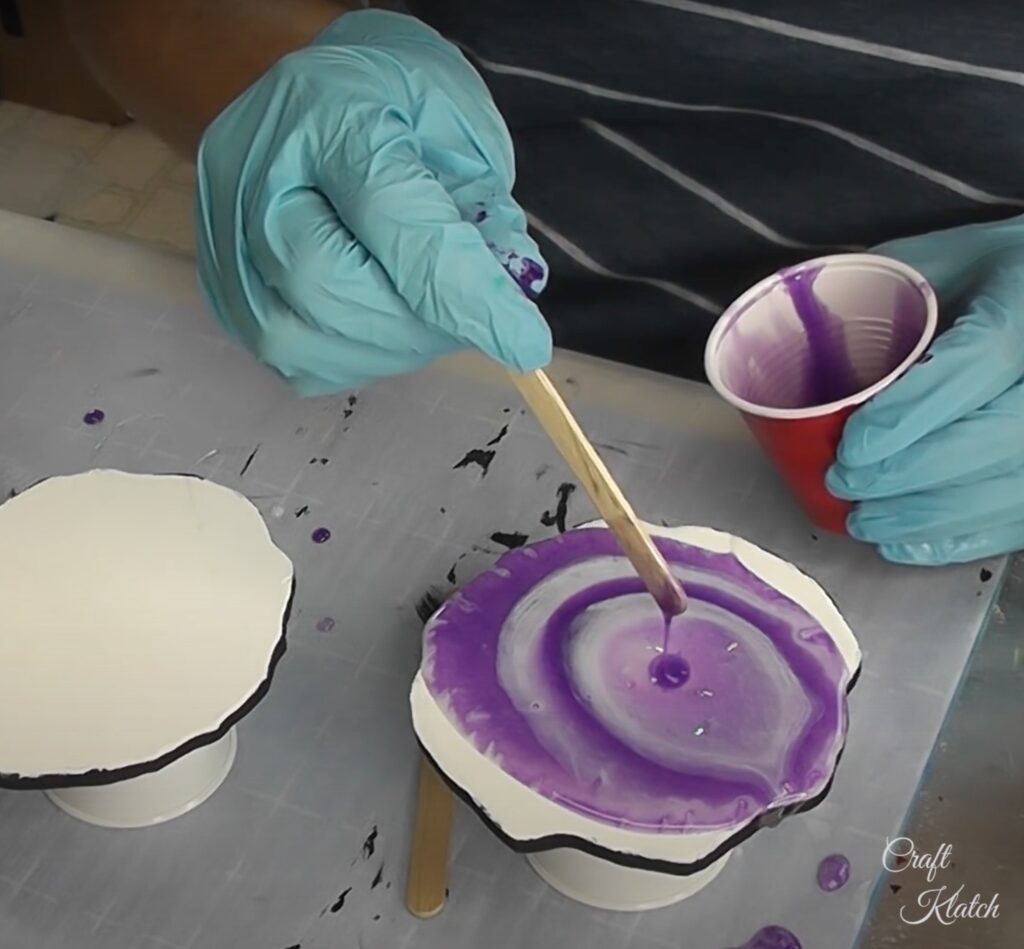
You need to realize, as the resin spreads, it will make its own pattern and you will have limited control.
Step 4
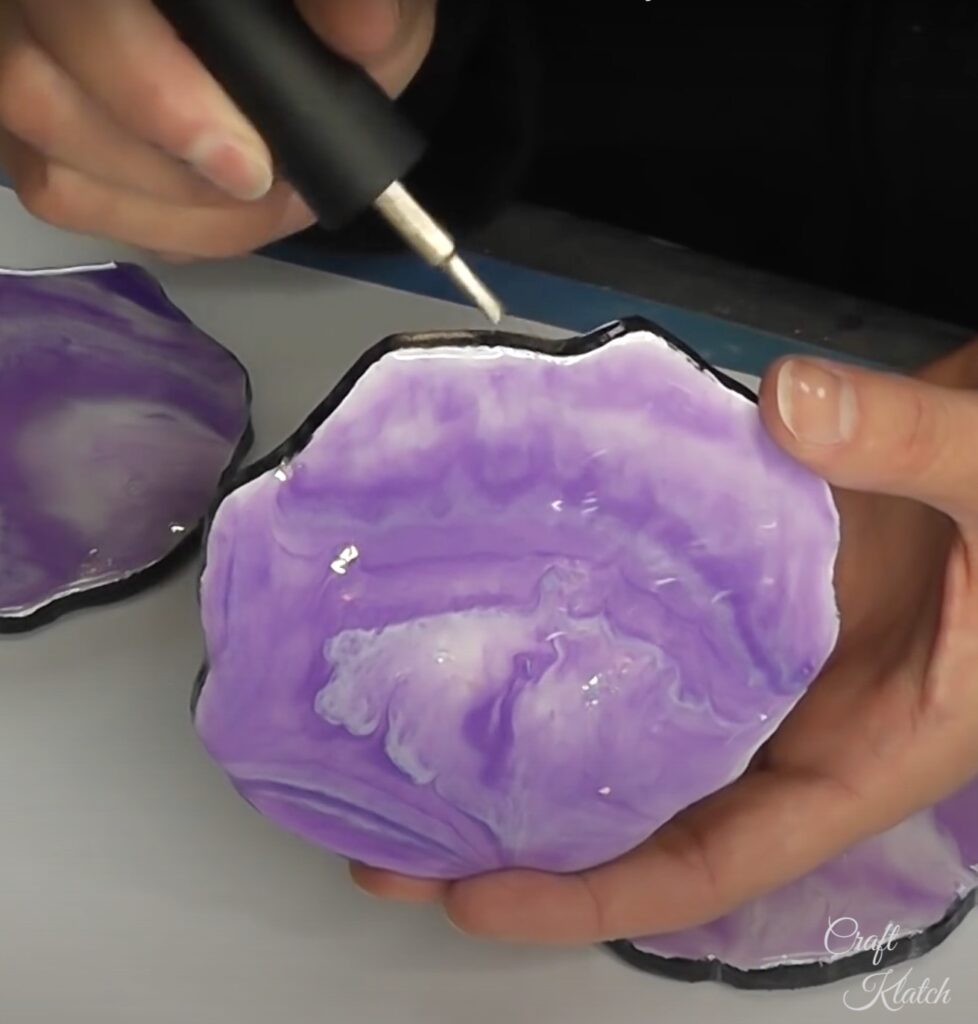
Once the resin spread over the wood, I used a lighter to pop the bubbles. You can use a torch instead of the lighter, if you prefer.
{d.getElementById(i)||(element=d.createElement(t),element.id=i,element.src=\"https://widgets.rewardstyle.com\"+e,d.body.appendChild(element)),w.hasOwnProperty(g)===!0&&\"complete\"===d.readyState&&w[g].init()}(window,\"boutique-script\",document,\"__boutique\",\"/js/boutique.js\",\"script\")</script><div class=\"rs-adblock\"><img loading=")
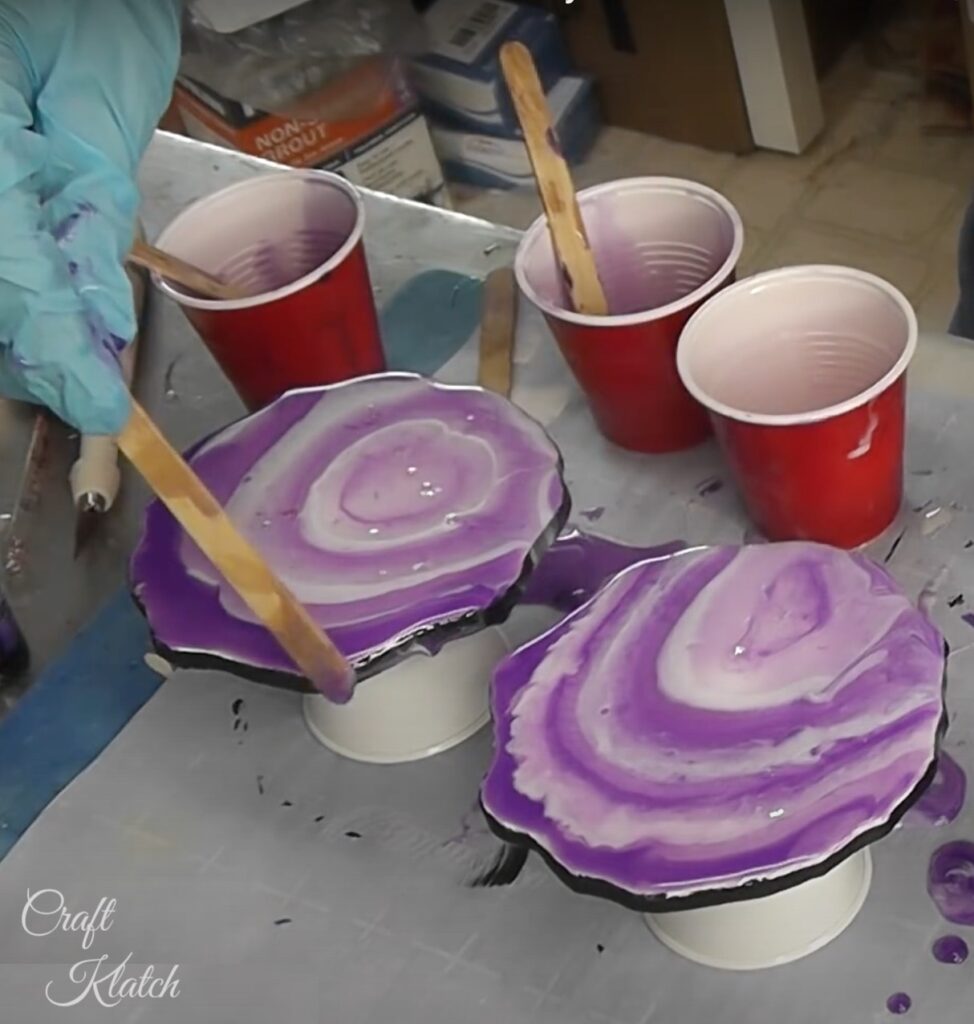
As the resin dripped down the sizes, I used a stir stick to remove the drips.
Step 5
I let them cure a minimum of 12 hours before handling them. Check your resin to see what the full cure time is. Often times the full cure is 72 hours, but you can handle it beforehand. For a final touch, I took gold nail polish and put it on the edges – subtle I didn’t go crazy.
Here they are! They look a little lighter, due to the lighting in the room.
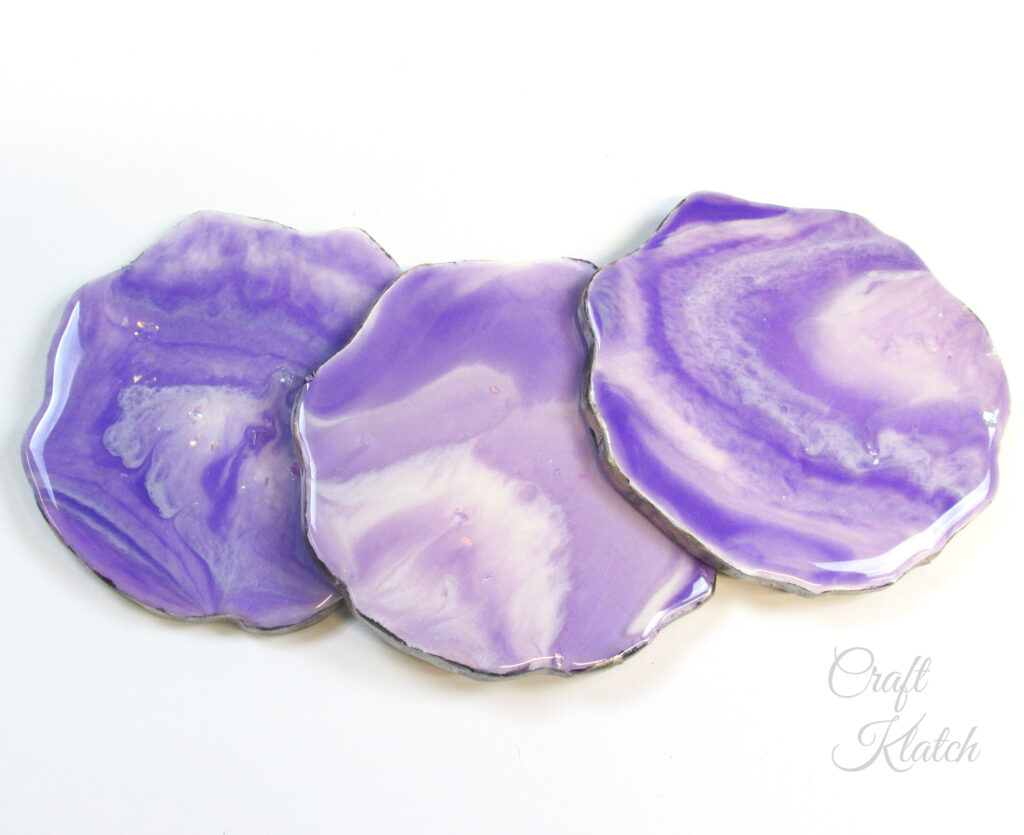
I think they turned out beautifully, but I have an idea to keep the veining and stripes bolder, as you might see in an actual geode.
You can find my first attempt at a resin geode coaster here at Faux Amethyst Geode Coaster DIY.
The third attempt can be found at DIY Glam Glitter Resin Geode Coasters – I used some funky colors for these!
Incase you don’t have the time to make the coasters, you can pick up some real geode coasters or other fun geode stuff!
I’m going to answer some Frequently Asked Questions about resin coasters:
What are resin coasters used for?
Resin coasters are actually resin drink coasters. Drink coasters are put under drinking glasses to protect a tabletop. For example, if you have a cold drink and it is a hot day, you will get condensation on the glass and it will get onto your table. Coasters aren’t really necessary if you have a glass tabletop or a surface that can easily be wiped up. However, if a wet glass is left on painted or stained wood, it will leave rings and possibly strip the finish over time. A coaster is an inexpensive way to preserve your furniture! As for hot mugs or coffee cups, coasters also protect wood tabletops from the heat.
How much resin do I need for coasters?
Resin can be on the expensive side if you are going to use a lot of it. That is why coasters are a perfect smaller project, especially if you are just dipping your toe into working with resin. You can make a coaster with as little as one ounce of resin. On average, depending on what I am putting into a coaster, I use two ounces per coaster. Again, that can vary depending on what you are making.
That brings us to:
How much resin do I need for 4 coasters?
On average, you will need eight ounces of resin for four coasters. If you are doing coasters where you are pouring the resin onto a piece of wood, like the geodes in this project, you might be able to get away with one ounce of resin per coaster.
How do you make resin coasters?
Most epoxy resins are mixed the same, one part hardener to one part resin. You mix them for a period of time determined by the manufacturer. It is always best to follow the manufacturer’s directions carefully. A chemical reaction takes place between the hardener and the resin, which causes it to harden. After you have it properly mixed, you pour the resin into a mold or onto an appropriate surface and the resin will cure or harden.
How long does it take resin coasters to dry?
Different resins have different working times and cure times. Most of the resins I have worked with can be handled and taken out of molds after 12 hours. The full cure can vary from 24 to 72 hours depending on the resin, temperature, and humidity.
How do you seal resin coasters?
There is no need to seal resin coasters. They are durable and water-resistant!
What can I use as a resin mold?
You can make resin coasters many ways and you don’t always need a mold. The geode coasters I made did not require a mold because I poured the resin on wood. You could also do a freeform coaster and pour the resin on parchment paper or on a silicone sheet. The good news is resin does not stick to parchment paper or silicone!
This is the mold I typically use for my resin coasters:
What is a resin geode?
A geode is a rock that is partially hollow and may have colorful banded areas and crystals inside. A resin geode is simply a geode that is made out of resin. People have made resin geode tables and wall art that is stunning!
Which resin is the best for coasters?
There are so many different resins available, it can be hard to sort through which is best for coasters. When I started, there weren’t that many resins available for crafters, so I just used what was available at the craft store. Though those resins work well, they may not be the best choice for coasters.
If you are only going to have a cold beverage, bottle or glass sitting on an epoxy resin coaster, then any old resin will do. However, if you are going to have hot beverages on your coasters, then you will want to make a different choice. When researching resins, look for a heat resistant resin. There are some resins that are resistant to 500° F. Those would be the better option for a coaster.
Another factor that you may want to consider is if the product is UV resistant or UV stable. Most, if not all, resins will yellow over time. If they are UV resistant or UV stable, it will slow that process down tremendously. I’m not sure if any manufacturers have completely eliminated it, but some have done a good job of minimizing it, to where you may never notice.
Thanks for stopping by! Remember: Life’s too short not to shimmer, so grab your glue gun and your glitter!™ Stay safe!
Mona


The last video was near prefect. Loved it!
Great job, would be good for the holidays using different colors but same way of doing them.
Thanks for another year of creative genius! Happiest of holidays and looking forward to another year seeing what you come up with. I enjoy resin too. I’m very made the Halloween house , Christmas house and Easter house.Now all we need is to come up with another holiday to make a resin house:)
Thank you, Kathy! Merry Christmas and Happy New Year to you! I have it in my mind to make a summer house and have some ideas, but just haven’t jumped in to do it yet! Maybe this will be the year? I also have a second version of the Christmas house in mind, but also have not jumped on it! Here’s to hoping 2021 is a better year for everyone!
I am just getting started with resin, so checking out videos to see how it’s done. LOVE this video! You explain things thoroughly and move it right along, so it doesn’t get boring. Thank you for that. Want to start with coasters and will be using molds Will continue to check out your videos.
Thank you so much Lorraine! I’m glad you enjoyed it!
Thank you so much for sharing these awesome coasters and other ideas! You explained how to create them so well and they came out great! What a great wedding table take home or just to wow guests when they come over. Great presents too! Thanks again for sharing!
Thank you Cat!