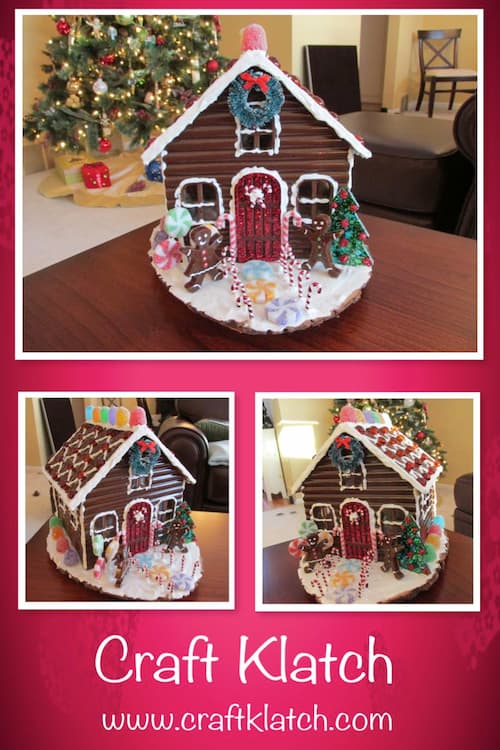
Create a festive resin gingerbread house for Christmas! Learn how to make a gingerbread house with resin that lasts for years with this easy step-by-step guide.
Don’t you hate it when you pour your heart and soul into a Christmas project and it turns out PERFECT but it doesn’t last?
Be sad no more!
Oh! Did I mention…NO crumbs and NO calories?
If you’re looking for a holiday project that combines crafting and Christmas cheer, this resin gingerbread house is perfect!
Discover how to make it durable, decorative, and ideal for the holiday season. This resin house lasts year after year, making it a unique piece to decorate and even gift.
Why Make a Resin Gingerbread House for Christmas?
Gingerbread houses are a staple of Christmas decor, but they are certainly not practical to save from one season to the next.
Hello, ants and mold!
Using resin for a gingerbread house creates a sturdy, long-lasting version that captures the holiday spirit without the risk of breaking or crumbling.
This mold also has cavities for gingerbread men and Christmas trees…perfect for making resin gingerbread ornaments for your Christmas tree!
How to Make a Gingerbread House for Christmas DIY Video Tutorial
You can see exactly how I made the resin house here.
Materials Needed for Your Resin Gingerbread House
*Disclosure: This blog uses affiliate links from Amazon and other retailers. I earn a small amount from qualifying purchases at no additional cost to you.
- Silicone gingerbread house mold – Look for molds that include classic gingerbread details for added charm.
- Resin coloring pigments – For a traditional gingerbread color, use a brown tint.
- Dimensional paint – Add detail with white for “icing” and colorful accents.
- Glitter or shimmer powder (optional) – To make your house sparkle like a snowy holiday scene.
- Mini decorations – Small candy pieces or faux gumdrops make the gingerbread house fun to decorate.
- Mini gumdrops – Perfect if you want to make your resin gingerbread house look like it has real candy
- Basswood Base
- Mini wreath
- E6000
- Hot glue
- Vase fillers
Step-by-Step Guide: How to Make a Resin Gingerbread House
Ready to start crafting? Follow these easy steps to make your resin gingerbread house recipe.
Step 1: Prepare and Pour the Resin
Prepare the resin according to the instructions included in the package. Add the brown resin pigment and stir until the mixture becomes opaque. Be sure to note the amount of colorant used so you can match the shade across all pieces for consistency.
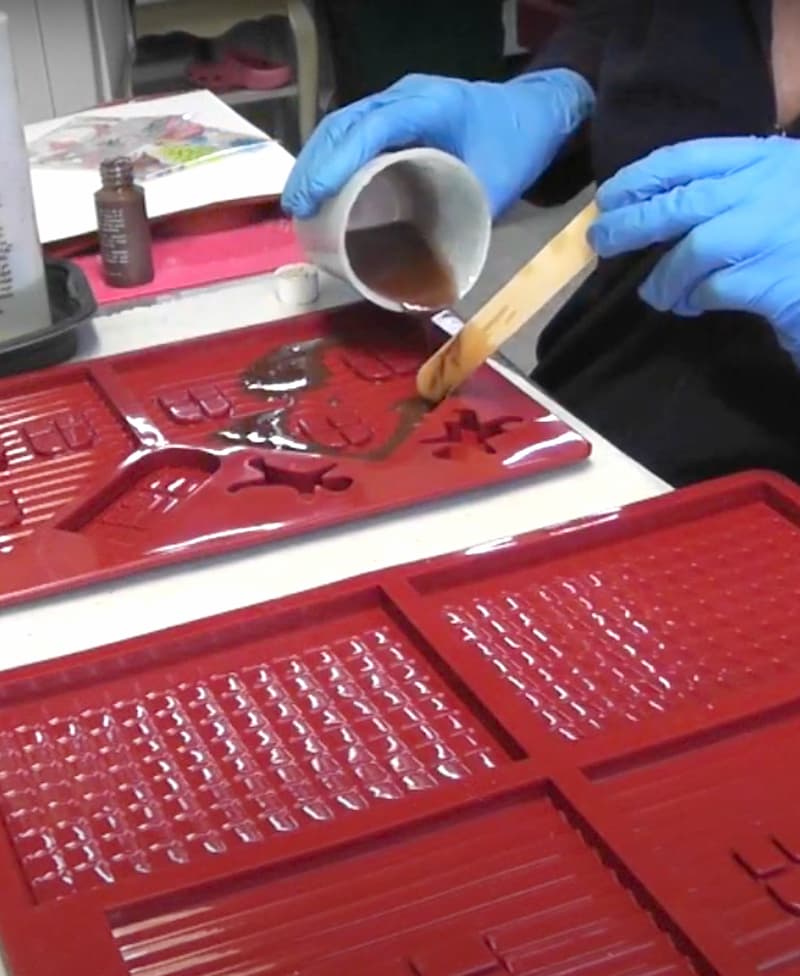
Next, pour the brown-tinted resin into the mold, avoiding the tree and door cavities. Carefully pour enough resin to fill in the window frames, but leave the window areas themselves clear for a realistic “glass” effect. Allow the resin to set for at least 12 hours.
Use a lighter or heat gun to pop the bubbles.
TIP: If the color of the walls did not come out as solid as you had hoped (mine did not), take some brown acrylic paint and paint the inside of the walls with brown paint. Allow to dry.
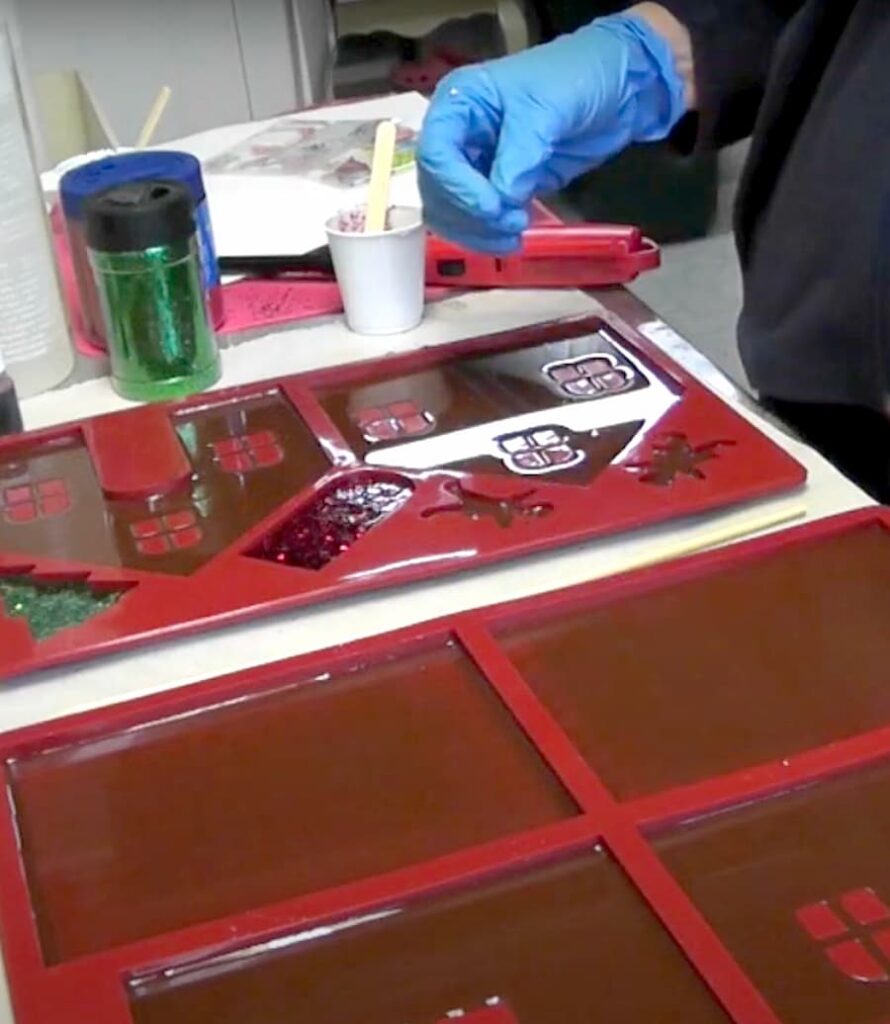
Pour a clear coat of resin on the molds where you painted to brown acrylic paint. This layer also allows there to be clear windows in the window frames.
Yay!
Allow the gingerbread house pieces to cure a minimum of 12 hours. I might wait 24 to 48, to let it property harden because they will be standing upright and might bend if not fully cured.
Use glitter or pigments to add color to the resin for the other cavities in the mold (front door, trees, etc.).
Step 2: Unmold the Pieces
It’s time to unmold the pieces—this is the fun part! Use E6000 glue to assemble the parts of the gingerbread house, and add hot glue to temporarily hold the pieces in place while the E6000 sets.
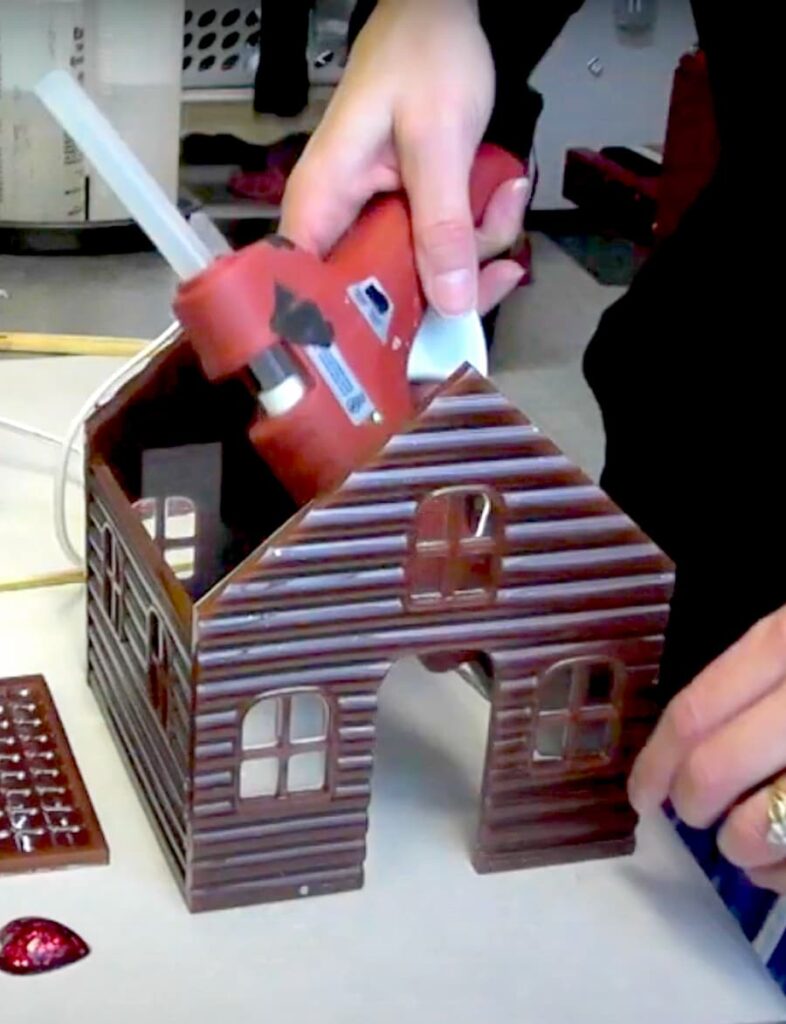
Now it’s starting to look like a gingerbread house!
Step 3: Ready? It’s a Gingerbread House to Decorate
When the glue has dried, it’s time to start decorating.
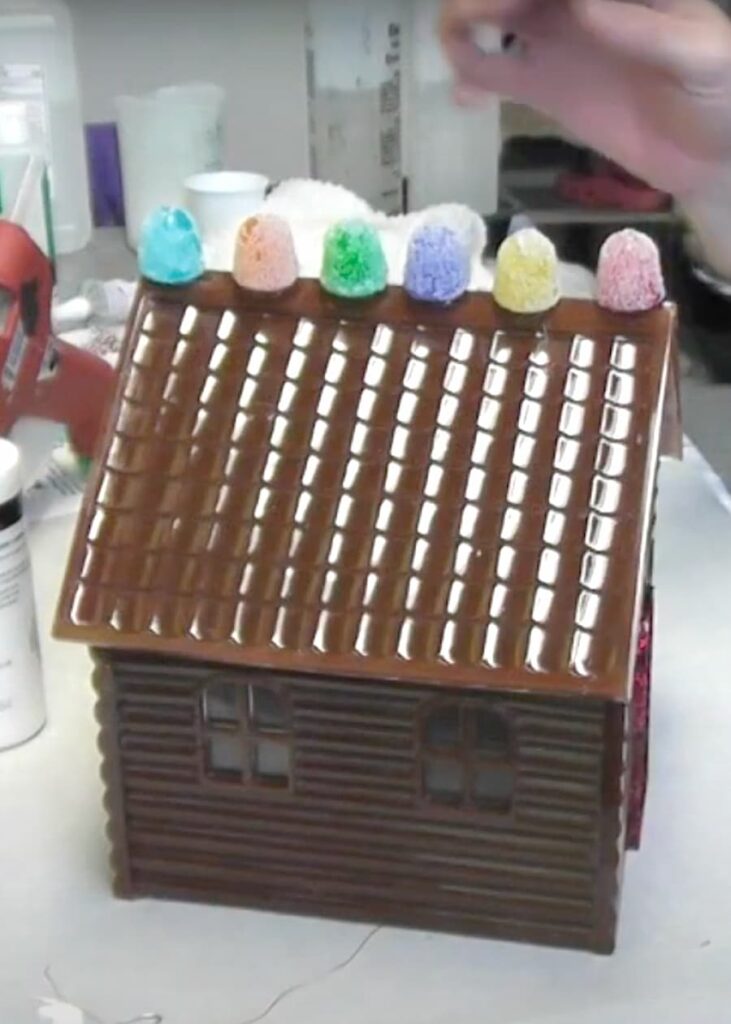
Glue fake gumdrops to the top of the roof peak.
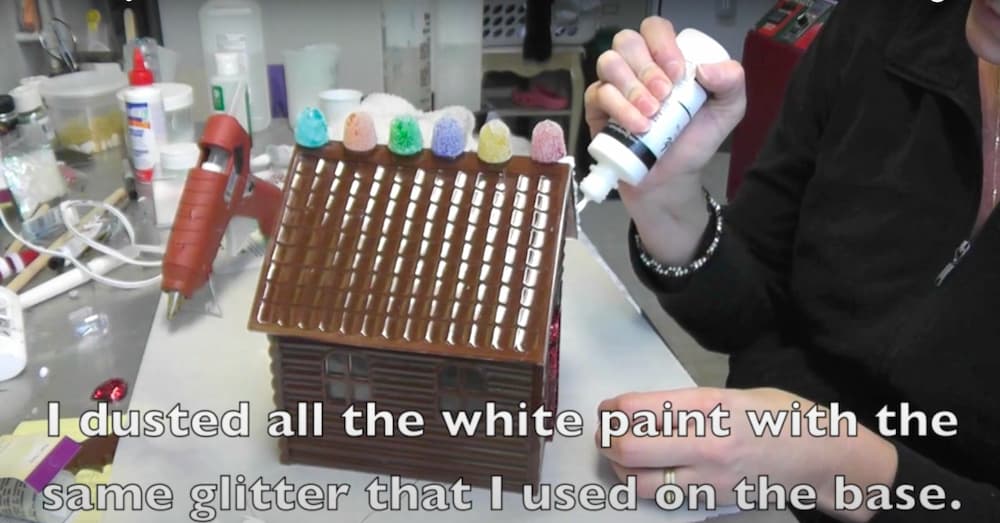
Use the Slick fabric paint as icing/snow. It goes on thick and is not runny. Run it along the edges, around the windows, on the roof, and sprinkle with white glitter to give it an icy look.
Step 4: How to Make a Base
I used a wood plaque with a natural edge for the base. Make sure it is big enough to fit the gingerbread house.
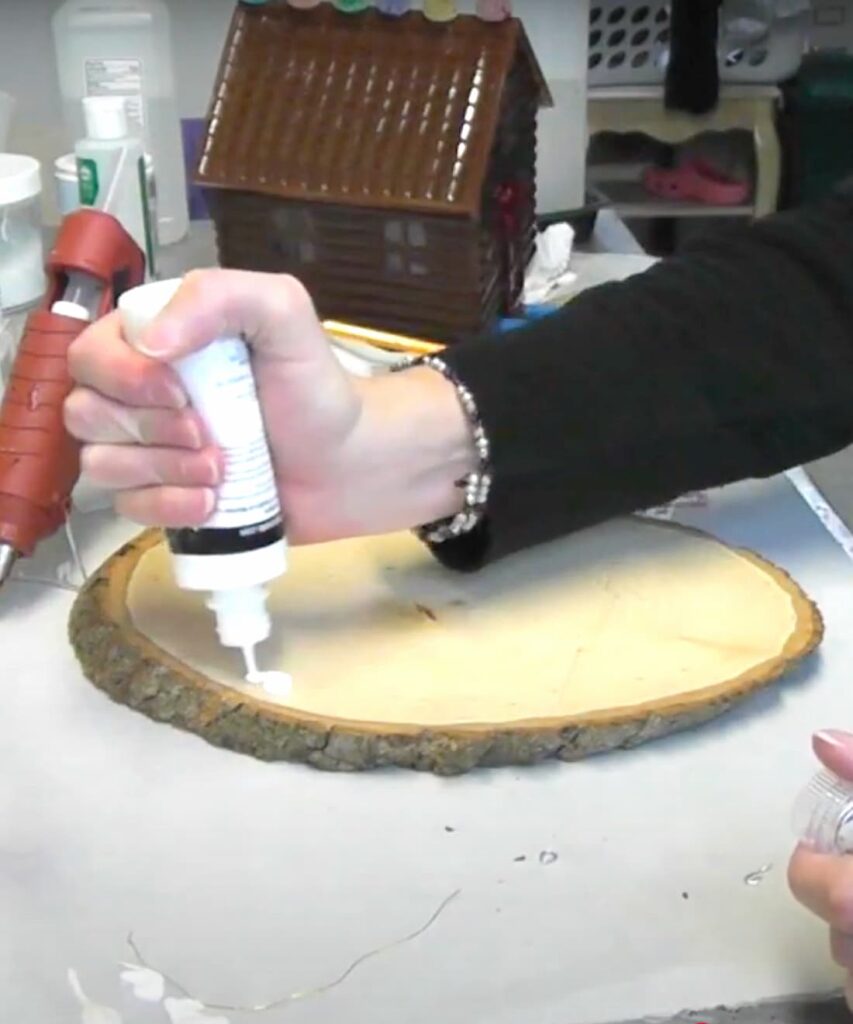
Trace around the edge of the house, on the base you will be putting it on. This will let you know the placement of the house and where you DON’T want to paint. Put the paint outside of where you traced it, so it looks like there is a snowy yard. Again, sprinkle the wet paint with the white glitter.
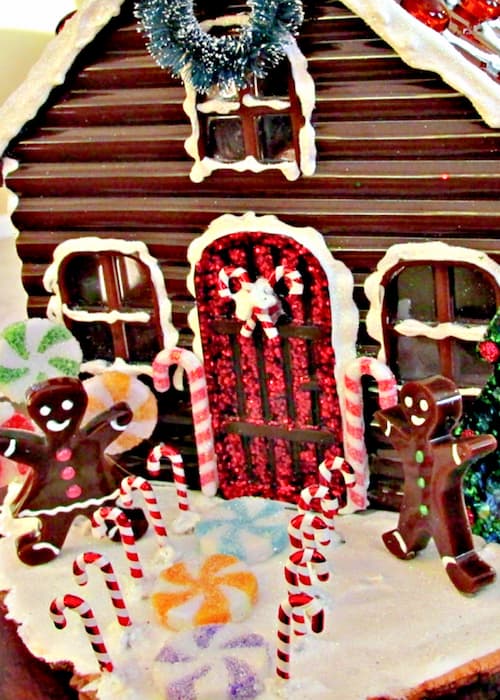
Step 5: Finish Off the Gingerbread House
Allow the paint to dry and finish adding your gumdrops, other fake candy, decorations, a wreath, and the other gingerbread people and the trees that you made with the mold. I added paint to the gingerbread people and glue and glitter to the trees.
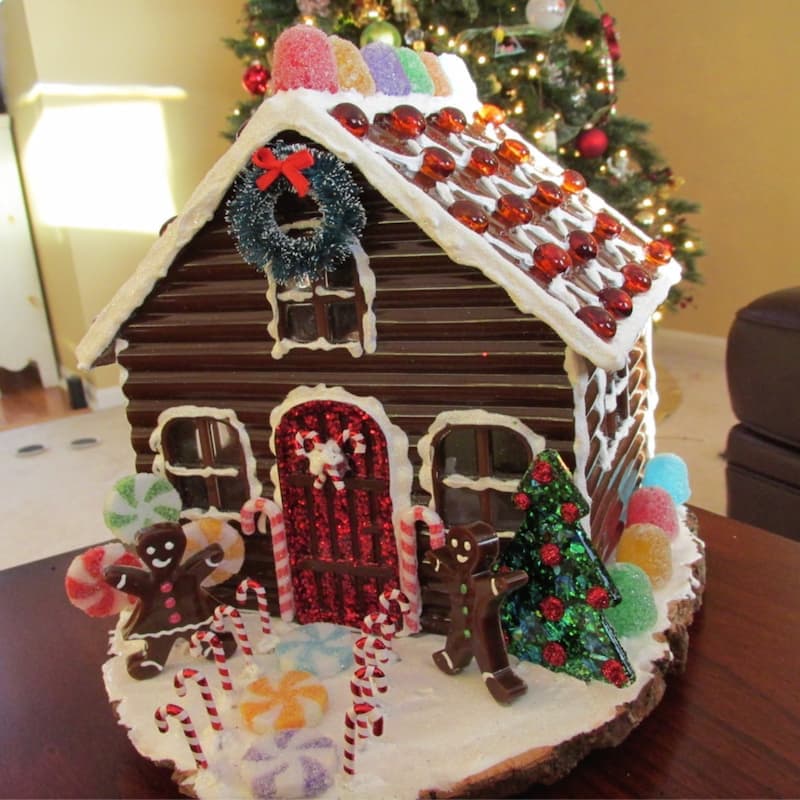
I did not permanently attach the house to the base because I wanted to add a battery-powered light or battery-powered candle.
Place your resin gingerbread house on a mantle, or shelf, or use it as a holiday centerpiece. You can also turn the smaller pieces (trees, gingerbread people) into resin gingerbread ornaments to decorate your tree!
Tips for Making the Perfect Resin Gingerbread House
- Work in a well-ventilated area when handling resin to ensure safety.
- Use good-quality silicone molds for clean details and easier demolding.
- Experiment with different pigments to create a “frosted” effect by adding white shimmer or glitter to your house.
Ideas for Decorating Your Resin Gingerbread House
Get creative with decorating and try different themes or color schemes! You could go classic with traditional red and green accents or make a winter wonderland with icy blue details. Since these resin gingerbread houses are durable, you can get extra creative without worrying about them breaking.
Why Resin Gingerbread Houses Make Great Christmas Gifts
These resin gingerbread houses make charming keepsakes that can be gifted to friends and family. They’re customizable and make lovely holiday gifts that bring festive decor to any home. And since they’re long-lasting, recipients can display them for years to come.
I also used the mold to make an Easter Bunny House and a Creepy Zombie House for Halloween!
This may not have been the gingerbread house recipe you were expecting but it is a fantastic way to bring holiday magic to life. The kids will love having a gingerbread house to decorate with family. Try it this season and create something truly unique.
Fun Gingerbread Craft Projects
This was a fun gingerbread resin house project but I have a few other gingerbread-themed projects too! Check these out:
- Dollar Tree Gingerbread Ornament
- Gingerbread House Made From Scratch Coaster
- Big Resin Gingerbread Man Christmas Decoration Craft Tutorial
Other Great Gingerbread Houses
If you don’t have time to make a resin gingerbread house for Christmas, you can buy some beautiful ones!

Happy Holidays and remember: Life’s too short not to shimmer, so grab your glue gun and you glitter!™ Stay safe!
Mona
Be sure to PIN IT for later!