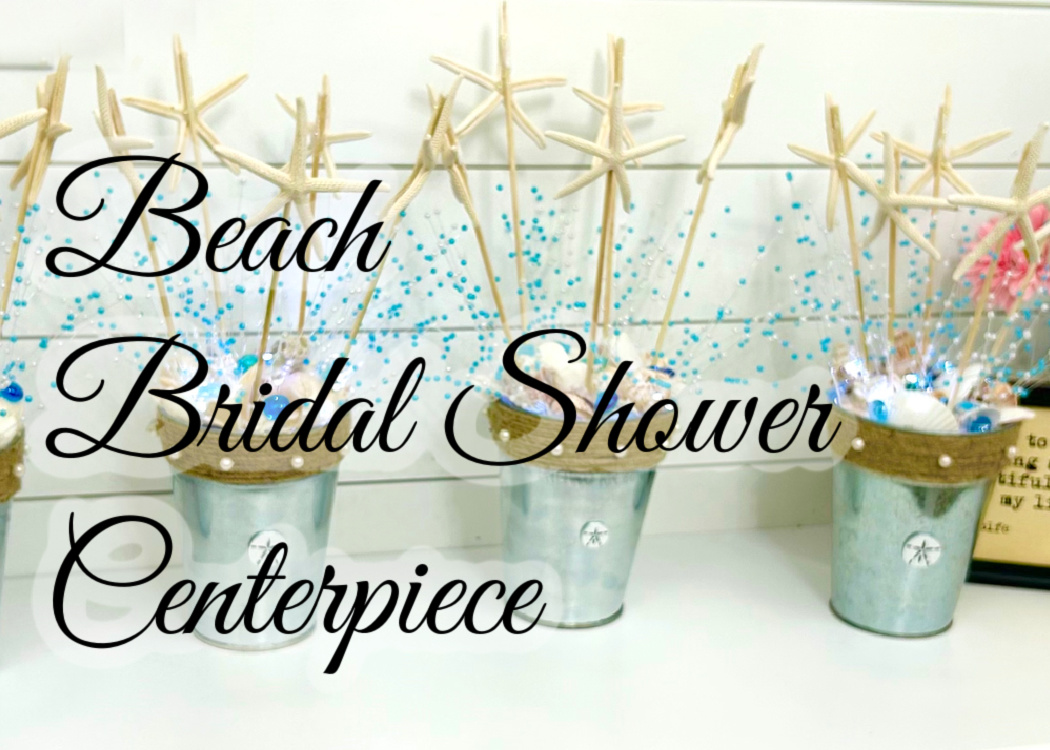
Are you looking for bridal shower centerpiece ideas? How about one with a coastal or beach theme? Look no further! I’ll show you how to make a beach-inspired bridal shower centerpiece that will make the bride-to-be’s special day EXTRA special!
Hold onto your sunhat because I’m diving into the world of crafting with a splash of seaside charm.
It just takes a sprinkle of creativity and a few supplies for this DIY!
Two Less Fish in the Sea Theme
The source of inspiration for this beach-themed bridal shower? My niece has an upcoming beach wedding down here in sunny Florida.
She had put together a Pinterest board for her bridal shower and she liked the theme of “Two Less Fish in the Sea”…so we ran with it!
My sister, two cousins, and I were ready to take it to the next level!
If you missed my Bridal Shower Game post, you NEED to check it out! We had so much fun with that one and I bet you’ve never seen anything quite like it before!
Crafting the Beachy Bridal Shower Centerpiece
Gathering the Essential Materials
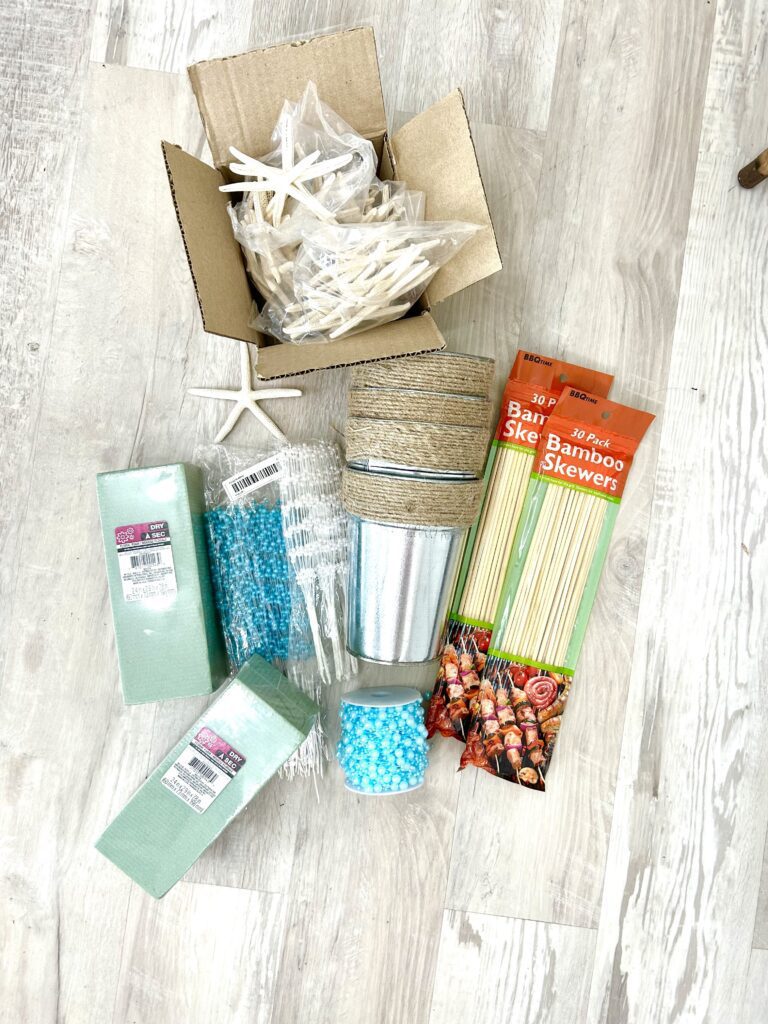
To start your crafting adventure, gather the following materials:
*Disclosure: This blog uses affiliate links from Amazon and other retailers. I earn a small amount from qualifying purchases at no additional cost to you.
- Small to medium-sized metal buckets (ours were approximately 6.5″h x 5″ wide)
- Floral foam suitable for your chosen bucket size
- Real starfish
- Fine white glitter for a touch of sparkle
- Skewer sticks
- Seashells
- Hot glue
- Clear-drying glue
- White pearl picks
- Aqua pearl picks
- Fairy lights for a little magic
Here is the Beach Wedding Centerpiece Wedding Video Tutorial
Step-by-Step Instructions for the Beach Bridal Shower Centerpiece
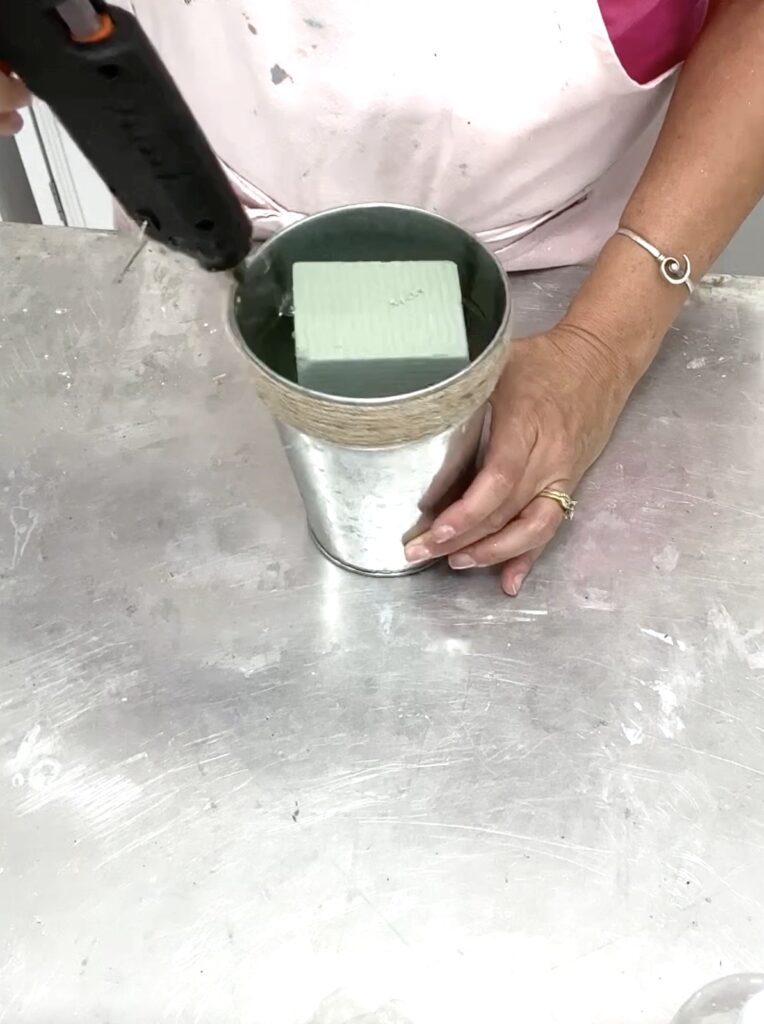
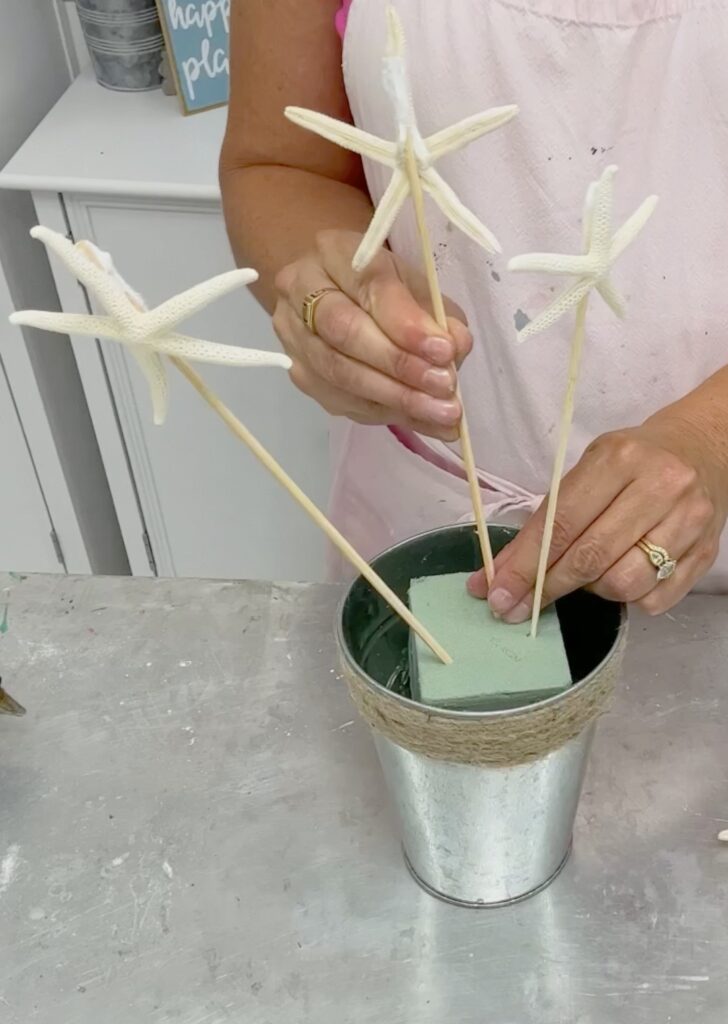
Step 1: Preparing the Foundation
If you have a rectangular piece of foam, like I did, cut it in half to fit into your bucket. Then secure it with some hot glue so it doesn’t come loose or shift.
Step 2: Starfish with Sparkle
Time to prep the starfish. I used the skewer sticks and hot glue to secure the starfish onto the skewer sticks. Then, I added some clear-drying glue and sprinkled it with glitter.
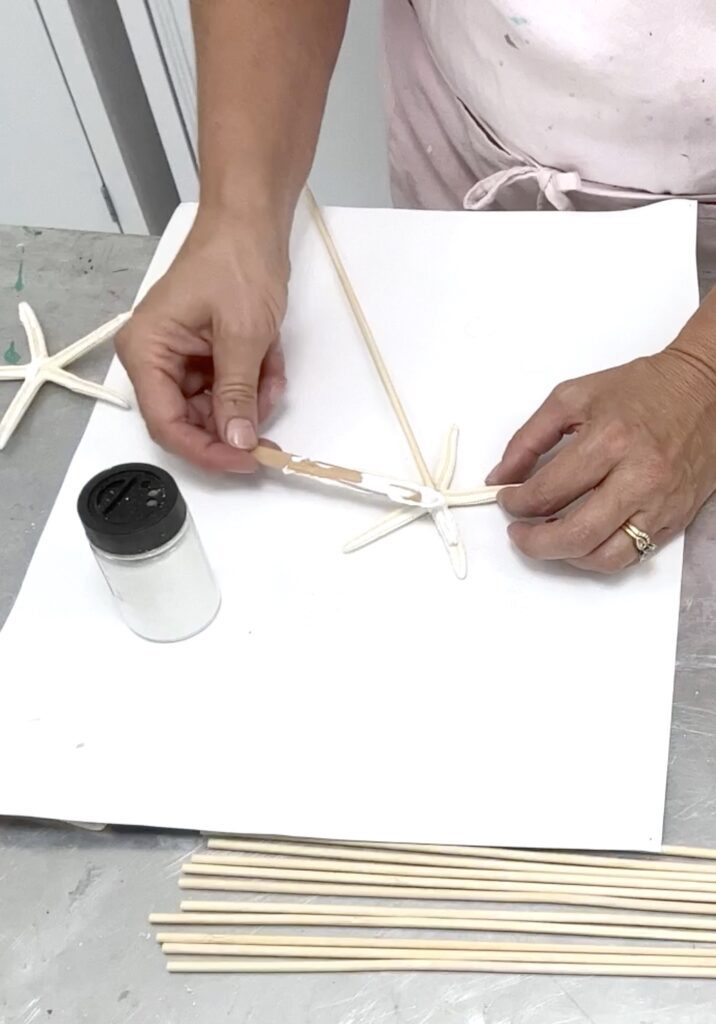
I used the hot glue first, to hold it in place, while the clear glue dries. This way, if the hot glue fails, it will remain in place with the help of the clear drying glue.
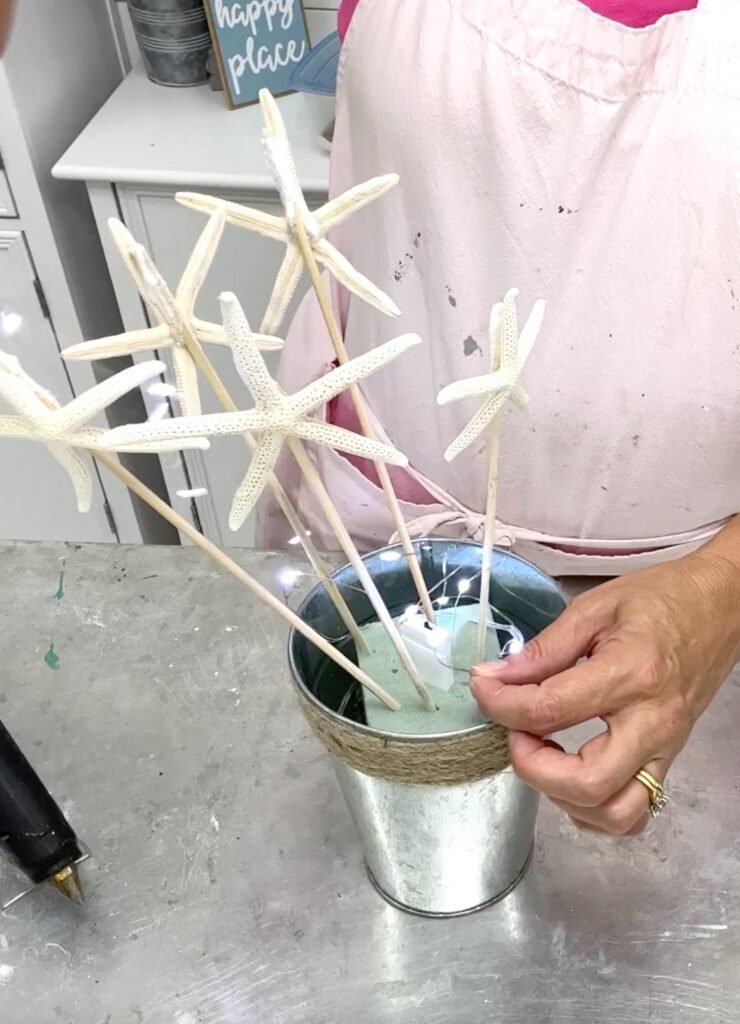
Step 3: Bridal Shower Centerpiece with a Starfish Explosion
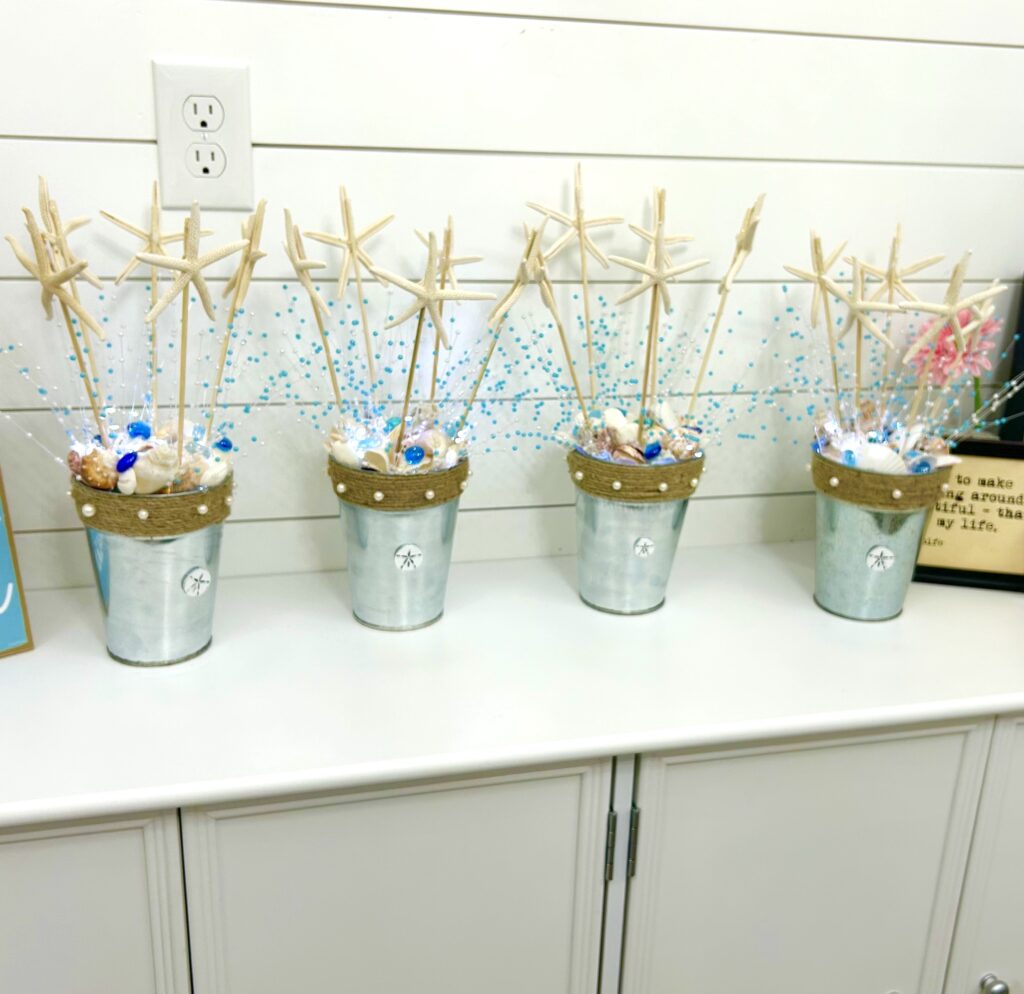
I added five starfish into each of the buckets, pointing in different directions. It was like a starfish explosion in the bridal shower centerpiece.
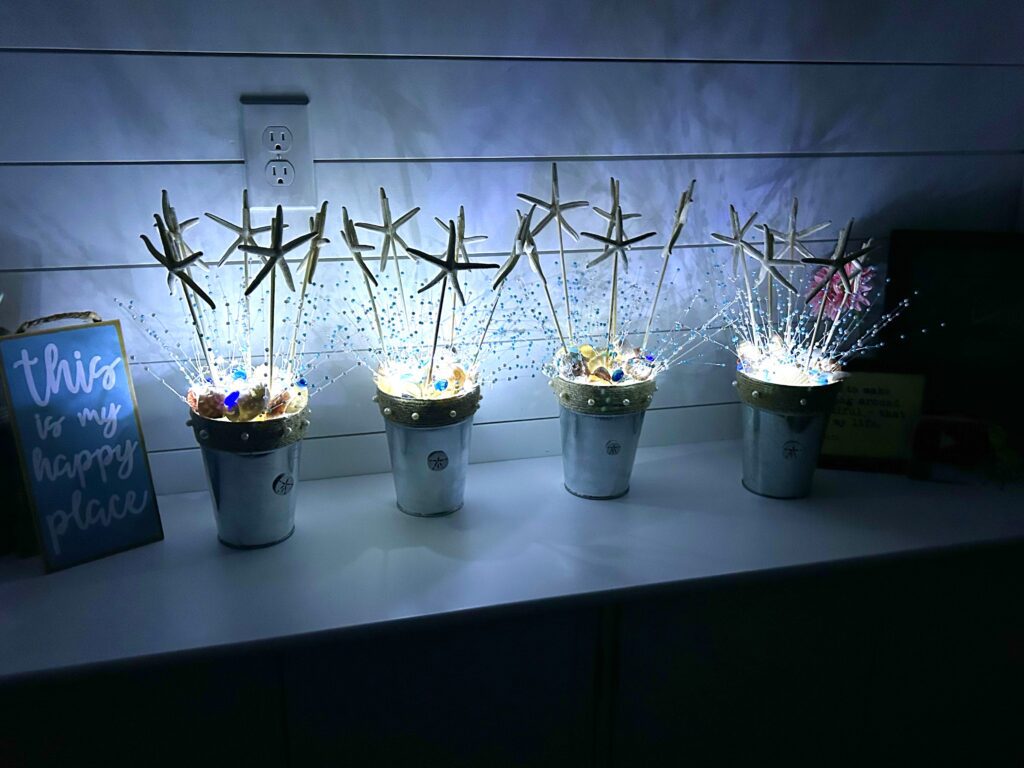
Step 4: Enchanting Fairy Lights
I added the fairy lights…it’s just not magical without fairy lights! Originally, I added the little fairy light controller to the foam in the middle of the centerpiece. Eventually, I realized the better location would be at the edge, so I moved it and attached it with a little dab of hot glue.
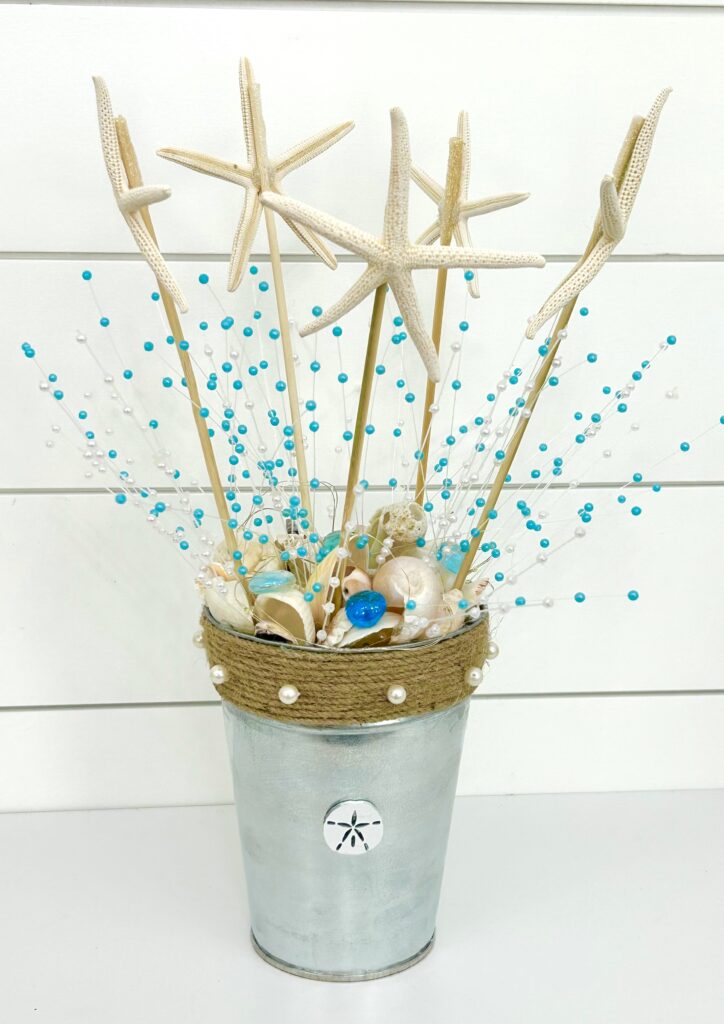
Step 5: How many pearls could a pearl pick pick if a pearl pick could pick pearls…
To fill it out, I added the white and aqua pearl picks. I had to take the white ones apart. I wanted them to add some fullness to the base of the starfish.
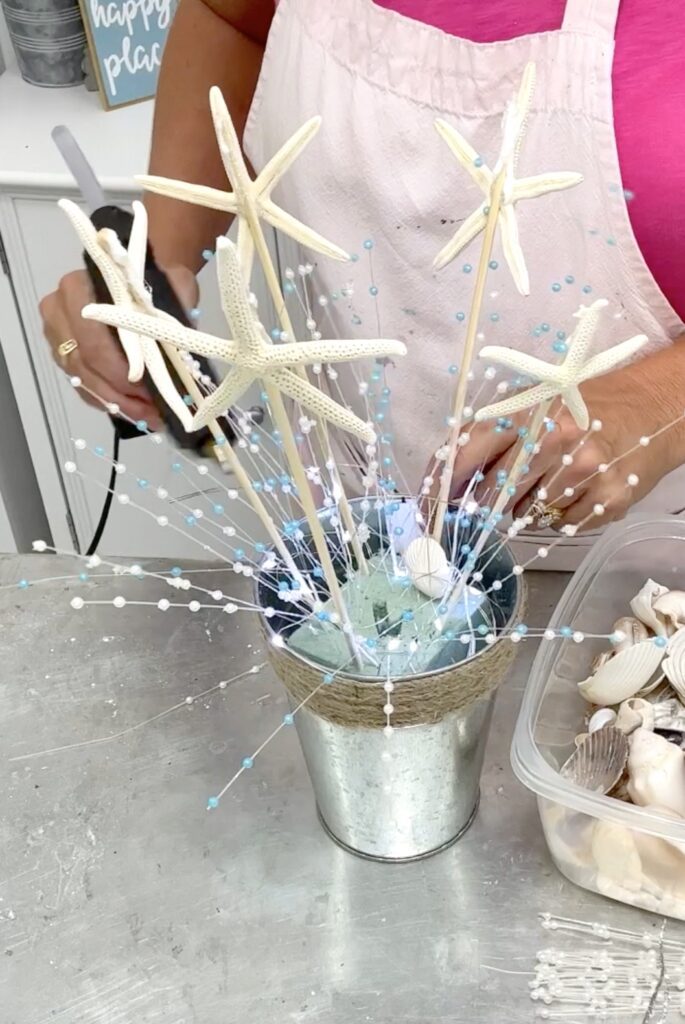
Step 6: A Time to Shell
It was time for the seashells. I have saved these seashells from when my niece and nephew were little.
We collected them on Sanibel Island, so many years ago. I saved them all these years knowing I would eventually have the perfect use for them!
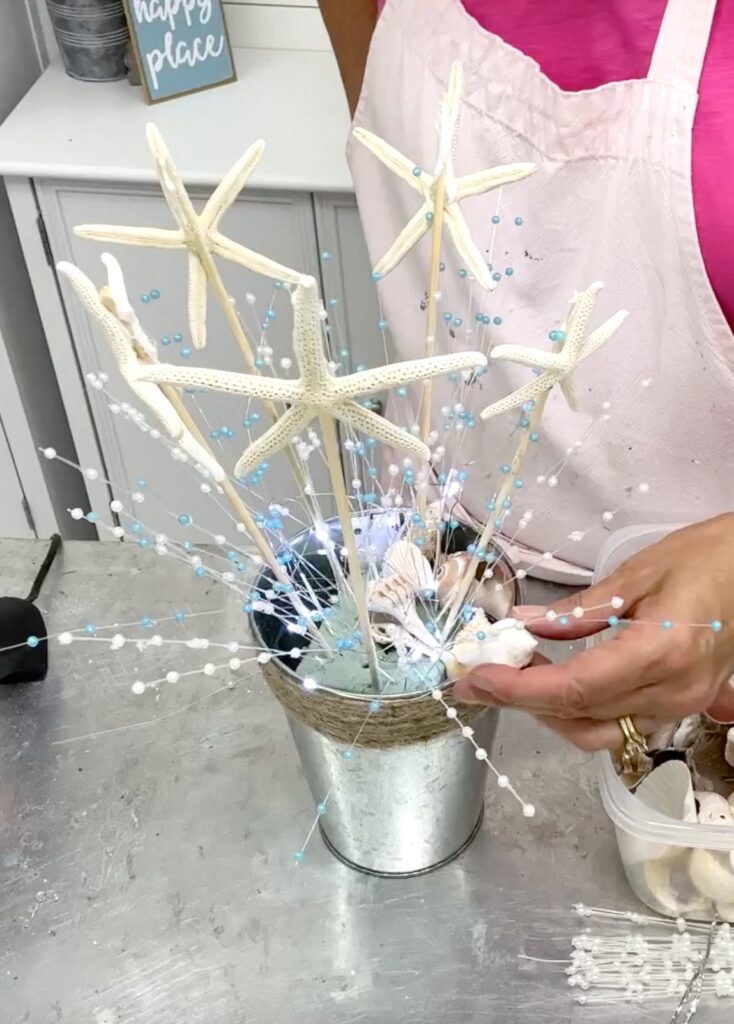
That’s all it took and they looked so cute!
By the way…I have more shells…lots more!
A Few Added Touches to the Beach Bridal Shower Centerpiece
I did end up adding a couple of things that don’t show up in the video because I thought of them later.
I added a few colorful glass vase filler beads in blue, aqua, and green. They were the perfect pop of color. I just glued them to the top of the shells.

I had a few leftover sand dollars that I had laser cut for a shelf (that I haven’t posted yet) and glued them onto the buckets, You could add a shell, a little plaque, or anything really.
And I had a costume jewelry pearl necklace and used some of the beads and glued them onto the rope part of the bucket.
The Traveling Bridal Shower Centerpieces
The bridal shower was in Illinois but we live in Florida, so the centerpieces had to hit the road! I had to think about how best to pack them so they didn’t get ruined.
Here is what I did:
- I took the starfish out and used shorter skewers to make the holes easier to find when it came time to reassemble them.
- Using hot glue, I put little dabs between the shells, so they were attached to each other and wouldn’t fall out when moved.
- I took plastic wrap and put it around each of the buckets so that in case a shell fell off, we’d know right where it went.
- I put them all in a plastic bin so nothing was going to crush them in transit.
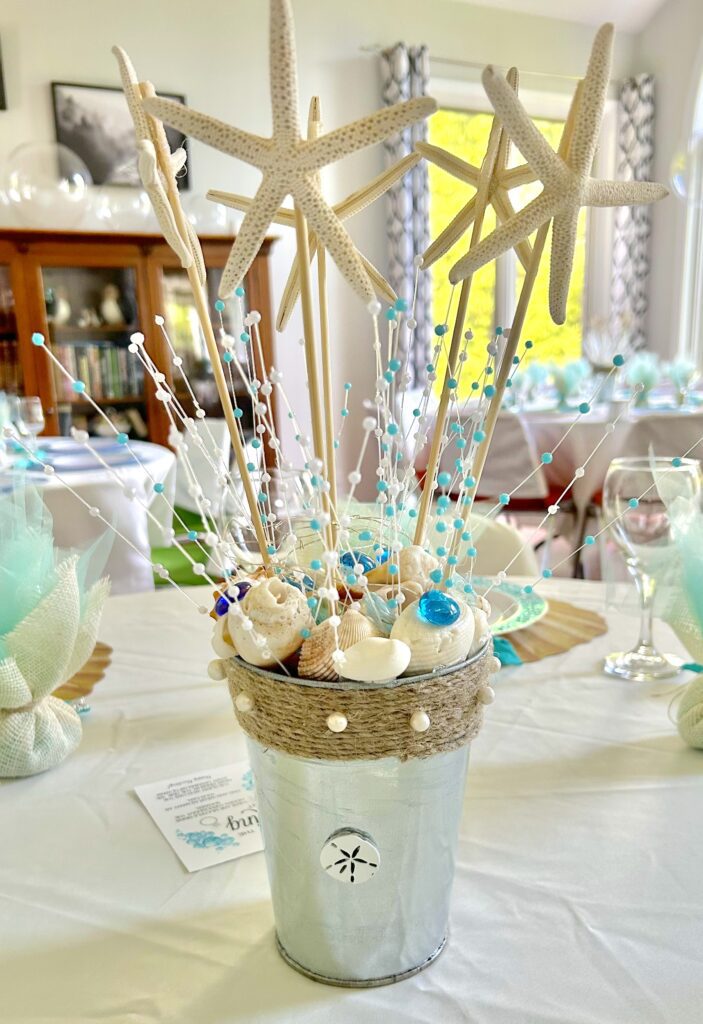
They Arrived!
They arrived intact and looked so pretty on the tables! People loved them!
We saved them to reuse at the rehearsal dinner!
Other Projects You Will Love
If you enjoyed this one, here are a few more I know you will love:
- Bridal Shower Ring Game
- Baby Shower Coasters
- Wedding Ring Coasters
- Beachy Starfish Christmas Ornaments
- Easy Coastal Decor Candleholder

I wish I had these bubble guns for the bridal shower…they would have added the perfect ambience!
Beach Theme Bridal Shower Centerpiece Ideas
There are so many beach bridal shower centerpiece ideas out there but if you aren’t a do-it-yourself kind of person, here are some that are beautiful alternatives you can buy!

I have a couple more bridal shower projects to share and then I’ll share the whole wedding shower!
Remember: Life’s too short not to shimmer, so grab your glue gun and your glitter!™ Stay safe!
Mona
Remember to Pin it for Later
Mona, I so enjoy your crafts, you come up with so many ideas, at times I wonder where you get them all. lol Please take care and be safe. God Bless. Brenda