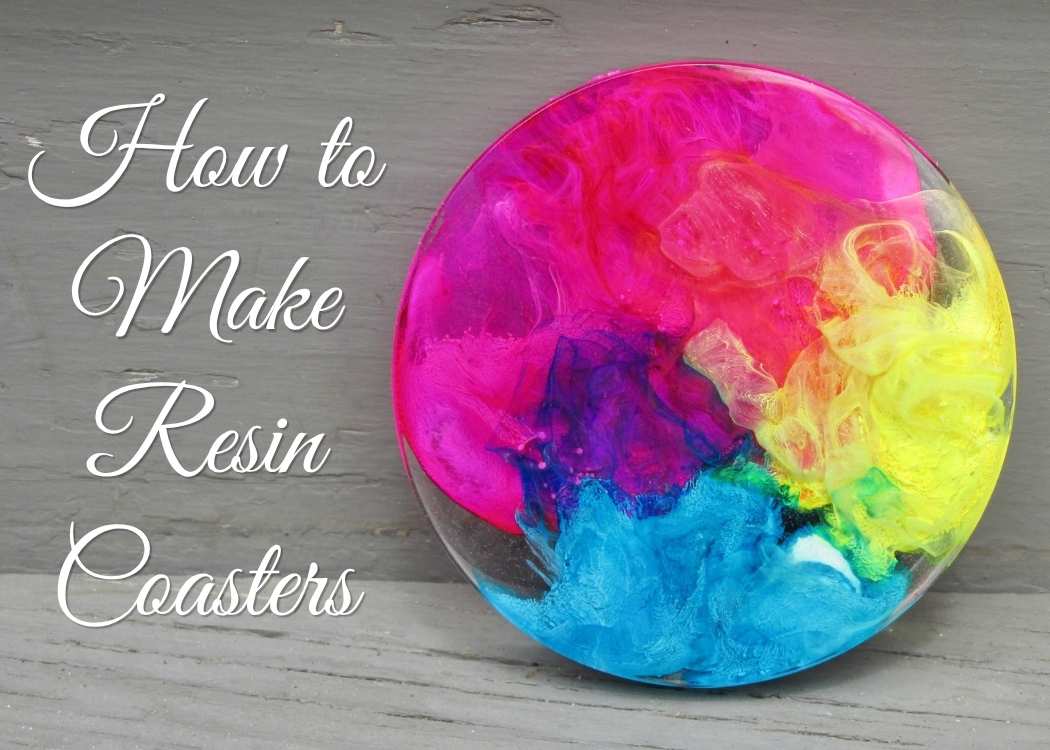
Learn how to make resin coasters with alcohol inks! This easy step-by-step tutorial shows you how to use alcohol ink in resin for stunning coasters.
There is something magical about watching resin and alcohol ink do their thing.
I mean…really magical!
Every time I make these coasters, I’m amazed because no two ever turn out exactly alike.
That’s one of my favorite things about this project…you can use the exact same colors and technique, but every alcohol ink resin coaster becomes its own little work of art.
If you’ve ever wondered how to make resin coasters or how to use alcohol ink in resin, this project is a great place to start. Don’t worry about making them “perfect”.
By the way…no such thing as “perfect”.
The resin and alcohol ink create beautiful patterns on their own, and that’s part of the fun.
You’ve probably seen or heard these called petri dish coasters, but I think they are just beautiful.
How to Make Resin Coasters with Alcohol Ink Video Tutorial
If it helps you to learn by seeing, be sure to check out the video tutorial. I break it down step by step.
Be sure to follow me on YouTube!
Supplies You’ll Need:
*Disclosure: This blog uses affiliate links from Amazon and other retailers. I earn a small amount from qualifying purchases at no additional cost to you.
- Silicone coaster mold
- Alcohol inks (your favorite colors)
- White alcohol ink
- Resin
- When deciding on which resin to use for your coasters, you need to keep in mind whether you want it just for cold cups or for hot ones as well.
- If only for cold drinks, you can be flexible and use whatever brand you like:
- If you want it to work for both hot and cold drinks, you need to look for a heat-resistant resin, like these:
- Stone Coat (Quick coat)
- Stone Coat (Heat resistant)
- FX Poxy ~ According to the manufacturer, this one is heat resistant to 500° F.
Directions for How to Make a Coaster with Alcohol Ink
Step 1: Mix and Pour the Resin
Mix about three ounces of resin according to the manufacturer’s directions. Pour a thin layer into your coaster mold and use a lighter or heat gun to pop any bubbles.
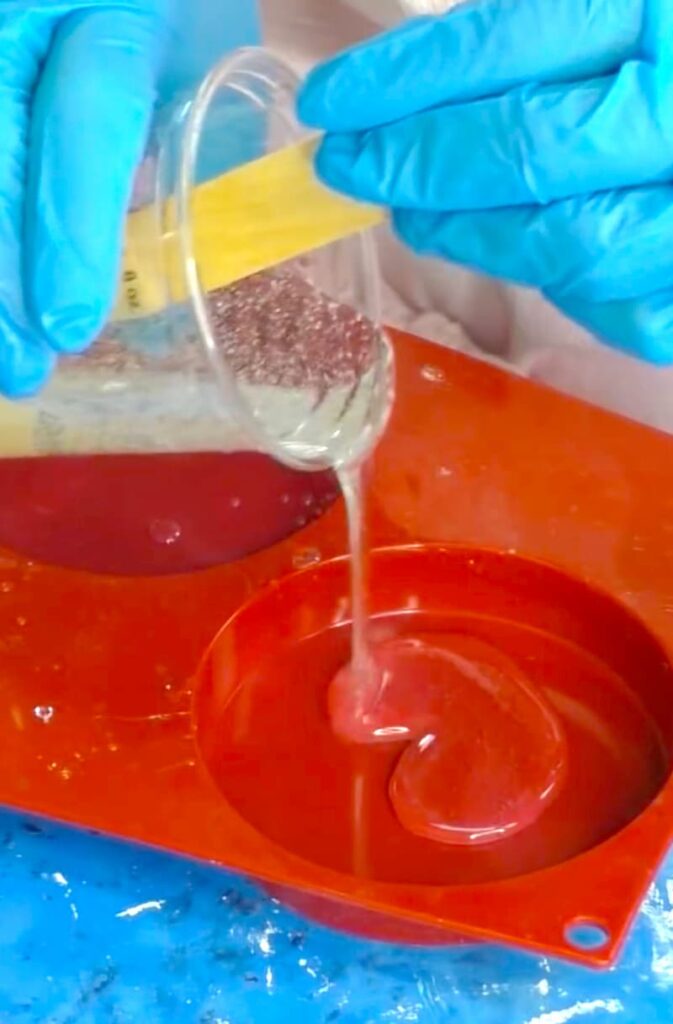
Continue pouring the resin in stages, popping bubbles between pours until the mold is full.
Tip: Once you begin adding the alcohol ink, put the lighter away. You’ll see why in the next step.
Step 2: Create the Petri Dish Effect
Now comes the fun part!
Begin adding drops of your favorite alcohol ink for resin directly into the resin.
I should probably correct myself. I don’t know if there is alcohol ink for resin specifically. Just use alcohol ink.
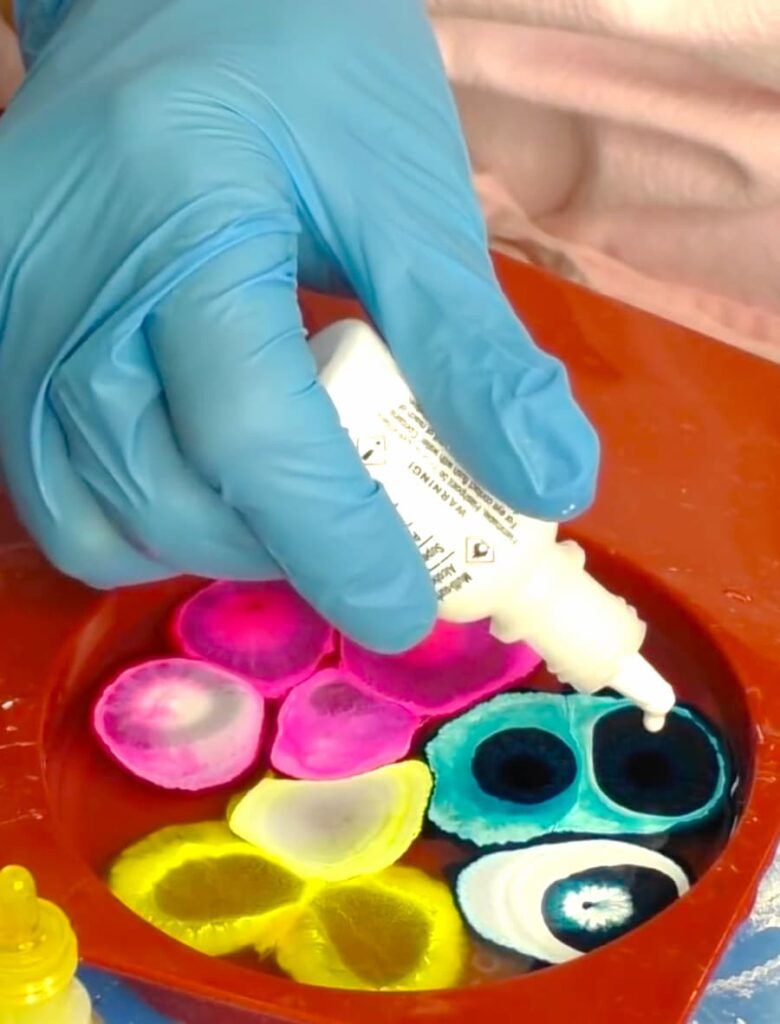
After each colored drop, add a drop of white alcohol ink. The white is what makes the colors pop.
Continue layering the colors, followed by white, throughout the coaster.
This layering technique is what creates the beautiful sinking effect that gives an alcohol ink resin project its signature petri dish look.
Don’t overthink it!
Just have fun experimenting with different color combinations.
Step 3: Let the Resin Cure
Once you’ve finished adding your inks, resist the urge to touch anything. Let the resin cure for at least 12 hours, or according to the manufacturer’s instructions.
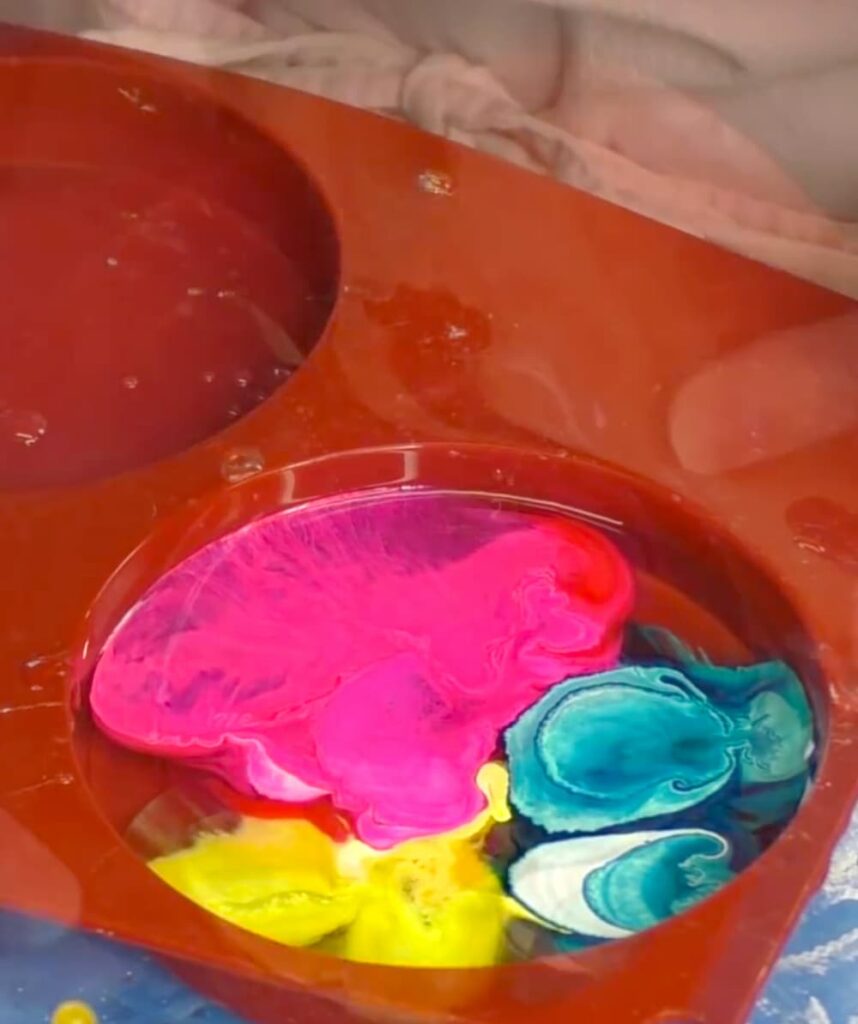
IMPORTANT: DO NOT use a lighter or heat gun after adding the alcohol ink. Alcohol ink is flammable, and we definitely don’t want your beautiful project turning into an accidental science experiment.
The Payoff
That’s it! Once it has cured, you pop it out of the mold, and only then do you get to see the masterpiece you have created!
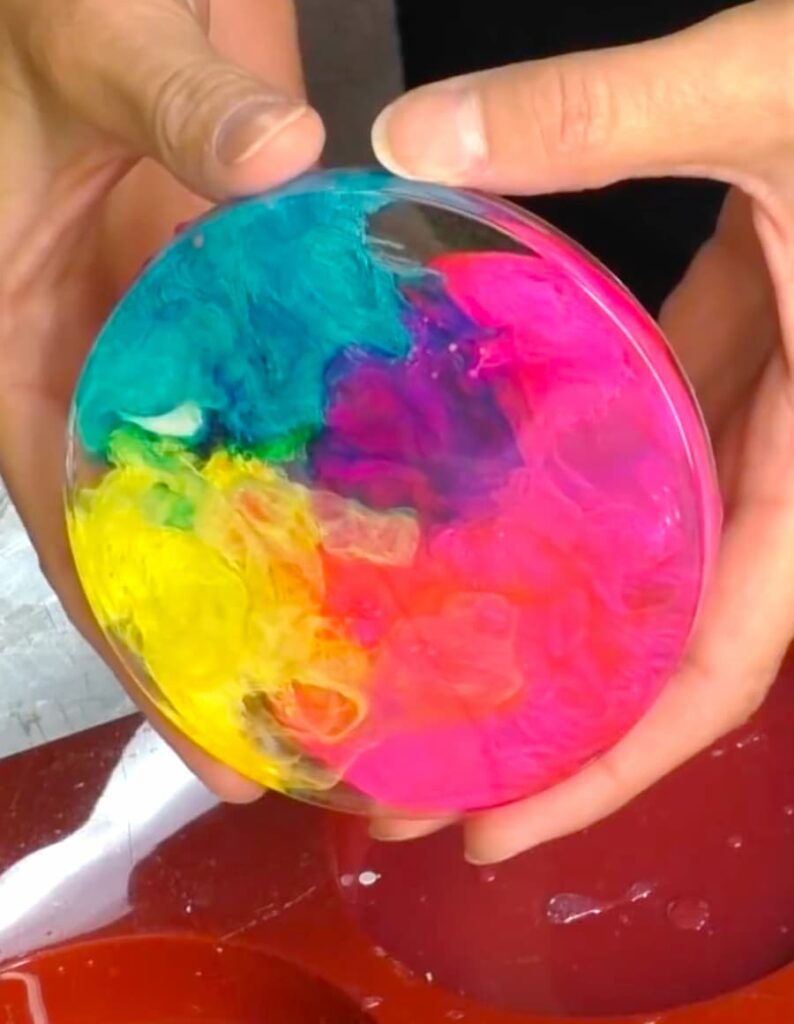
This is my favorite part because you finally get to see all of those gorgeous colors that settled and blended inside the resin.
Every coaster is unique!
Now you have learned how to make resin coasters using alcohol inks!
Whether you are making them for yourself, giving them as handmade gifts, or just experimenting with different color combinations, these coasters are always fun to create.
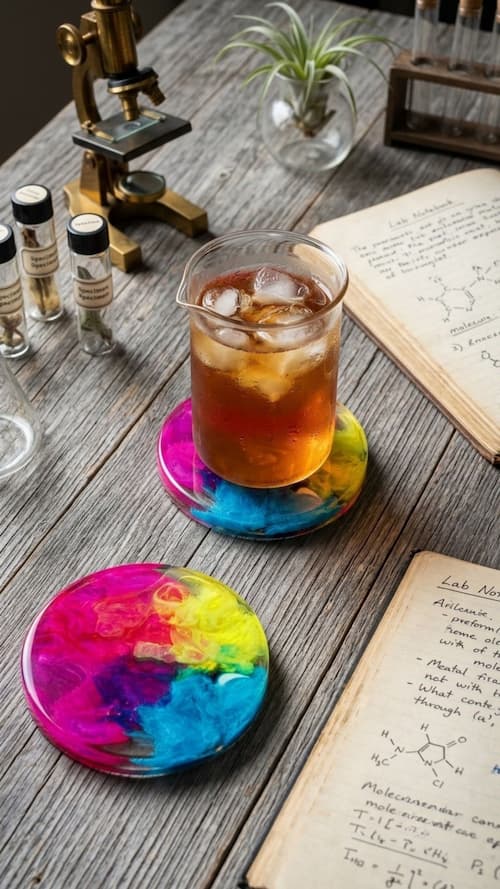
The more you play with how to use alcohol ink in resin, the more you will discover new effects and techniques.
One of the best things about working with alcohol ink resin is that every pour is a surprise. No two coasters will ever look the same, and that’s what makes this project so addictive.
If you give them a try, I’d love to know what color combinations you use!
Other How to Make Resin Coasters You Will Love
Remember that how to make resin coasters with alcohol ink or any number of different things is a beginner-friendly project, so jump in and give it a try!
- Santa Belly Coaster
- Not Your Grandma’s Doily Coaster
- Bee Honeycomb Resin Coaster DIY [Video]
- How to Make Coasters Out of Resin That Are Textured
Thanks for stopping by! Remember: Life’s too short not to shimmer, so grab your glue gun and your glitter!™
Mona