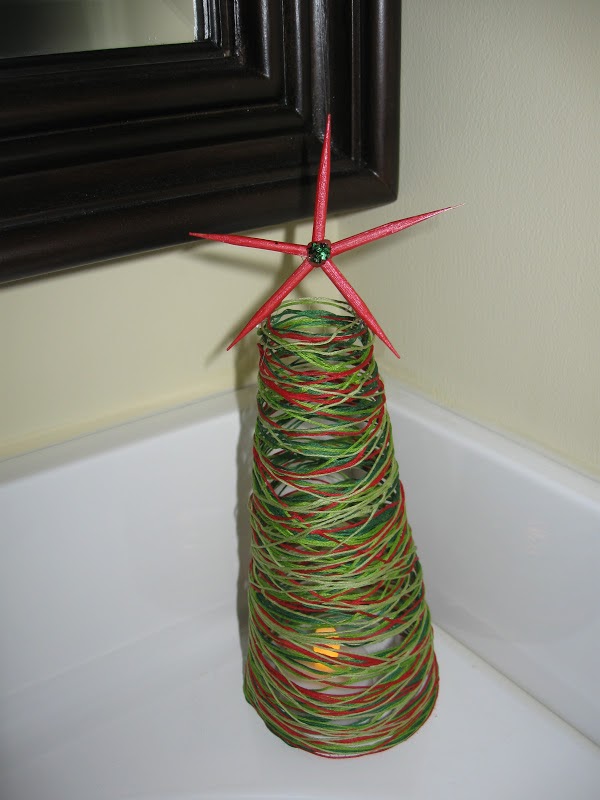
Here’s an easy craft to brighten up your holiday decor. It’s made of string so NO REAL CANDLES – BATTERY OPERATED ONLY!!!
You will need:
– Four packages of embroidery floss – 3 different greens and one red
– Liquid starch
– Five wooded skewers
– Hot glue
– Little bit of green glitter
– Styrofoam cone
– Plastic wrap
– Red acrylic paint
Here is the video tutorial:
Directions:
1. Wrap styrofoam cone in plastic wrap
2. Fill bowl with liquid starch
3. Unwind your first color – darkest green – and carefully put into starch. DO NOT JUST PUT THE WHOLE THING IN THE STARCH, IT WILL TANGLE AND KNOT…. I might know this from experience… also hold on to the end….
4. Wrap the tree in a random pattern with the dark green, the second darkest green, the red and then the lightest green.
5. Set aside to dry overnight.
6. Carefully pull out cone from tree – the plastic wrap should release easily.
7. Take wooden skewers and cut off a length of the point end… this will be for your tree topper
8. On parchment paper, arrange the pieces into the shape of a star. Put a dab of hot glue into the middle and push each one gently into to glue.
9. Allow to cool and paint.
10. Allow to dry and put a small dab of hot glue in the center and sprinkle with green glitter.
11. Carefully hot glue to the top of the tree and VIOLA! You are done!!
Hope you try it! Happy Holidays and Happy Crafting!
Mona


This is cool! I'd love to have you join my Pin Me Linky Party because this is an awesome idea!
Thanks for linking this up!!
You're welcome!
This is so cool, I love the colors!
Thank you so much!
Love it. I might have to make one now.
I think you definitely should! Thanks for stopping by!
This is great! I never thought about doing my trees as a "stand alone" before {I just wrapped them in yarn}. Thanks for the inspiration – might try my hand at this one too. Stopping by from Dixie and Dottie's Christmas Countdown.
Thank you so much! I think you should give it a try! Thank you for stopping by!
Mona