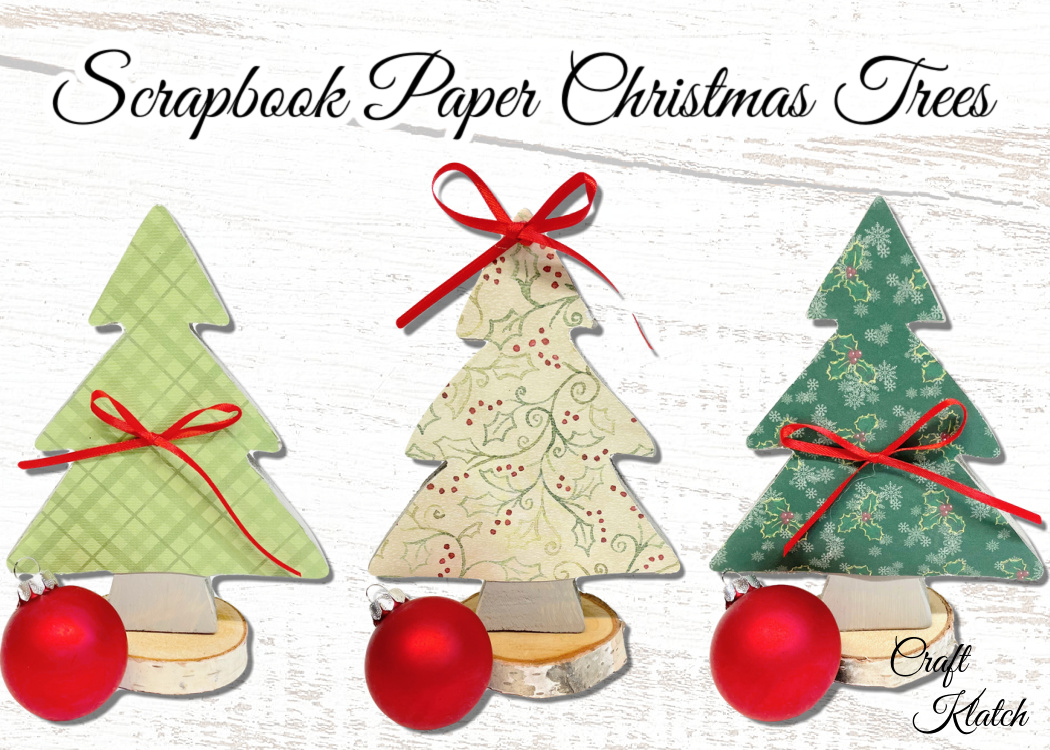
Scrapbook paper comes in so many beautiful patterns. Create some pretty scrapbook paper Christmas trees to enhance your Christmas decorations!
Christmas trees are a no brainer for Christmas decorating. It’s usually the centerpiece and the focal point of the whole holiday.
But I’m not talking about that tree. I’m talking about trees that have a country farmhouse charm and look a little folksy.
It feels like a handmade Christmas!
5 Handmade Christmas Decoration DIYs
Before we get into the specifics of these trees, here are a few other DIY Christmas projects that you might enjoy!
- How To Make A Cone
- This is a must foundation craft for tons of Christmas tree projects!
- Scrapbook Paper Christmas Tree Coaster
- If you want to dip your toe into resin crafting, this is a great one to start with!
- DIY Scrapbook Paper Coasters
- If you have leftover scrapbook paper, don’t let it go to waste!
- Easy Christmas Tree Ornament
- This is a perfect budget friendly Christmas ornament craft!
- Dollar Tree Christmas Tree
- Also a budget friendly Christmas project, but it also has a twist!
Supplies to make Scrapbook Paper Christmas Trees
*This blog uses affiliate links. As an Amazon Associate I earn from qualifying purchases, at no additional cost to you.
Scrapbook Paper Christmas Tree Video Tutorial
Here is a quick video so you can see exactly how I made them:
Directions: How to Make Scrapbook Paper Christmas Trees
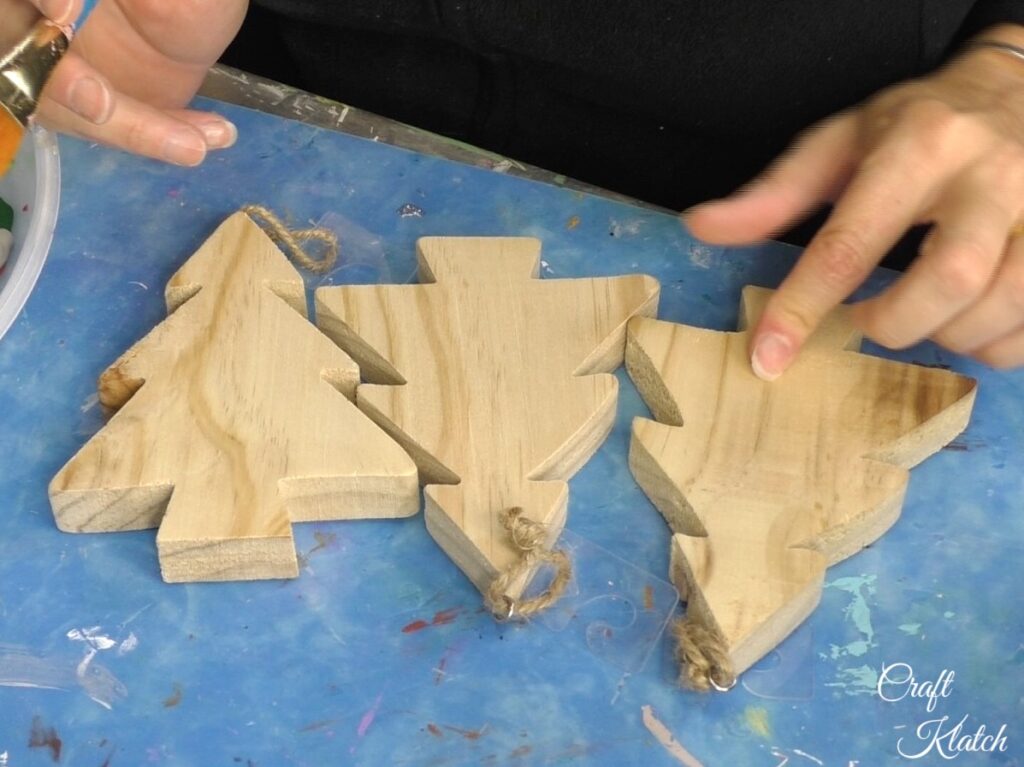
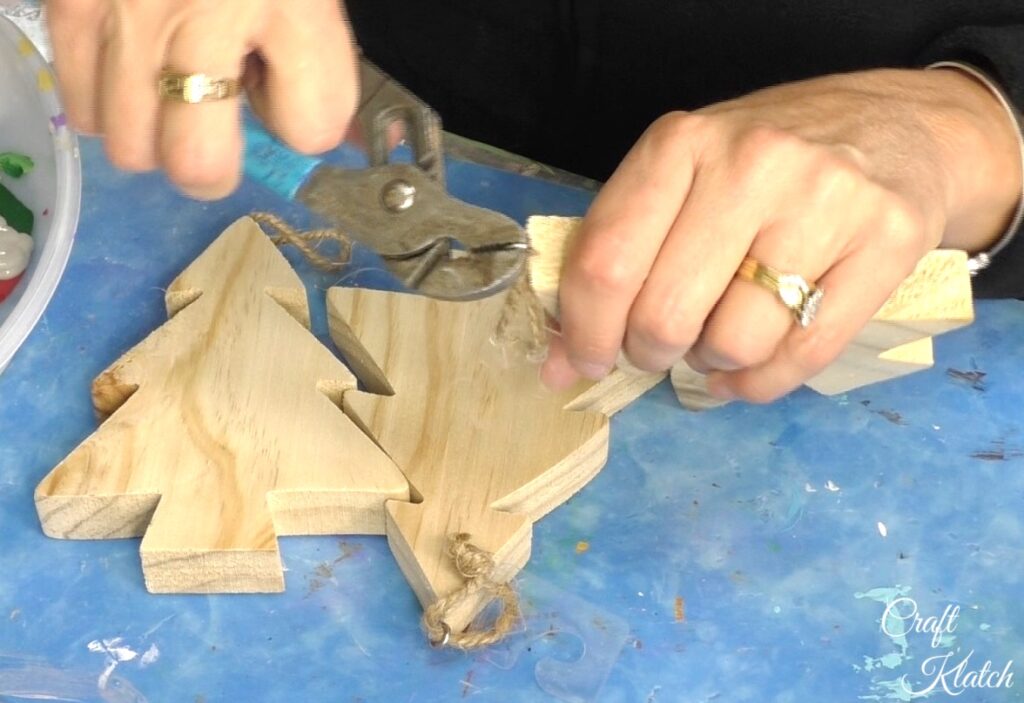
Step 1: Gather Your Trees
I found these simple, cute trees at Michaels and removed the eye screws.
If you want to make your own trees, you can easily cut some out of plywood.
Step 2: A Little Paint
Paint the trees gray. One coat is enough. You just want to cover the raw wood.

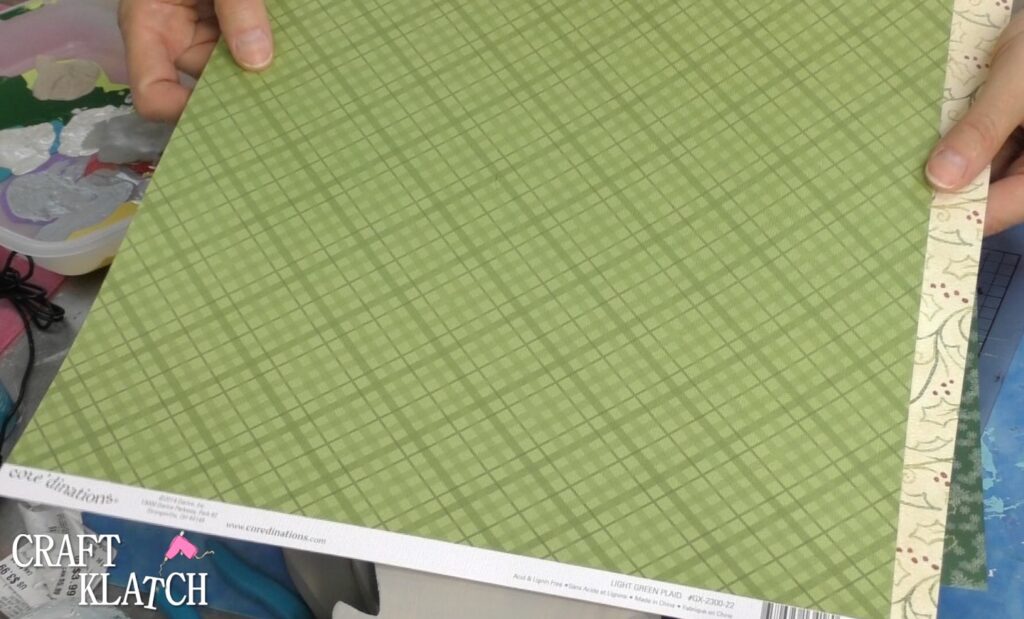
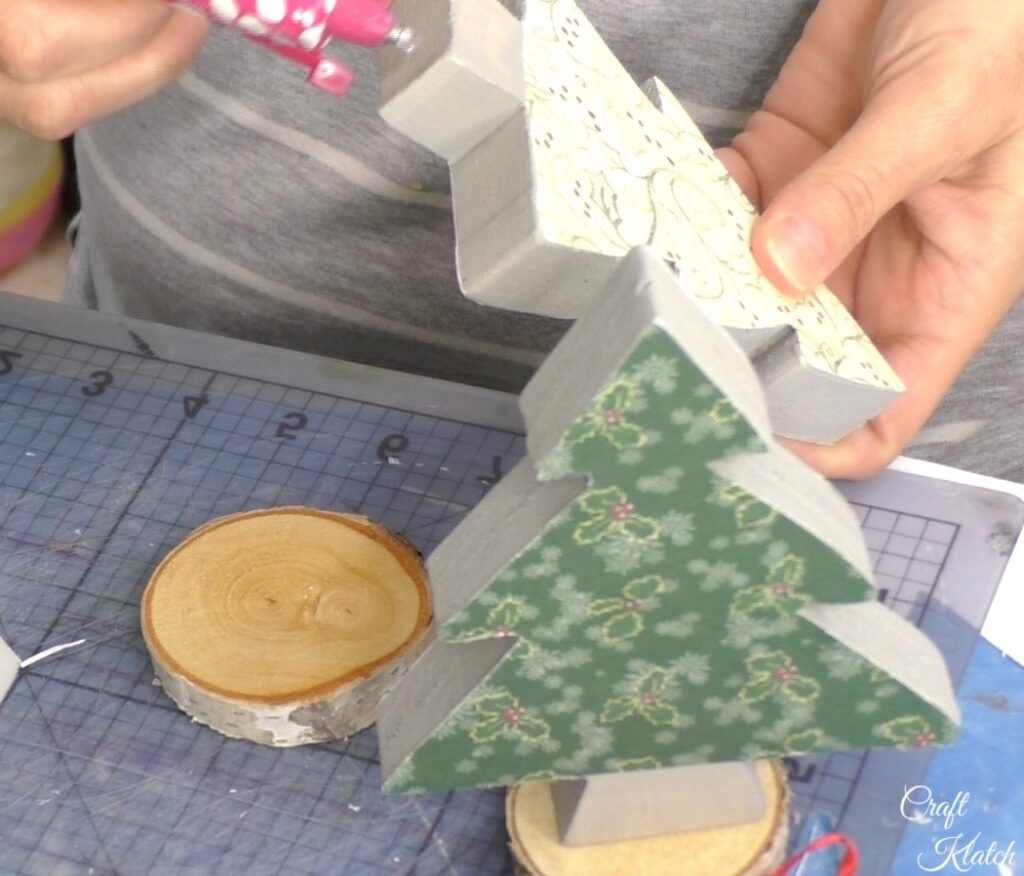
Step 3: Select Christmas Scrapbook Paper
Look for some Christmas scrapbook paper. There are so many great designs available!
I found some great plaid and holly scrapbook paper. I went traditional colors, but you can go with silvers and blue too! Snowflakes are also a great option!
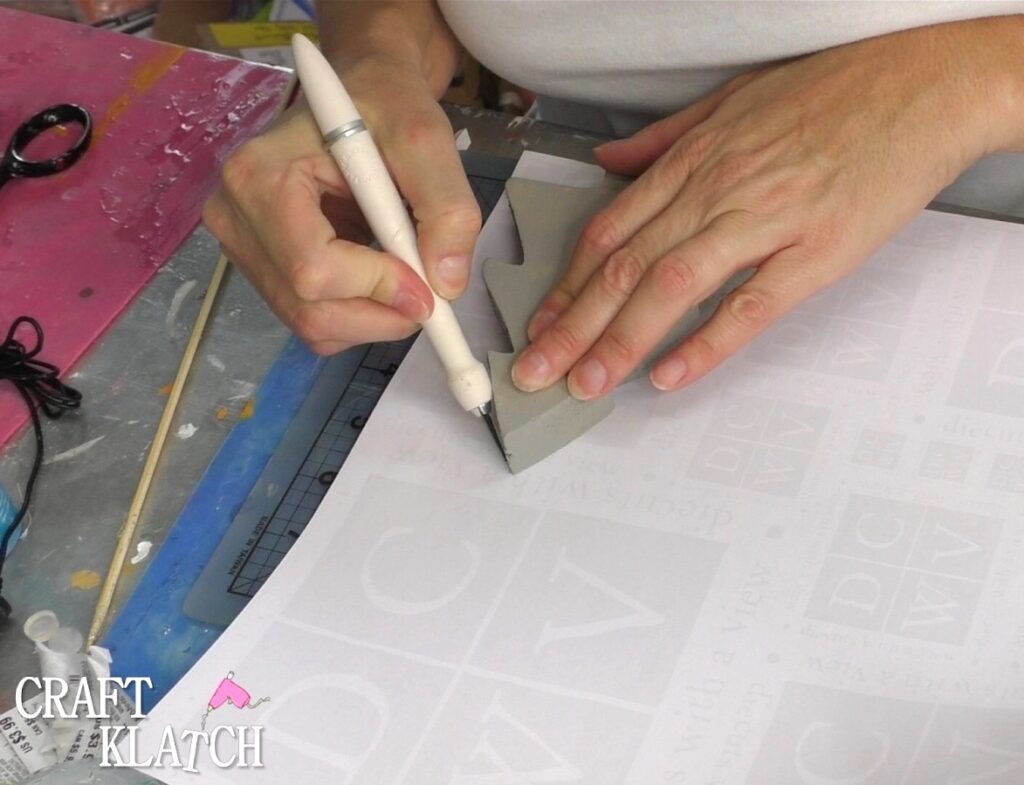
Step 4: Cut Around The Trees
Break out your craft knife and cut around the Christmas trees.
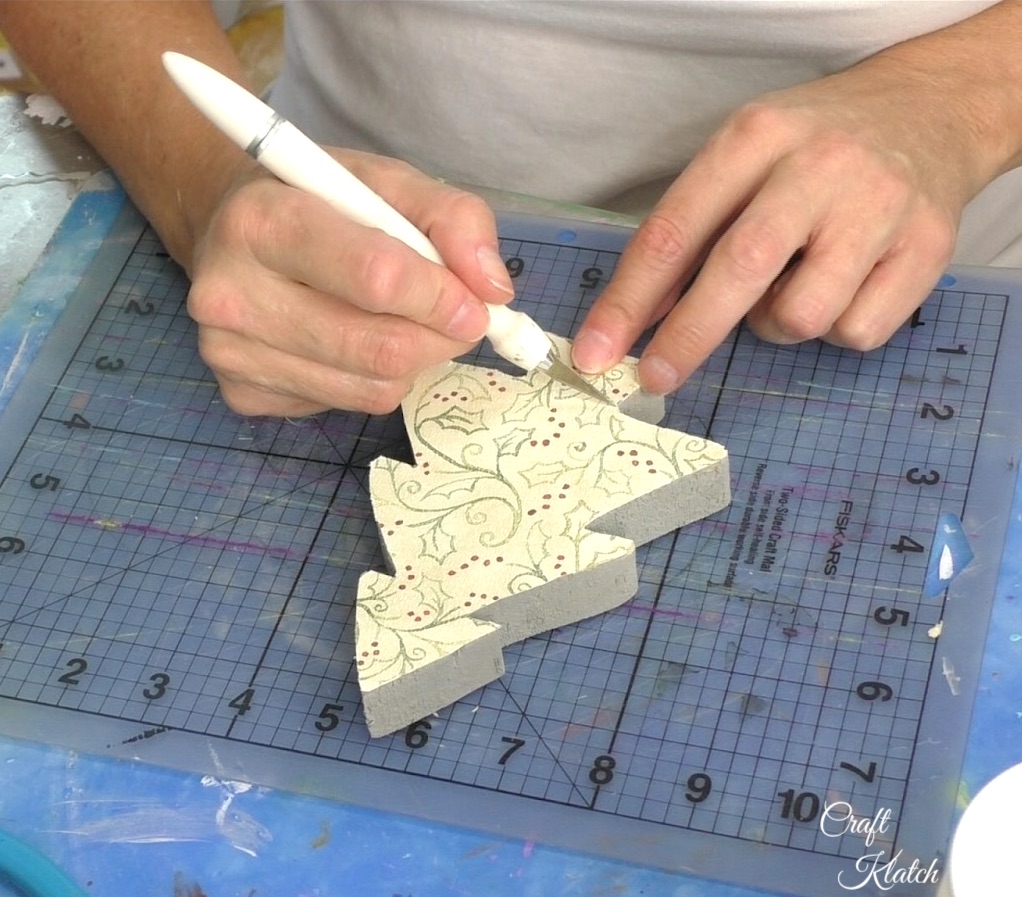
Step 5: Cut Off The Stem
Trim off the stem. You can leave it on, but I like the look of the gray wood for the stem.
Step 6: Glue It!
Use stick glue and put it all over the back of the cut outs. Get right up to the edges.

Step 7: Rub It!
Rub the paper down really well. Again, pay special attention to the edges.

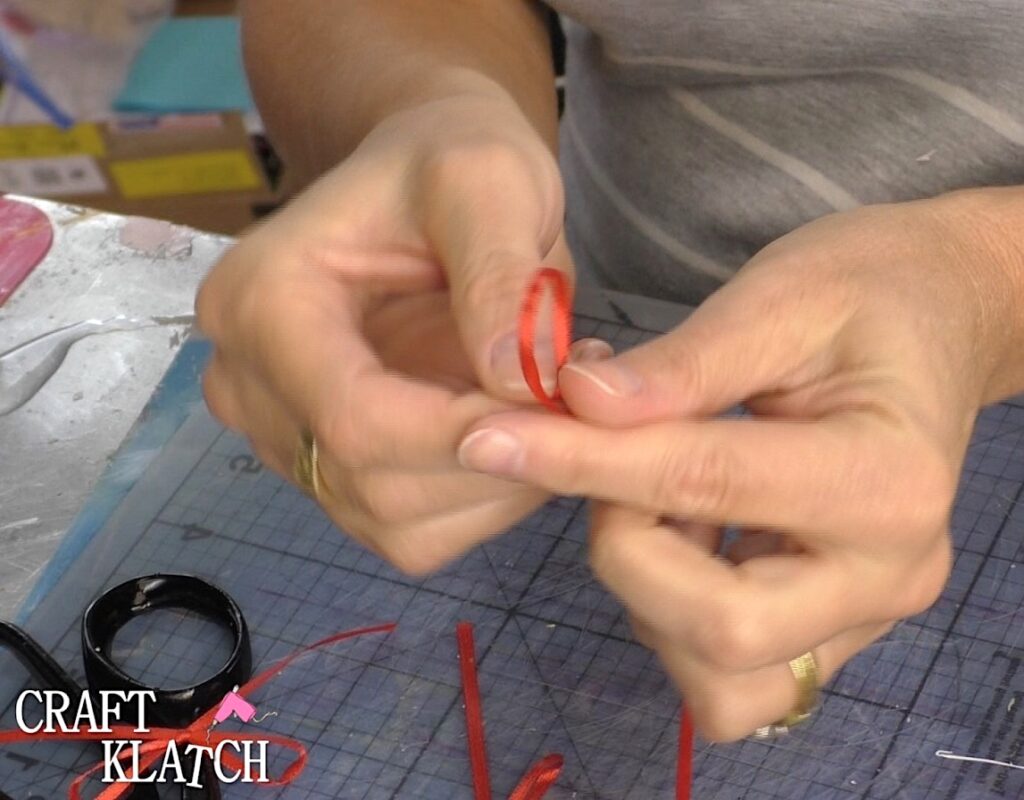
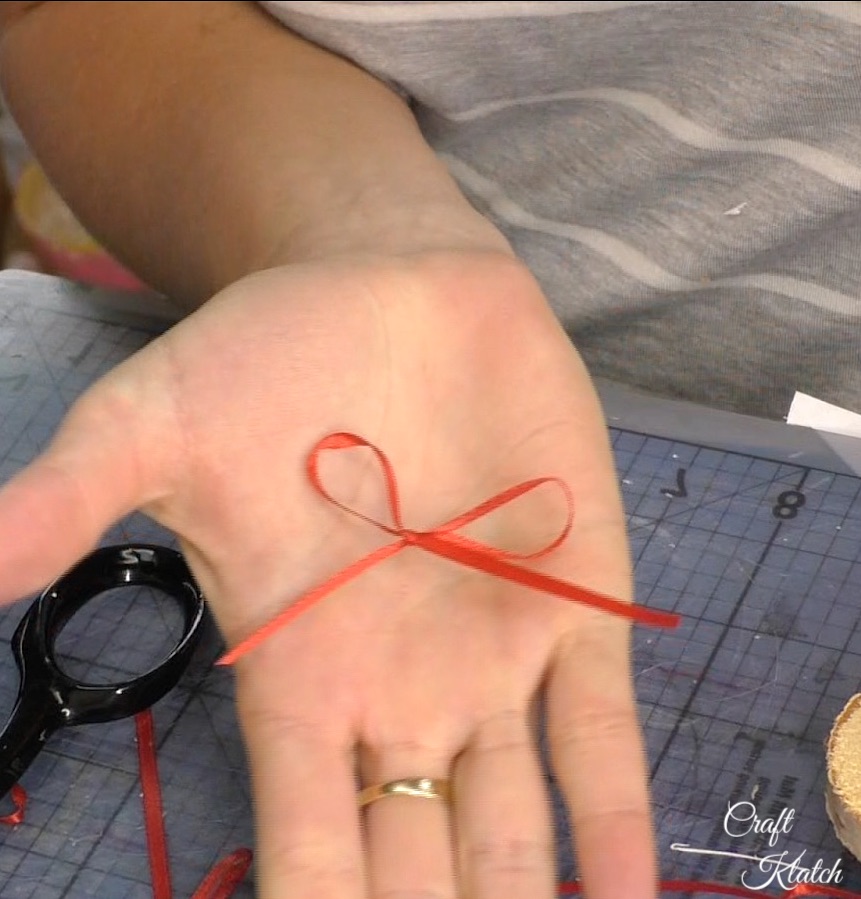
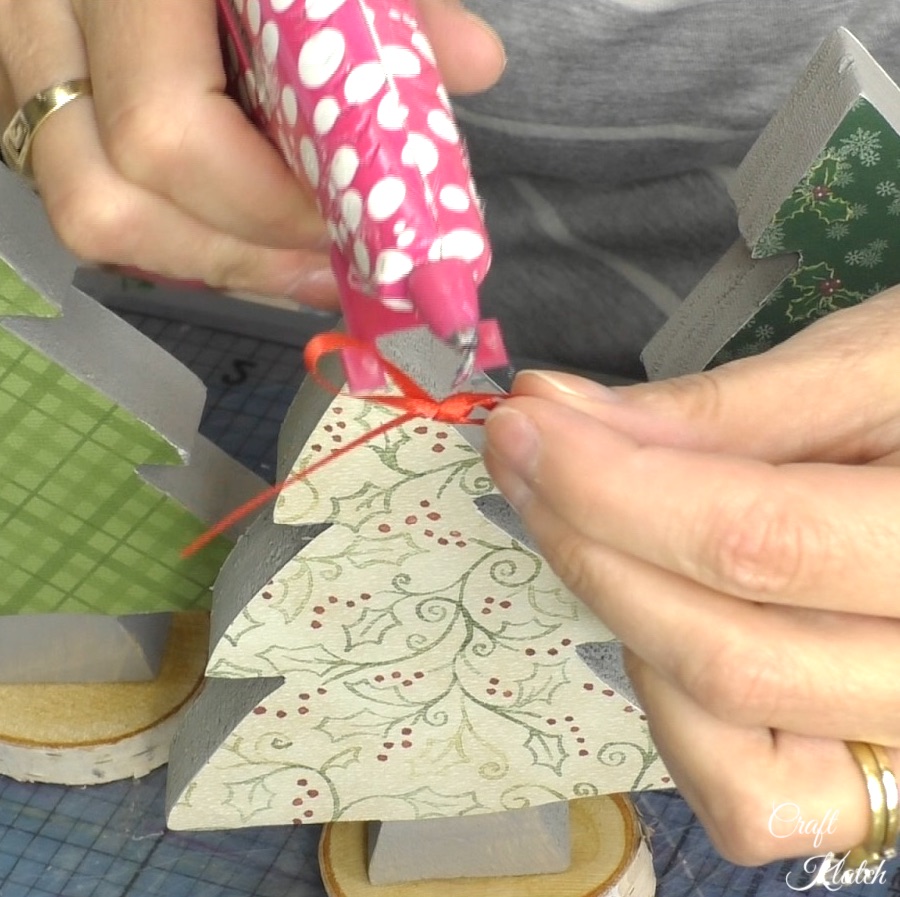
Step 8: Tie A Bow
Use thin red ribbon to tie a small bow. Keep it simple!
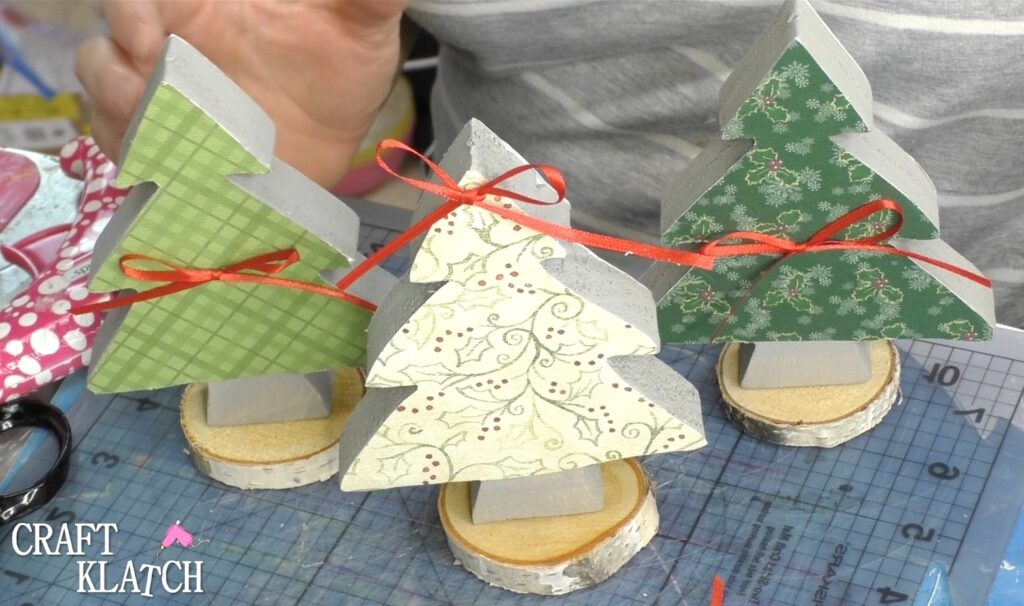
Step 9: Attach A Base
Put hot glue on the base of the trees and stick them to the wood slices. This will make them a little more stable.
Step 10: Glue The Bow
Hot glue the bows to the tops of the scrapbook paper Christmas trees.
Check out these cute trees!
Incase you don’t have time to make the Christmas trees, here are some great alternatives for that homemade Christmas charm:


That’s it! Thanks for stopping by and Happy Holidays!
Remember: Life’s too short not to shimmer, so grab your glue gun and your glitter!™ Stay safe!
Mona