Are you ready to jump into resin crafting? Don’t just tear into that box just yet! There are six things your need to know about working with resin, before you even open the box.
I know it’s exciting and your brain is going a mile a minute with all the projects you want to do!
I was originally going to title this Everything I Learned About Resin Is From Spilling It On The Floor… But this isn’t everything I know about resin and I learned some lessons from getting resin in my hair too!
Slow your roll for a couple of minutes. I’ll let you know how to protect your work surface and prepare you on how to get the resin out of your hair…should that unfortunate event ever happen.
You can find the video HERE!
1. WHERE WILL YOU BE WORKING WITH RESIN?
Do you have a dedicated craft space? Will you be working in a room that will be pulling double duty? Either way, you need to keep some things in mind before you get started on your first resin DIY.
For more tips, check out my Top 5 Reasons Why Your Resin Isn’t Curing!
Dual Function Space
If you are working in a room that will have a dual function, such as a kitchen, dining room, den, etc. remember resin takes time to set up and makes a mess.
If you plan on working with resin in the kitchen:
- You want to keep your resin projects away from getting into contact with food and anything that will be used in food preparation. Resin is not food safe.
- You will want to resist the urge to quickly reach for something that you use in your everyday food preparation. Whether to mix something, wipe something up, pick something out of the resin DIY, or whatever it may be. If you used something for resin, do not use it for food. Forever dedicate it to your future crafts.

If you are working in the kitchen, dining room, or any other place where people or pets may roam, you need to be very clear that when you are working on a project it needs to remain undisturbed.
- Tables should not be bumped
- Molds should not be moved
My Biggest Challenge When Working With Resin
We’ll talk more specifically about the environment later, but I will tell you the biggest challenge I experienced when working with resin has not been pets, but rather the male gender. I cannot tell you how many times my husband, Greg, has walked into the craft room, looked at a project sitting on my craft table, studied it, and before I knew what was happening, stuck his finger right in it…while asking “Is this dry?”.
WHAT THE?!?!?!
You don’t stick your finger into something while asking the question, “Is it dry?”. You ask, “Is it dry?”, wait for an answer, like me yelling “NOOOOO!” Then, you quietly step away. The first time was bad enough. The fifth time he ruined a resin DIY, he was seriously taking his life into his own hands.
The Challenges Kept Coming
Then, we had a nephew staying with us for a few weeks. He wanted to make something for his mom’s birthday. He made a project and I put together a wood box to put it in. The box had an inset, where I put a picture and filled it with resin.
It finished it off beautifully. We had a very specific conversation about how the resin needed to cure and how long it would take. It was all very clearly mapped out and explained. A few hours into curing, he walks in, admires it, and as he asks, “Is this dry?”…as he is plunging his finger into the resin.
YOU HAVE GOT TO BE KIDDING ME?!?!?!?!
Whoever coined the phrase curiosity killed the cat never met the men in my family.
Dedicated Craft Space
If you are working in a dedicated craft space, that would be a more ideal situation. If you can close the door and put up a sign reading NO BOYS, that might work to your benefit.

I’m sure I’m stereotyping, but based on my personal experience, curing resin is a magnet for a guy’s fingers.
Dedicated Craft Space Considerations:
- A resin DIY takes time to set up and if you have multiple projects going at one time, you need to be careful that you aren’t bumping the project.
- You also need to be aware when working with resin that dust, paper scraps, glitter, and other things can unexpectedly work their way into your resin. It happens. A dust-free and sterile environment may be ideal but isn’t realistic.
- If you will be needing your craft space for something else, while working on a resin project, the easiest solution would be to have your mold on a tray or piece of wood that can be carefully moved to clear up space for your other endeavors.
- Give yourself some room. Just as things can mysteriously work their way into your resin, your resin can mysteriously work its way to any number of unexpected places. There is a good chance anything in the vicinity will get resin on it.
I will talk more specifically about the environment and precautions you can take to keep random stuff out of your resin DIY a little later.
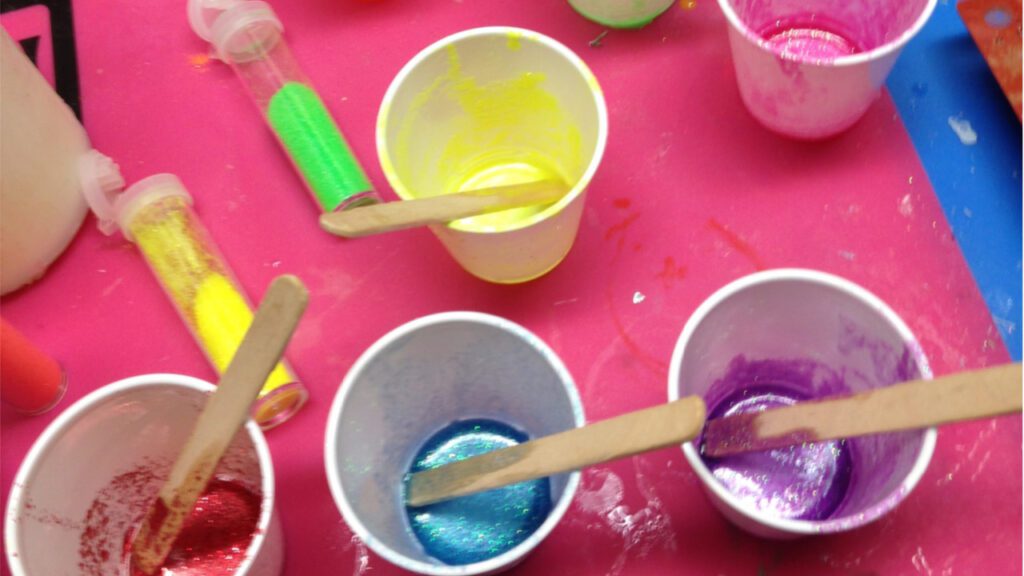
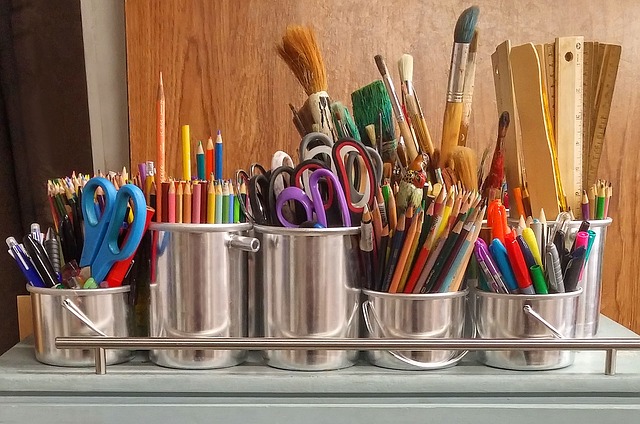
2. BE ORGANIZED
Here is where I get into a do as I say, not as I do situation. Be organized.
If you can be organized, life will be easier and you will probably be more productive. By nature, I am not organized. My workspace looks like someone dropped a bomb. I hate it but I can’t seem to keep on top of it.
Usually, I have multiple projects going at one time. I am notorious for not putting things away after I use them.
At any given time, I might have a bottle of paint from 10 projects ago still living on the outskirts of my craft table…just hanging out. I just become blind to it. For the record, the rest of my house does NOT remotely reflect my craft room.
The benefit of being organized is there is a time factor involved with working with resin. If you use a resin that has a longer cure time, it will be more forgiving if you go running around looking for the glitter you had in your hand a second ago. If you use a fast-curing resin and you blink, your resin will set up in your cup before you know what hit you.
Plan and prepare what you want to do and how long it will take to do it.
3. LEVEL WORK SURFACE
When I started working with resin and I started doing coasters, I realized one side of my coaster was thicker than the other. I was working on a table built by my husband and my dad.
My husband is a little looser when building things, but my dad is incredibly meticulous about things being level and perfect, so I was a little stumped.
After some investigating, it turns out the floor in my craft room was not level, which throws off the table just enough.
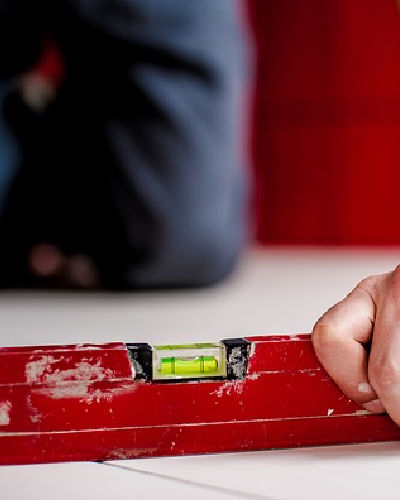
You might not think about a level work surface when you are crafting (I never did), but when working with resin it becomes an important factor. Resin is a liquid that cures into a solid. If you are working on a surface that is not level, your projects will all be uneven.
Uneven Resin Solution
My solution was to buy an inexpensive piece of plywood (2’ x 2’) and put it on my table. Then, I could adjust it as needed. I simply put a level on the plywood and then stuck stir sticks under the side of the plywood that needed to be raised.
Viola!
Level worksurface without too much effort!
4. PROTECTING YOUR WORK SURFACE
*This blog uses affiliate links
Before you get started working with resin, something to keep in mind is to protect your work surface and the area surrounding it. Sometimes, you will know how the resin got where it ended up and sometimes it will be a complete and utter mystery.
Things That Will Protect Your Worksurface
Parchment paper
I learned early on that resin will not permanently stick to parchment paper and it won’t soak through. In the beginning, before I found the silicone coaster mold, I created my own coaster mold and the base was parchment paper. Since then, I’ve used it for a number of resin DIYs.

Parchment Paper
- Leaves a matte finish on the resin
- Great for protecting your work surface
- Pretty easy to work with and you can rip off the size you want
- Tape won’t stick to parchment paper, glue and resin peel right off
It’s pretty amazing stuff but just like Superman, everyone and everything has its weakness. Parchment paper’s Kryptonite is water. Water will mess it right up. It’ll make it wrinkle and all hopes of having a smooth surface for your resin DIY are right out the window.
Garbage bag or other plastic
When working with resin, to protect your work surface, it is best to use a material that does not allow the resin to soak in and seep through. Any type of plastic, like a garbage bag, works great. Sometimes, it can be a little large and cumbersome but it works.
Plastic wrap works too but me and plastic wrap have a strained relationship. I can never get it off the roll without getting it twisted or ending up in a big angry ball.
Every once in a while, I try to make peace with plastic wrap…it’s usually short-lived.
Wax paper
Wax paper also works well. Much like parchment paper, it will prevent the resin from soaking through to the surface below and resin will peel right off of it.
Silicone
I love to use silicone baking mats. Once cured, the resin will peel right off of the silicone and it’s reusable and durable.
If you watch my videos, you will see I use baking mats all the time. I have a pink one and a blue one. I believe there are silicone products that can be purchased in larger sizes or on rolls. Eventually, I think I will look at that more. I have my eye on a larger one.
**When working with resin, avoid paper. Resin will soak through regular paper and end up stuck to your work surface. It can be used for cool effects in a project but it won’t protect your work surface.
5. PROTECT YOURSELF
It’s important to remember that resin is a chemical and you need to take precautions. All resins are different. Some have very strong odors and fumes associated with them and some have virtually none. I cannot stress enough that you should read the directions of whichever resin you are using. The directions and precautions are written by the manufacturer. They made it. They know what you need to do.
Here is a list of a few general ways to protect yourself, but again, do whatever the manufacturer says to do:
Wear old clothes
Obviously, wearing clothes will offer some protection from resin but resin will soak through the fabric. Wearing old clothes will give you a little peace of mind should you drip resin on your shirt. You don’t want to have to worry about having to replace your nice clothes because it does not come out. Believe me, I know.
Gloves
Wear nitrile gloves, whenever working with resin. They are supposed to prevent the chemicals from soaking through and are better than latex gloves. If you have ever gotten resin on your hands, you know that the short amount of time to put on the gloves far outweighs the time and hassle of trying to get the stickiness off your hands. If you do get resin on your hands, use either rubbing alcohol or have some wet wipes on hand!
Safety glasses
It’s a good practice to wear safety glasses when working with resin. Should something splash, unexpectedly flip out of your cup, or you absently go to rub your eyes, the safety glasses give you a line of defense to prevent resin from actually getting in your eyes.
Respirator
A respirator protects you from breathing in chemical fumes. Also, if you are using a resin with a very strong odor, a respirator will make it a much more pleasant experience. If you are working in an area of your home that is not well-ventilated, definitely consider using a respirator for your protection.
Again, read the manufacturer’s directions and precautions and follow their instructions.
Pull Your Hair Back
If you have longer hair, WATCH OUT! Many times, I have leaned over resin projects just to have my hair dip into the wet resin.
UGH!
You would think I would learn…All of a sudden, you take your gloves off and run your finger through your hair and the ends are stuck together.
But even short hair is at risk! While you are working, you get an itch on your head and scratch it.
Hmmm…those gloves were covered in resin.
UH OH!
The good news is you don’t have to cut off your hair. The solution is to either take a wet wipe and clean it up or rubbing alcohol and a paper towel. It may take a little work but you will get it out. By the way, water is useless.
6. ENVIRONMENT AND YOUR RESIN DIY
Let’s discuss some environmental factors in your resin workspace.
I talked about dust, pet hair, and people a little earlier but let me recap and add a couple more.
People
Unless you lock them out or really drive the leave-my-resin-project-alone point home, people can be a wild card. You know your family and friends best so you have to figure out the solution that works for you.
Dust and Pet Hair in Your Resin DIY
You can avoid dust and pet hair from ending up in your project by covering it up. If you can lay a piece of paper over your project while it is curing, it will prevent the dust and pet hair from getting to it. Most resins (yes there are some exceptions) need to breathe. Resin heats up while it cures. If you cover it with plastic or something non-porous, you run the risk of creating a humid environment and that may prevent your resin from completely curing. That is frustrating and messy.
Humidity
That brings us to humidity. Humidity generally is not a good thing for resin. If you live in the desert, you don’t have to worry too much about humidity. However, if you do have humidity in the region where you live or if it happens to be humid in your workspace, such as in a basement, humidity can be a big factor.
You might want to use a dehumidifier if you are working in a basement. The summer months are usually when the humidity runs high. If you are working elsewhere in your house and it’s humid, you can close up the house and turn on your air conditioner. That will remove most of the humidity.
Temperature
That brings us to temperature. Resins can also be sensitive to cold and hot. Hot will generally speed up the curing process. The cold will generally slow or even stall the curing process.
If it’s cold enough, your resin may not set up at all. When you are mixing your resin and it’s too cold, that can also lead to microbubbles and/or cloudy resin. Again, I urge you to read the directions for the resin you are using. As a rule of thumb, I would say 70 – 90ºF is a pretty safe temperature range.
I hope that helps!
Did I forget anything?
Be sure to share YOUR TIPS in the comments below!
FAVORITE RESIN DIYS
Here are a few of my favorite Resin DIYs:
- Colossal Cupcake Lamp
- Mermaid Light
- Glam Resin Table Makeover
- Honeycomb Bee Coasters
- Seashell Paperweights
- Glitter Charms
BASIC RESIN DIY SUPPLIES
Here are some basic resin supplies to get you started working with resin. I included the coaster mold because it’s an easy resin DIY for beginners and advanced resin crafters.
Thanks for stopping by!
Remember: Life’s too short not to shimmer, so grab your glue gun and your glitter!™ Stay safe!
Mona
Be sure to PIN IT for later!
Thanks a million!! Your tips were very helpful and enlightening.😊. I plan to redo my bathroom countertops and it dies call for resin at the end. I don’t think I’ll be doing it anytime soon, but I will keep your suggestions handy.😀
Glad it helped, Gilda! Good luck on the bathroom countertop redo!
I just heard on another site that using alcohol or nail polish remover to get resin off your skin is bad. It can dissolve some elements in resin then allow others to sink into your skin. They suggest orange wash, a gritty shop type hand cleaner, or and other gritty(make you own with salt, sugar coffee oatmeal)cleaner for hands. Ive been using resin for 5 or more years and this is first time ive read this. I will stop using everything but wipes and gritty saop
Robin
I have not heard that! Thanks for sharing!
I have been watching you for years and you make it look easy. Then I tried coating ceramic coasters with resin… what a mess. First batch I mixed wrong. Second batch much better but it was thick and I had to even it out with a popsicle stick. Problems setting up- dust got on it. Third time I gave up on the craft store resin and used the larger size, which I had for a few years. Turned brown and antique looking, which was okay but unplanned. I think the problem is lack of dedicated space. I was thinking of using my Florida room, but it is hot as hell there. Temps over 110′ in the summer. What do you think would happen in excessive heat?
I also use a torch like yours after pouring, but I don’t see much improvement. I used to do resin in the 1970s with no problem but I was pouring into molds. Doming 4 inch square tiles is much more difficult!
Also, after applying decoration, I coat twice with matte Mod Podge ..,Any feedback?